While do-it-yourself projects can be fun and fulfilling, there is always a potential for personal injury or property damage. We strongly suggest that any project beyond your abilities be left to licensed professionals such as electricians, plumbers, and carpenters. Any action you take upon the information on this website is strictly at your own risk, and we assume no responsibility or liability for the contents of this article.
How to Hang a Picture

Hanging a picture seems like such a simple task, but it’s all too often done incorrectly. Your beloved piece of art may go crashing to the floor in the middle of the night or damage your walls if it’s not hung correctly. Even if you get most of the details of installation right, you may find the location less than ideal after hanging. Here’s how to pick the right spot, get everything centered with measurements, and then put in hangers that will hold even the heaviest framed works of art.
Choose a Height and Layout

You want the majority of art hung on the wall to fall at the natural eyeline of an adult. That’s around 56 to 58 inches from the floor. This should be the centerline of the art you hang, not its top or bottom point. If you’re hanging multiple pieces of art, aim for the center of the collection to hit around this height. Use a structured grid-like layout of rows and columns for a more formal and organized look, or vary the heights and placement of each piece of art to create a more playful arrangement.
Mark for the Hanger

Measuring where to hang the hook or nail for a picture takes a little math and a tape measure. First, measure the wall and mark the height where you want the center of the artwork to fall. Next, measure the artwork and divide its height by half to find its center point. For a piece of art 36 inches tall, including the frame, that would be at 18 inches. Next, measure the distance between the top point of the tightened hanging wire or any attached hooks and the top of the frame.
Subtract this distance from the halfway measurement on the artwork. For example, if the painting’s halfway point is at 18 inches, and the hanging wire stops 10 inches away from the top of the frame, you have 8 inches left. Add that number of inches to the mark on the wall, then mark again. Install your hanging hardware at that point. This ensures the center point of the art still hits the spot you intended.
Pick the Right Hanging Hardware

The type of hanging hardware that will work best for a framed piece of art largely depends on the wall construction you have. Most homes feature drywall over studs, which can only hold a limited amount of weight if you simply insert a picture hanging nail. Drywall anchor hooks or nails that feature a special backing plate help support the weight, as do curved wire picture hangers. For the heaviest pictures, use a screw-in hook or hanger that is designed to go into a wall stud. Most drywall picture hanging hardware simply pushes in thanks to the sharpened and hardened points, but screw-in hangers may need a screwdriver to help apply pressure.
For masonry walls, putting a hole through the surface may not be so easy. Avoiding cracking is a lot easier with stick-on hooks or hangers in these cases. This may limit your picture hanging to pieces under 20 lbs when framed, but shelving and bookcases can offer support for larger pieces without the need to hang. Plaster is easily cracked by most hanging hardware, but pro-quality plate-backed hangers are a good choice. They’re generally strong enough to press through the surface without cracking it. Avoid screw-in hangers for plaster walls, even if they’re recommended for use in masonry.
Follow the instructions on the hanger you purchase for tips on avoiding wall damage. Avoid hammering or tapping the hanger to get it to go into the wall. A set of vise grips wrapped in a soft rag may help give you leverage to push the nail or hanger in without risking damage to the wall surface.
Adding Sawtooth or Picture Wire

Of course, all of the above advice is based on the idea that your picture is ready to hang in its frame. If you flip the framed artwork over to discover no installed picture wire or sawtooth style hangers, don’t panic. You can easily add your own. Picture wire is preferred for its ease of adjustment and secure hold on even the biggest framed pieces. Two small D-rings are attached to the edge of the picture frame with small screws. Then you simply attach the included wire and knot it off at the right length to give a few inches of slack to the wire. Place the D-rings about 1/3 of the way down the painting’s height for even hanging, and make sure they’re at the same level on both sides before attaching. Sawtooth hangers are gently nailed in, making them harder to adjust.
Applying Adhesive Hangers for No-Nail Installation

Self-adhesive hooks and hangers may seem to take all the hard work out of picture hanging, especially the type that claims to be easy to remove later. However, these types of hanging tools are only recommended for the lightest pictures. Photos, small framed paintings, and enclosed posters may work just fine with adhesive hangers, but heavier framed artwork is likely to fall even with multiple applications. These adhesive tools can also pull paint off the wall when removed later, even if they claim to be paint-safe. Be prepared to touch up the area where you use adhesive picture hardware, even if you’re trying to avoid the need for spackling later by not putting holes in the walls.
Don’t pay for a professional to hang your paintings when you can create your own home gallery with the help of a tape measure and some patience. Try cutting out kraft paper outlines of your paintings and arranging them with painter’s tape to see how the outlines will look in various configurations before committing.
Related Articles
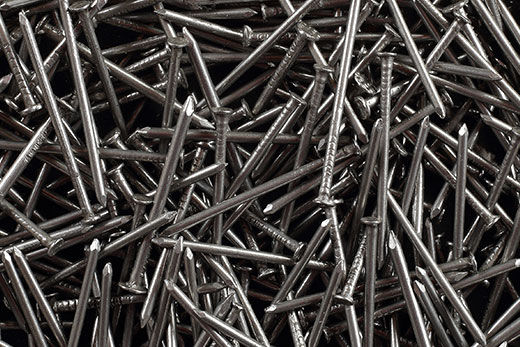
Different Types of Nails and How to Use Them
Learn more about the different sizes and options available for your next project
Learn more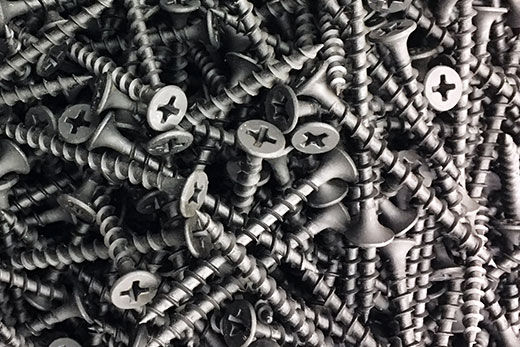
Different Types of Screws And Their Uses
Identify these different types of fasteners and learn when to use them all
Learn more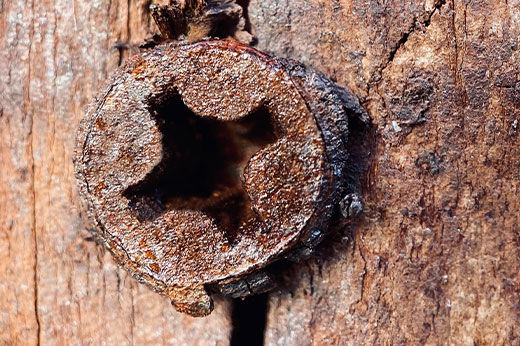
How to Remove a Stripped Screw
Simple tips and tricks to get rid of stubborn, stuck fasteners!
Learn more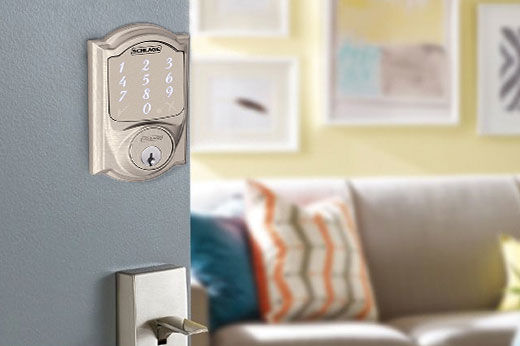
Schlage Keyless Deadbolts Buying Guide
Check out these four simple ways to access your home without a key
Learn more
How to Install a Mailbox: Step-by-step & Tips
Looking to install a new post and mailbox today? Learn how to save money and do it yourself with Do it Best’s step-by-step guide along with helpful tips!
Learn more