While do-it-yourself projects can be fun and fulfilling, there is always a potential for personal injury or property damage. We strongly suggest that any project beyond your abilities be left to licensed professionals such as electricians, plumbers, and carpenters. Any action you take upon the information on this website is strictly at your own risk, and we assume no responsibility or liability for the contents of this article.
How and Why to Clean Dryer Lint
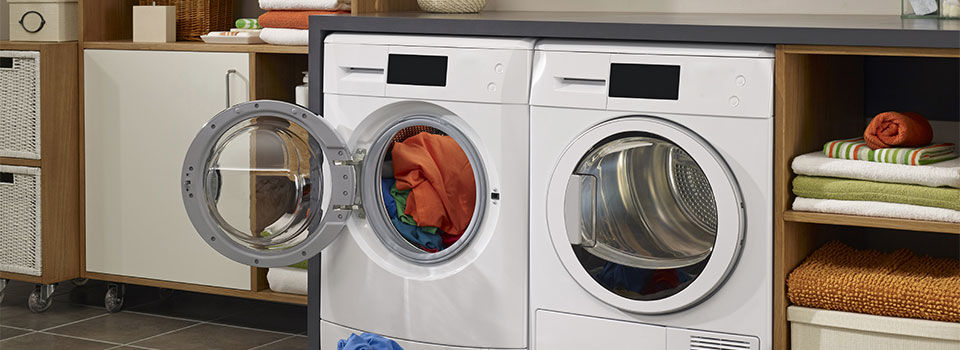
Dryer lint seems like one of those minor issues that go overlooked far too often. While it may seem fluffy and harmless, it could lead to a house fire. That may be surprising, but any heating element can dangerously overheat when the vents designed to cool it become blocked. Even if the vents continue working, letting lint build up will still result in several problems. Take care of your dryer venting system with some essential maintenance regularly.
The Issues with Lint
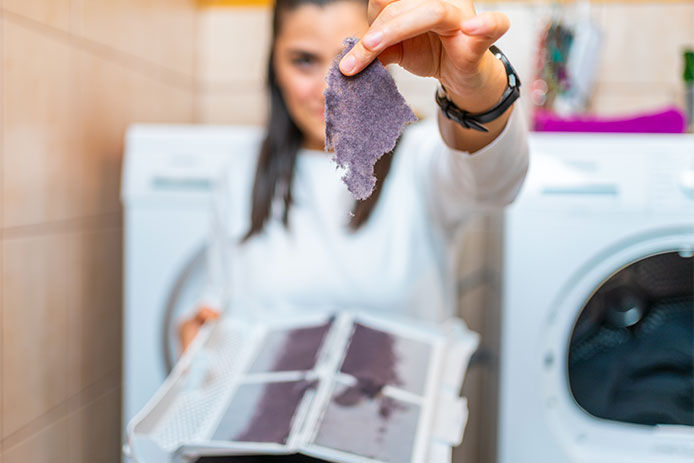
FEMA reports that nearly 3,000 house fires a year occur because of clothes dryers and 34% involve lint build-up and a lack of cleaning. Almost 1,000 house fires a year could be prevented just through better lint removal habits. But dryer lint can do more than cause a fire. First, it makes your dryer work harder and overheats it. Both issues weaken the parts and cause them to wear out faster and use more energy while drying.
Second, lint tends to block up the vent that allows hot, damp air to escape the dryer. When there’s even a partial blockage of the vent, drying efficiency is reduced. You’ll find it takes longer to dry your clothes, costing more energy than before. Even a relatively thin layer of lint can start reducing efficiency everywhere, from in the trap to the vent at the end. Only routine cleaning will completely solve line build-up issues.
Lint Traps
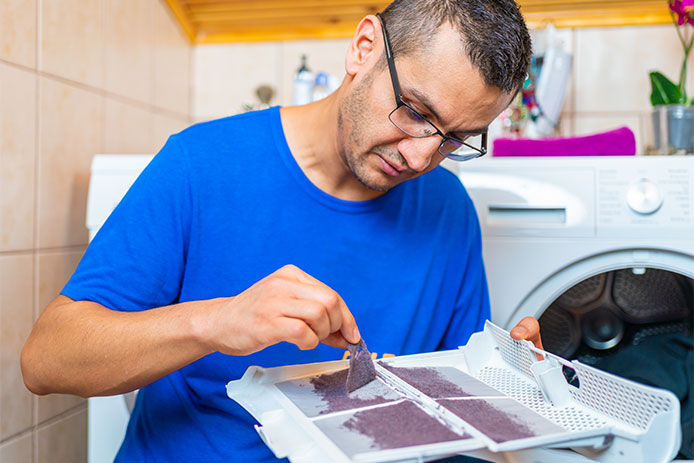
The lint trap is the first place to start when keeping flammable materials out of the ducting. This is the first filter in the venting system, so lint is sucked into the trap as clothes bounce by. It’s essential to clean the trap every time you use the dryer. Skipping the chore even a few times intermittently sends extra lint into the ducting and vents. It’s much easier to remove a thin layer of lint than trying to roll up a layer so thick it barely comes out of the trap. Special vacuum attachments can help you clean out lint that gets past the filter and falls into the area where the trap sits, offering a convenient monthly deep clean.
Rigid Ducts
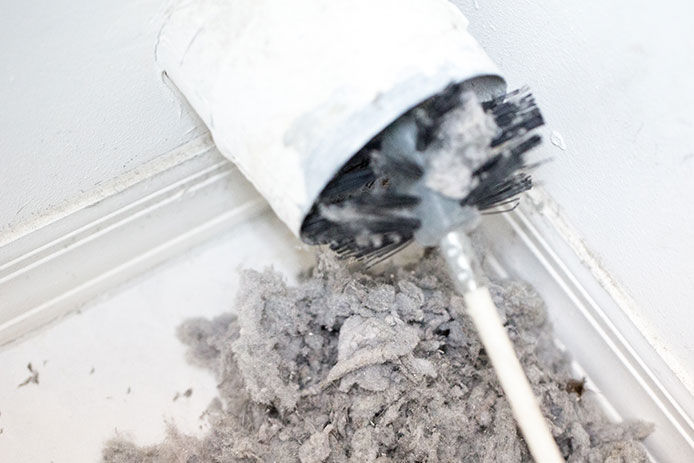
Rigid ducts can require a little more work to find and disconnect, but then, they’re relatively straightforward to clean with a long-handled duct brush. First, unplug the dryer and turn off the gas valve if you have a gas dryer. If the ducts are too close to the flexible metal gas lines, consider having them professionally cleaned to ensure you don’t damage them. Next, look on the back of the dryer for the rigid 4-inch exhaust duct exiting the appliance. It can be practically anywhere on the back or side of a unit, depending on the model. It may run inside the wall, but you can still clean it from where it disconnects from the dryer.
Look for duct clamps or small screws holding the duct onto the collar piece on the dryer. It may be taped on with aluminum tape instead, which can be cut off with a utility knife. Then gently slide the duct apart and use a flexible 4-inch circular brush to clean everything out. Reconnect the ducts gently and either replace the duct clamp or apply a new layer of aluminum tape.
Flexible Dryer Ducting
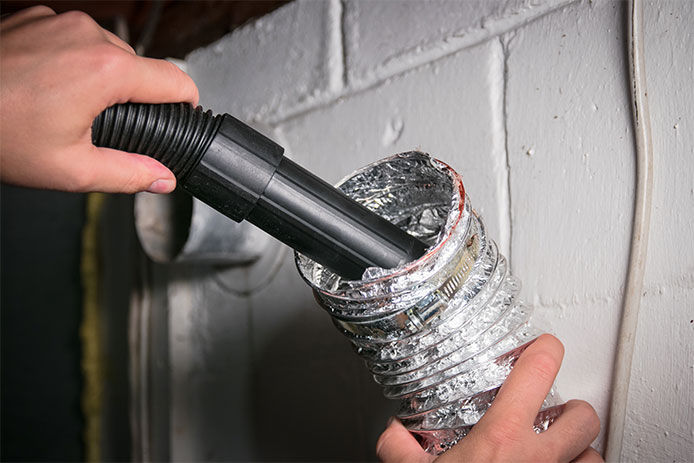
Flexible dryer ducts require the same cleaning process, but they’re much easier to damage in the process. In most cases, a bristled brush for ducts is too rough for the material and risks puncturing it. Gently shaking the duct after disconnecting it and using a nozzle attachment on a vacuum is usually the best way to clean out small sections of ducting. For thick lint accumulation in a long length of flexible duct, replacing it may be far easier than trying to clean it without ripping or crumpling it.
Vents

It’s often tricky to reach all the way to the end of the ducts and the vent itself, even with the most flexible extending brush. Locate the vent on the exterior of the home and unscrew it. This allows you to clean the vent from the back for the best airflow and gives you access to the last few feet of the duct. If your dryer vent is high up and hard to access, you may need to hire a professional to handle this step.
Cutting down on Lint
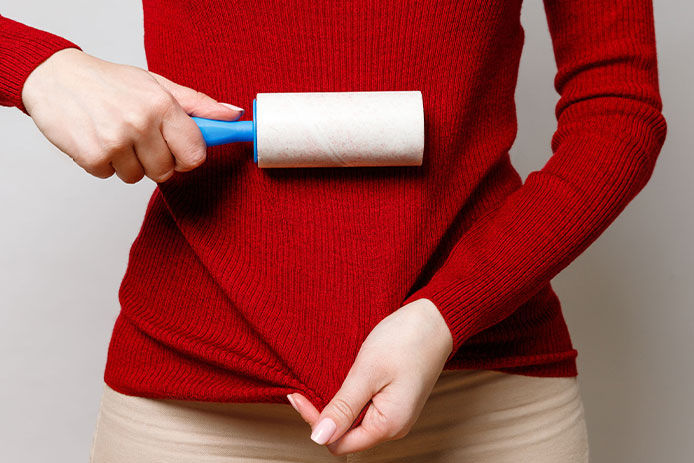
There are plenty of tricks for reducing how much lint your clothes produce during each dry cycle.
- Check the pockets each time for tissues, paper towels, and other products that can break down and become powder or lint when drying.
- Use a lint roller when covered in pet hair or lint sources, or at least shake clothing out before washing.
- Handwash items like pet bedding and fluffy blankets or robes to reduce the load on the lint trap.
- Pair up the fuzziest items for small loads to limit lint spread, and consider checking the trap in the middle of the drying cycle.
- Avoid overloading the washer or dryer, which knocks fibers loose from the clothing.
Take care of your clothes dryer since it takes care of you and your wardrobe. Even the best and fanciest dryers will leave clothes damp and wrinkled when the duct and vents become clogged. Clean out the trap before every single use for a dryer you can count on.