Skip to Main Content
Back to Navigation

How to Cook the Perfect Turkey

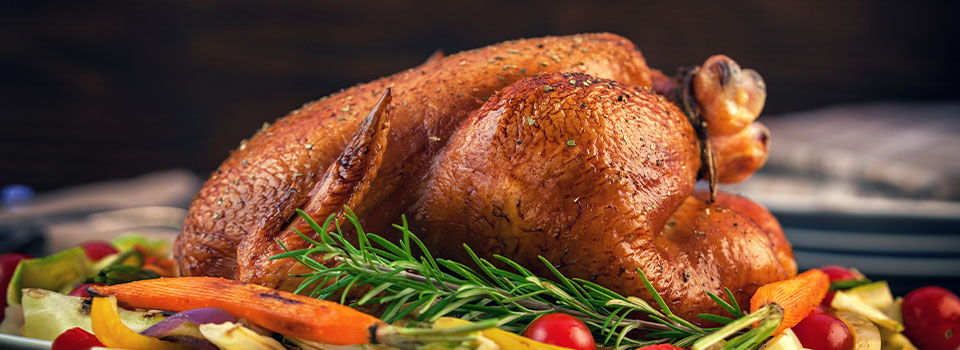
Cooked turkey on garnishes with dark background

Remember back when making the perfect turkey just meant tracing your hand with a crayon onto some colored paper? Now that you're all grown up, there's far more pressure to deliver a tasteful turkey. Rather than your creation being merely affixed to the refrigerator door, this year's bird is going to be put on a plate and displayed for the entire family to admire (or, if done badly, to recoil in horror from). Since your gastronomic gobbler has the potential to make or break Thanksgiving dinner this year, we thought it best to offer you some assistance, equipping you with proven techniques for a moist and delicious main course!

Picking the Right Bird

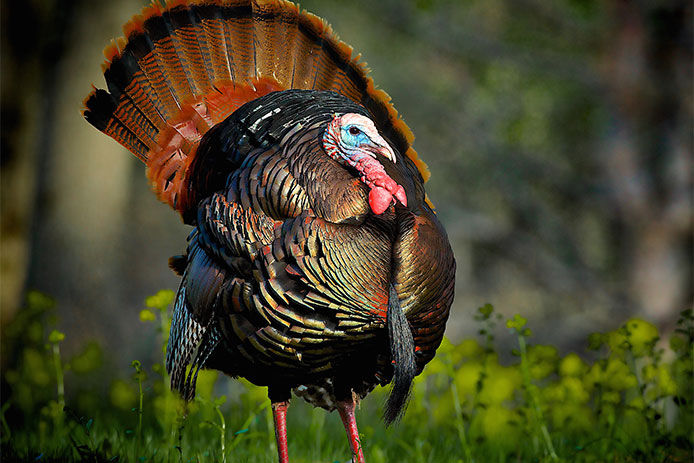
Wild turkey outside in the woods

Fresh, frozen, organic, or heritage, choosing a turkey is essential. A heritage turkey is a traditional breed of turkey—such as Black, Bourbon Red, and Auburn turkeys—which is often leaner and more flavorful but comes at a steeper price. Most people will stop at their local grocery store to pick a fresh or frozen bird.  When choosing the right size of bird, a general rule of thumb is to have one pound per person. If you're looking to stay on the organic side of life, try picking a bird that is raised on organic feed and is held up to industry standards.

Defrosting the Turkey

Proper defrosting is key to a successful turkey meal, yet it's a step often overlooked. The refrigerator thawing method is the most common and recommended by the USDA. You’ll need to let your bird defrost for about a full day for every 4-5 pounds. So, for example, if your turkey weighs 16 pounds, plan to let it defrost for about 4 days prior to cooking.
While defrosting in the refrigerator is the recommended method, you can expand on alternative methods if you’re short on time. A cold water bath is a faster option:

Submerge the turkey (still wrapped) in cold water, changing the water every 30 minutes. This method takes about 30 minutes per pound, so it’s significantly faster than refrigerator defrosting but requires more attention.

Defrosting at room temperature is not safe, as it can lead to bacteria growth. Additionally, a partially frozen turkey may cause uneven cooking, leading to dry or undercooked sections.

Clean the turkey

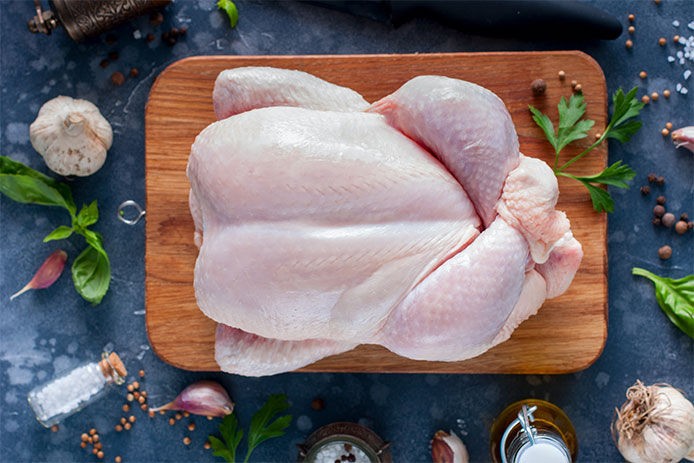
Clean, uncooked turkey on a wooden cutting board with garnishes surrounding on countertop

Before adding anything to the turkey, you'll need to clean out the insides. Start by removing the bag containing the neck, heart, and gizzards. Rinse out your turkey with cold water and then dry it with a paper towel. This will give your bird a crispy golden skin. To ensure your bird doesn't fly away, tuck the wings under the breast! This will keep the bird sitting nice and proper. It also helps keep the wings from burning.

How to Bake a Turkey

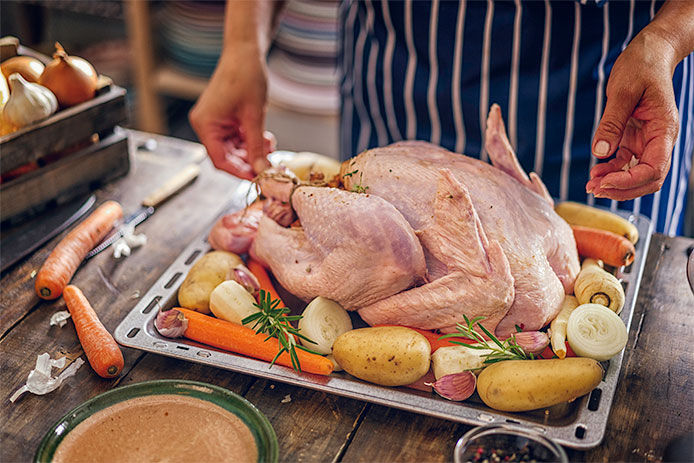
Clean, uncooked turkey and vegetables on baking sheet ready for the oven

Novice or not, baking a turkey may require a little less skill than you think(but more than tossing the bird in a pan and into the oven). Before throwing a naked bird into the oven and hoping for the best, most recipes suggest making a bed and dressing up the bird. And no, we don't mean dress it in a suit and tie and lay it in your bed. This creates a natural resting layer for the turkey, increases air circulation for better cooking, and soaks up some of the flavor from those vegetables.

Steps to Baking a Turkey

  1. Preheat the Oven: Preheat your oven to 325°F to 350°F, depending on the recipe and desired cooking time.
  2. Prepare the Turkey: Clean the turkey by removing the giblets and patting the bird dry.
  3. Stuff the Turkey: Cut the turkey’s neck cavity and add your stuffing mixture. Tie the turkey legs together to keep the stuffing from falling out in the oven.
  4. Season the Skin: Rub the outside of the turkey with butter or oil, then generously season with salt, pepper, and any other spices or herbs of your choice.
  5. Baking Pan Setup: Place the turkey on a roasting rack in a large roasting pan. You “dress it up” by adding vegetables (like carrots, celery, and onion) to the bottom of the pan for extra flavor.
  6. Bake the Turkey: Place the turkey in the oven and roast for about 15 minutes per pound, until the internal temperature reaches 165°F in the thickest part of the breast and thigh.
  7. Basting (Optional): Baste the turkey with its own juices or melted butter every 30-45 minutes for added moisture and flavor.
  8. Let the Turkey Rest: Once done, remove the turkey from the oven and let it rest for 20-30 minutes before carving to allow the juices to redistribute.

How to Fry a Turkey

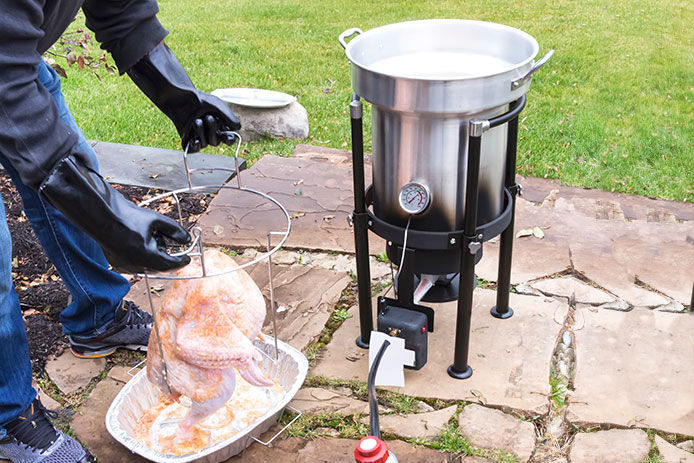
Person prepping turkey to put in deep fryer outside

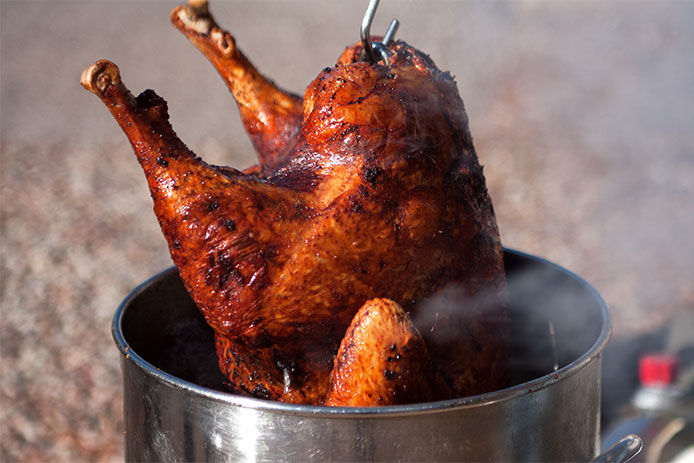
If you want to skip the oven this year and take your turkey adventures outdoors, then deep-frying might be right for you. When done right, a deep-fried turkey is a very juicy alternative to a roasted turkey and will make you the undoubted hero of your holiday dinner.

Safety Precautions

Before even thinking about deep-frying a turkey, there are some safety measures you need to take. Because you are heating up gallons of oil with a propane burner to 350 degrees F, and lowering a turkey into it, keeping the children and pets away from the set-up is an excellent place to start. Always follow the manufacturer's instructions for the deep fryer and have a fire extinguisher handy. Good fry cooks never leave the bird unattended.

Equipment

To get started, you'll need to gather up some equipment, including the deep fryer, fire extinguisher, several aluminum roasting pans, kitchen towels, tongs, a turkey hook, and both a meat and oil thermometer.

Steps to Frying a Turkey

  1. Heat the Oil: Fill your turkey fryer with oil (usually peanut or vegetable oil) and heat it to 350°F. This step can take up to an hour.
  2. Prepare the Turkey: Remove the giblets, pat the turkey dry inside and out, and season it well.
  3. Brine the Turkey: A brine is a high-concentration solution of salt in water that should be poured over the turkey about 24 hours beforehand for better flavor and moisture.
  4. Dry the Turkey: Make sure the turkey is completely dry to prevent oil splatters when frying. This usually takes about 24 hours
  5. Lower the Turkey into the Fryer: Using a turkey hook or fryer basket, slowly lower the turkey into the hot oil, a little at a time, to avoid splashing.
  6. Fry the Turkey: Cook the turkey for about 3-4 minutes per pound until the internal temperature reaches 165°F in the thickest part of the breast and thigh.
  7. Remove and Drain: Carefully remove the turkey from the fryer and let it drain on a rack or in a pan for 10-15 minutes.
  8. Let the Turkey Rest: Let the turkey rest for another 20-30 minutes before carving to preserve its juiciness.
Pulling fried turkey from the deep fryer

How to Smoke a Turkey

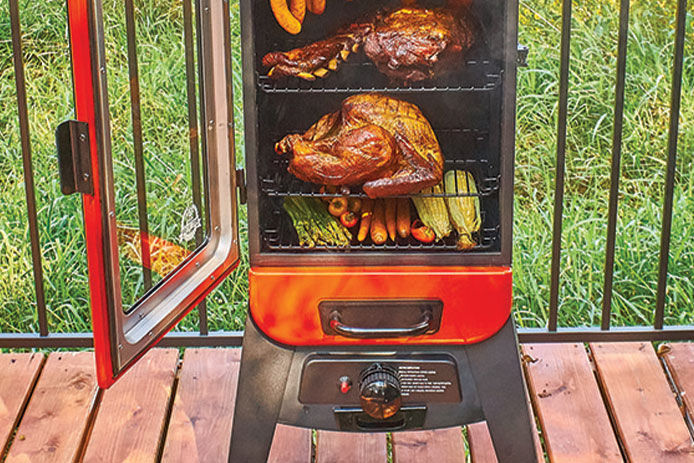
Fried turkey and vegetables in smoker

Ever wondered how a smoked turkey would taste? Well, wonder no longer, smoking a turkey might be the least fussy method for cooking your Thanksgiving feast. It's less time consuming than frying and simpler than baking. It also frees up your oven for side dishes! Give your guests a mouth-watering meal while showing off your pit-master skills by smoking a turkey whole.

Equipment

Obviously, you will need a smoker. There are many different types of smokers such as wood, electric, charcoal, and propane, so different materials will be required depending on the type you have. Make sure your smoker is big enough to hold your bird and has enough space around your turkey to allow airflow. You'll also need a meat thermometer to check for proper cooking temperature. If you don’t have one, check out your local Do it Best store to find a high-quality smoker.

Steps to Smoking a Turkey

  1. Preheat the Smoker: Preheat your smoker to 225°F-250°F. Choose your wood chips (apple, cherry, or hickory are popular) based on the flavor you want to infuse.
  2. Prepare the Turkey: Clean the turkey and pat it dry. Season the cavity and the outside with herbs, spices, or a BBQ or cajun rub.
  3. Brine the Turkey: A brine is a high-concentration solution of salt in water that should be poured over the turkey about 24 hours beforehand for better flavor and moisture.
  4. Set the Turkey in the Smoker: Place the turkey directly on the smoker rack, ensuring there is enough space for airflow around the bird.
  5. Add Wood Chips: Add soaked wood chips to the smoker to start the smoking process. Replenish the chips as needed to maintain a steady smoke.
  6. Smoke the Turkey: Smoke the turkey for 30-40 minutes per pound until the internal temperature reaches 165°F in the thickest part of the breast and thigh.
  7. Basting (Optional): Baste the turkey periodically with butter or oil for added moisture and flavor (skip this step if you’ve brined the turkey).
  8. Let the Turkey Rest: Once the turkey is done, remove it from the smoker and let it rest, loosely covered with foil, for 20-30 minutes before carving.

Turkey Side Dishes or Pairings

A great turkey deserves equally delicious side dishes. Pairing the right sides with each method of turkey cooking can take your meal to the next level. Here are some side dishes we recommend depending on your cooking method.

Baked Turkeys: classic pairings like stuffing, mashed potatoes, and cranberry sauce bring out the rich, roasted flavors of the turkey. Roasted Brussels sprouts or green beans with garlic butter also make perfect sides to balance the savory notes of the bird.

Fried Turkeys: Southern-style sides are a popular choice. Cornbread, collard greens, and macaroni and cheese complement the crispy, flavorful skin of the fried turkey. The richness of these sides pairs beautifully with the bold, spicy seasoning used in fried turkey preparations. 

Smoked Turkey: Consider more sides like a smoked gouda mac and cheese, grilled corn, or a smoky bacon potato salad. These dishes complement the deep flavors of the smoked meat, creating a complete meal.

Now that you're equipped with this tasteful turkey knowledge, enjoy a hearty holiday meal with friends and family, laughs, and cheer. Let the tryptophan kick in as you doze off thankful for your triumphant Thanksgiving success. Also, check out our Pinterest page for some of our favorite turkey recipes.


While do-it-yourself projects can be fun and fulfilling, there is always a potential for personal injury or property damage. We strongly suggest that any project beyond your abilities be left to licensed professionals such as electricians, plumbers, and carpenters. Any action you take upon the information on this website is strictly at your own risk, and we assume no responsibility or liability for the contents of this article.