Update Your Home with Floating Shelves — How and Where
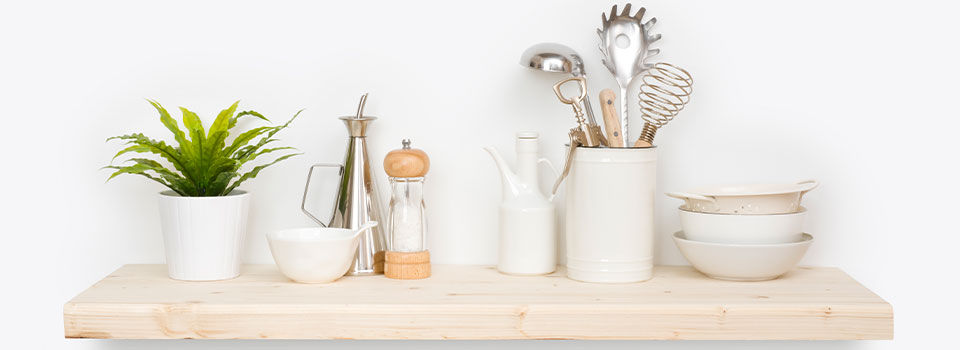
Floating shelves don’t really float, but they do appear to do just that. While they’re not a new design element, they’re still one of today's hottest home decorating trends. Homeowners tend to overestimate how difficult it is to put up these shelves. With the right hardware and a matching set of shelves, the project can be completed in just a few hours. Even making new floating shelves from scratch shouldn’t take more than two or three weekends with time to wait for paint or stain to dry. Update your home without a major investment by picking the perfect spot for a set of new floating shelves.
Best Places to Hang Floating Shelves
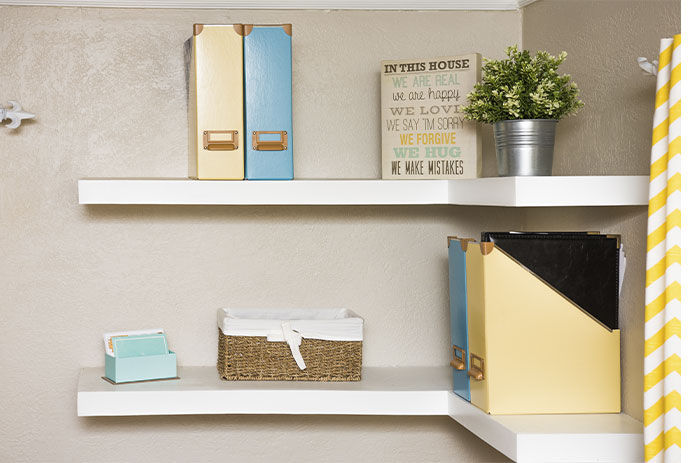
Choosing the right spot for floating shelves is the first step in making the most of them. Putting floating shelves in a closet or other enclosed space is a waste since it’s harder to tell they’re anchored to the wall without any visible brackets. Stick to open wall areas so these shelves can double as storage spaces and decorative features. The following are four spaces that are excellent spots to add floating shelves.
Bathrooms
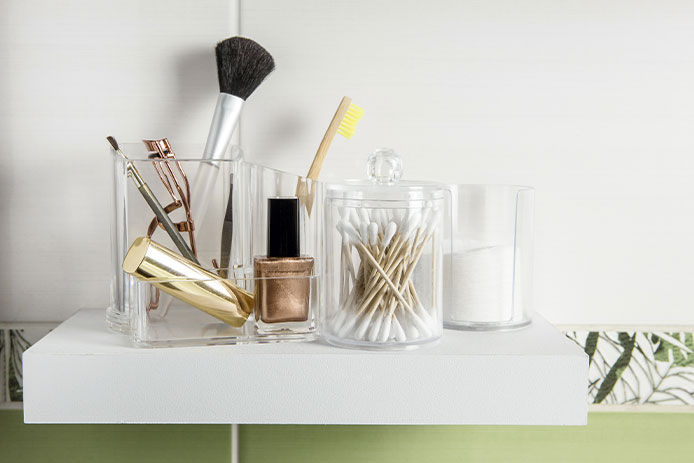
Bathrooms are particularly tricky rooms for adding extra storage since floor space tends to be at a premium in most. Floating shelves are available in even the smallest and thinnest configurations, helping you add storage space to any bathroom type. A low set of shelves can hold extra toilet paper or cosmetics, while high shelves are ideal for decorative items and folded towels.
Home Libraries
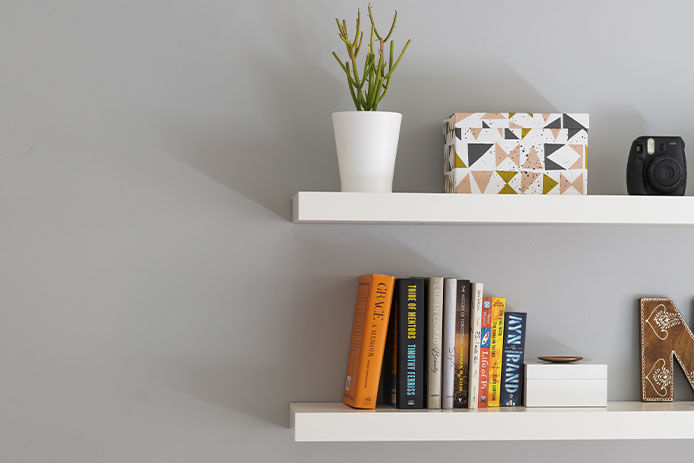
No matter where there’s open wall space, it’s easy to create an impromptu home library with a few carefully placed floating shelves. Floating shelves are particularly adaptable for this use because they can be placed at different heights to accommodate large photo books, small paperbacks, and everything in between. There’s no need to settle for a set height between shelves when working with these designs.
TV and Fireplace Mantels
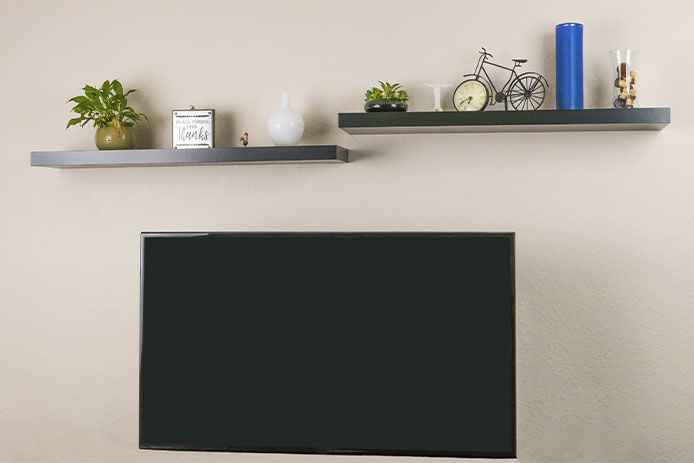
Floating shelves look extra charming when used as a sort of classic fireplace mantel. If you have a fireplace or heater that doesn’t have a mantel, putting in a shelf is the fastest and easiest way to get that look without a major investment. Floating shelves arranged above a television are popular because they create space for decorative items and DVDs simultaneously.
Kitchens
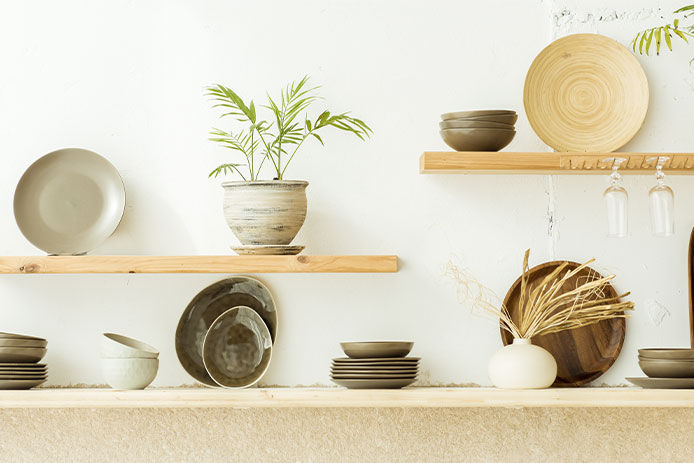
Almost every kitchen needs more storage, and floating shelves can fit in spaces where other cabinets can’t. Display statement dishes on stands or arrange the most commonly used food supplies to keep them close at hand. There are shelves available to match the countertops, the wood of the cabinets, or the colors used in the flooring to tie the room together.
How to Install Floating Shelves
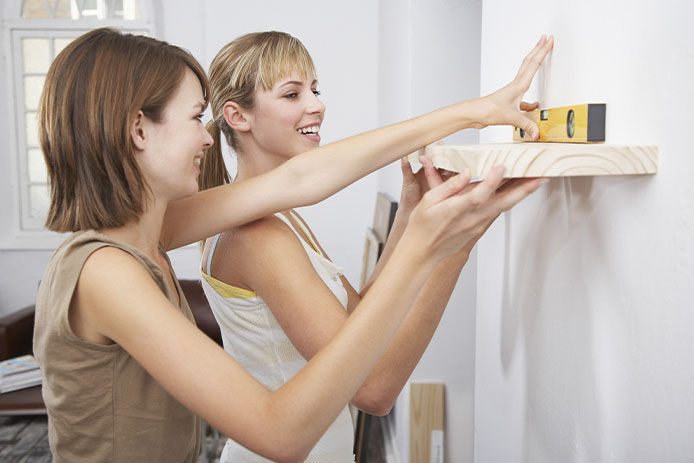
The key to the floating look is a bracket that extends directly into a solid board of wood or other pressed material. These shelves do require wall studs to hold up their weight. This disguises the support for the shelf, creating the illusion that it’s simply floating in the air. Start with a stud finder to determine where there’s enough support for floating shelves in the wall. Then find brackets that match the space available and the distance between the studs that you find. This will prevent incompatibility that’s only discovered after installation begins.
Once you’ve marked out the studs and chosen a set of shelf brackets to fit, you need a spirit level to mark out a chalk line on the wall. Mark the studs with a pencil and mark the chalk line between them along with the level. Do this for every floating shelf you plan to install. Then it’s as simple as using an electric drill to create pilot holes in the studs for the screws. If there’s any question of a stud’s placement, use a tiny picture-hanging nail to test first. A nail that sinks right through the drywall isn’t hitting a stud.
After the pilot holes are drilled, place the shelf brackets on the wall aligned with the chalk lines. Screw them in with a screwdriver or impact driver. Once the brackets are attached, finishing the job requires just sliding the planks over the matching prongs.
Floating shelves can add a modern touch to any space. Buying a pre-made set with matching brackets and shelves makes the task as easy as possible.
While do-it-yourself projects can be fun and fulfilling, there is always a potential for personal injury or property damage. We strongly suggest that any project beyond your abilities be left to licensed professionals such as electricians, plumbers, and carpenters. Any action you take upon the information on this website is strictly at your own risk, and we assume no responsibility or liability for the contents of this article.