While do-it-yourself projects can be fun and fulfilling, there is always a potential for personal injury or property damage. We strongly suggest that any project beyond your abilities be left to licensed professionals such as electricians, plumbers, and carpenters. Any action you take upon the information on this website is strictly at your own risk, and we assume no responsibility or liability for the contents of this article.
9 Best Ways to Remove a Stripped Screw

At some point in your journey of being a DIY homeowner or having any interest in carpentry and handy manning, chances are you will eventually encounter a stripped screw. A stripped screw is a pain but not impossible to deal with.
First, what’s a stripped screw? A stripped screw is a screw with a head that has become too damaged, bored out, or worn down so that the screw bit on your drill or screwdriver can no longer get a good grip.
The result? A stuck screw you can’t move. This can happen when using the wrong screw bit while screwing, working too fast, or trying to insert a screw at an unusual angle. It’s annoying when it happens, but just because you can’t get a grip on your stripped screw to extract it doesn’t mean it’s stuck forever.
Learn the step-by-step process of how to remove a screw with a stripped head using simple yet effective techniques.
Discover the best way to remove a stripped screw effortlessly with our guide featuring nine effective methods, ensuring you tackle this task without a hassle.
1. Get Extra Grip with Pliers

If the screw isn’t completely embedded in the piece of wood or metal, chances are you can wiggle it loose with a good pair of pliers. Choose a pair of vise-grip or locking pliers, grip the screw head, and turn until the screw comes loose and comes out easily. Pliers are usually the most reliable method of removing a stripped screw. Even if you can only grab a tiny bit of the screw head, usually with a good pair of pliers that’s enough to begin turning and loosening the screw.
2. Try a Rubber Band for Traction

Grab a spare wide rubber band to use for getting your stripped screw loose. The rubber works well for providing the driver with a little extra grip and traction to get the stripped screw moving again. Take a wide rubber band and cut it with scissors to lay across the screw head. Using the rubber as traction, place the driver bit on top of the rubber band and press extra hard while turning the screw. This method usually works pretty well as the rubber offers ample grip to the screwdriver or drill bit.
3. Use a Flat Head Screwdriver

A standard flat head manual screwdriver is a handy tool to have and can be used for removing a stripped screw. You may need a little arm strength for this method, but by pressing hard with the flat head screwdriver at an angle, you can likely get into the stripped head and begin to pry it loose.
4. Switch to a Manual Screwdriver

Many people strip their screws with an electric drill bit. Sometimes it’s easy, especially for beginners, for the drill bit to spring out of the screw head and strip it down. A drill can sometimes run away with you, giving you less control over screwing or removing a stripped screw. Use a manual screwdriver to try to extract the screw. Because manual screwdrivers offer more control than an electric drill, they are often the best way to easily remove a stripped screw.
5. Gain Control with Steel Wool

Similar to the rubber band method, using steel wool is a great way to add traction to a stripped screw to get a better grip on it. Use some steel wool between the screw head and the drill bit to increase traction and prevent the drill from rotating out of control. Just make sure you get the piece of steel wool into the stripped screw head to make sure this method works best.
6. Use a Hammer

Another way to help you get some traction with your stripped screw is to use a hammer to gently tap the handle of a manual screwdriver deeper into the stripped screw. Usually, this works by driving the drill bit deeper into the screw and allowing for you to have more traction and grip to get the stripped screw turning again.
7. Pour in Abrasive Powder

Similar to the rubber band and steel wool method, the abrasive powder approach creates more traction for you to get a better grip on your stripped screw and more easily twist it out. Apply a small amount of abrasive powder or even sand onto the stripped screw head and then apply the pressure of the drill bit over it. Try to slowly turn it out, making sure you’ve got a good grip on the stuck screw. Usually the powder or sand is enough to prevent the drill bit from slipping.
8. If Nothing Else, Try a Screw Extractor Kit

When all else fails, there’s always a kit for everything. A screw extractor kit is a special kind of drill bit that is designed for removing a stripped screw. One end of the extractor is for drilling into the stripped screw to create an impression. The other side of the bit is for extracting the screw. These kits are easy to find, simple to use, and affordable to buy, making them a DIY and carpentry staple.
9. Add a Cut with a Rotary Tool

If the screw is too close to flush and one of the previous methods isn't working, then it's time to try the rotary tool trick. Start by putting a small cutting disk into a Dremel, or similar rotary tool, and cut a new slot into the head of the screw for a thin slotted screwdriver. Make sure you're careful not to scuff the surrounding surface! After making the cut, use a flathead screwdriver, press it firmly into the new indentation, and then twist slowly. This trick is best used for stuck round or pan head screws.
Safety Tips for Removing Stripped Screws
Removing a stripped screw often requires added force or alternative methods, which can be risky if not done carefully. Wearing protective gear is important. We recommend wearing safety glasses to shield your eyes from metal shavings, dust, or other debris. Gloves are also recommended to protect your hands when using tools that need a firm grip or have sharp edges.
When handling power tools like drills, screw extractors, or rotary tools, make sure you maintain full control and use low-speed settings. Applying too much pressure can lead to further damage or injury, so it's best to work slowly and precisely. Securing your work area is also important. If the surface you’re working on can move, make sure it’s stabilized to prevent accidental slips.
Following these safety guidelines will help you remove stripped screws effectively, while minimizing the risk of injury or further damage to your project.
Tips to Prevent Stripping Screws in the Future
Preventing stripped screws is often easier than removing them. Follow these tips to prevent your screws from becoming stripped in the future:
- Select the Correct Bit Size: Always use a bit that perfectly fits the screw head. The wrong bit size, even if it seems close, can lead to slipping and stripping.
- Avoid Over-Tightening: Over-tightening is one of the biggest culprits in stripping screws. Instead of applying extra force, stop as soon as the screw feels tight enough.
- Slow and Steady Wins the Race: Power drills are useful but can strip screws easily if used too quickly. Keep the speed low and apply steady pressure, especially toward the end of driving the screw in or when removing it.
- Work at the Correct Angle: Keep your drill or screwdriver as aligned with the screw as possible. Holding the tool at an angle creates uneven pressure on the screw head, making it more prone to damage.
- Use Quality Screws and Tools: Low-quality screws are more prone to stripping, so invest in durable, high-quality screws and bits. Using the right tools also improves accuracy and reduces the chances of damaging screws.
- Consider Pre-Drilling: For hardwood or dense materials, pre-drilling a small pilot hole can make it easier to drive in the screw without overworking the head.
Dealing with a stripped screw can be a frustrating experience, but with the right tools and techniques, you can handle it efficiently and get back to your project. There are plenty of options to tackle even the toughest stuck screws. Taking preventive measures, like selecting the correct bit size, using high-quality screws, and working at the correct angle, can help you avoid stripped screws in the future.
And always remember that safety is important. Wearing protective gear and working slowly and carefully will keep you safe during the process. Stripped screws happen! But with these methods, you’re sure to find the best way for you to screw them out.
Related Articles
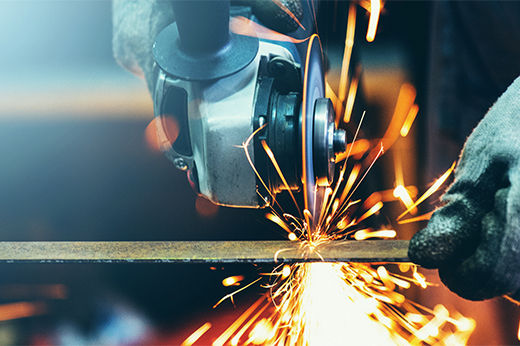
Cutting, Drilling, and Joining Metal Stock: What You Need to Know
Discover practical guides and tips on working with metal stock including flat bar, angle, tubing, threaded rod, and more. Learn how to cut, drill, and join metal for DIY builds and professional projects.
Learn more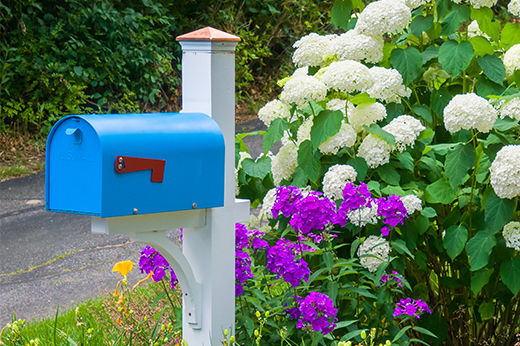
The Best Mailboxes of 2025: Modern, Decorative, Secure, and Residential Options
Discover mailbox ideas, tips, and buying guides to help you choose stylish, secure, and durable options that enhance your home’s curb appeal.
Learn more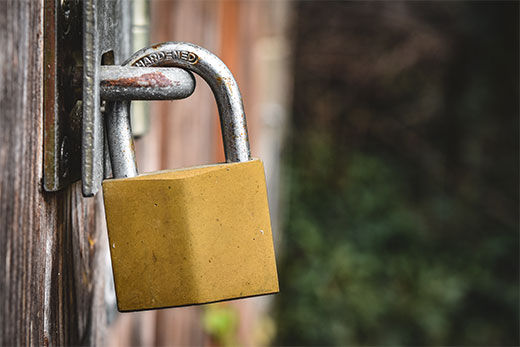
What Type of Padlock is Most Secure? A Guide to High-Security
Explore expert advice on padlocks and security solutions. From choosing the right type to understanding advanced features, find the best ways to protect what matters.
Learn more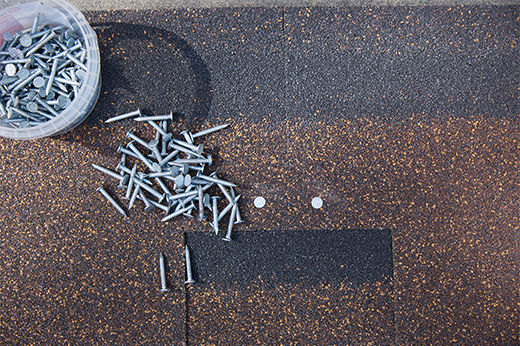
Roofing Nails: A Comprehensive Guide to Nails for Roof and Shingle Installation
Explore expert guides on roofing nails – learn how to choose, install, and maintain the right nails for lasting, secure roof and shingle performance.
Learn more
8 Steps to Mounting a TV on the Wall
Safe and easy ways to upgrade your viewing experience at home
Learn more