Skip to Main Content
Back to Navigation

How to Change an Outdoor Light Fixture: Step by Step

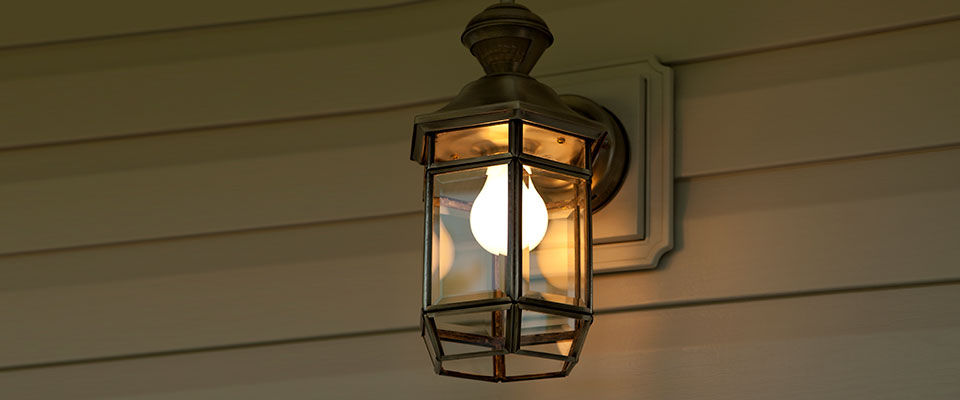
An outdoor light fixture is attached to a wooden wall. The light fixture is turned on and has a metal frame with glass panes.

An outdoor light fixture is essential for keeping your home entry safe and secure yet welcoming (and convenient when fumbling for a key in the dark). If your exterior fixtures are past their prime, you can easily change an outdoor light fixture yourself! A new light fixture is a great way to improve your outdoor space. 

Follow the steps below to change an outdoor light fixture and update your home’s exterior lighting scheme. 

How Much Does It Cost to Replace a Light Fixture?

When it comes to (interior and exterior) light fixtures, there is quite a wide range of prices. Most of the cost will come from the types of outdoor lighting fixtures you select. Most wall-mounted outdoor fixtures start at around $20, and prices can range up to hundreds of dollars for a designer fixture. Finding the perfect fixture is important, especially because it can increase your home's curb appeal and last for years. 

Security light fixtures often include flood lights, motion detection, and multi-directional lights. However, plenty of affordable security light options are on the market as well. As you choose a light, consider your needs and how you want the light to perform.

As for other costs, you’ll need to select the right light bulb or bulbs for your fixture, and you may need a few tools (many of which the average DIY-er may already have on hand). Replacing an outdoor light fixture is an inexpensive DIY project and a simple process that can make a huge difference in your comfort levels at home.
Tools Needed to Replace a Light Fixture

A man and woman shop for a light fixture at a hardware store. An employee stands to the side in the foreground. The man is reaching out to a glowing globe-shaped fixture, and there are other fixtures in the background.

Whether you're swapping out the light by your front door or a back porch light, the main thing you need to replace an outdoor light fixture is the new outdoor light fixture itself. Most fixtures come with mounting kits (but check the details to ensure yours includes those essential items).

Assemble the other necessary tools you might need to replace an outdoor fixture, including:

In general, outdoor wiring uses a standard three-wire pattern, making it easy to swap out an older fixture with a new one, even if it's a slightly different type of fixture. Security lights will also feature the same wire pattern, except for smart or wired lights, which may also require a data cable for video and sound.

If you’re sticking with a standard outdoor light fixture, you can likely handle the swap yourself. Look at models with universal mounting bars, which allow you to replace the old light without moving the brackets or drilling new holes in your home’s exterior finish.

Steps to Replace an Outdoor Light Fixture

Whenever you take on a DIY project, like replacing an outdoor light fixture, gathering all the needed tools and supplies first is a good idea. Clear the area where you plan to work to keep it free from clutter and debris that can get in your way. If you've purchased your new light fixture, follow the steps below to replace an outdoor light fixture.

Step 1: Prepare the area for electrical safety.

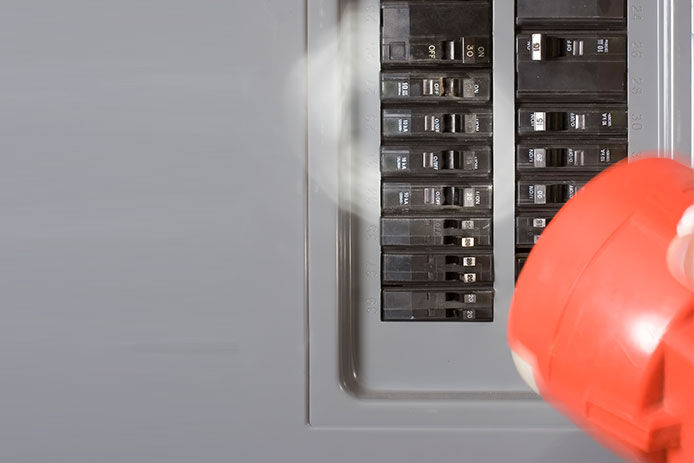
A grey-colored circuit breaker box is shown with black switches. A red flashlight shines on the switches to highlight them.

Safety is always the top priority, especially when working with electrical components like live wires. If you plan to replace the outdoor light fixture, you should be confident that you can shut off the power securely. Electrical work is challenging and dangerous, even with a step-by-step guide. Contact an electrician if you don't feel you can replace your old fixture. 

The switches in your circuit breaker box control the power; the box is often in the utility closet, garage, or basement. You should turn the power off entirely before you begin. The switch for exterior lights should be clearly labeled, but if it isn't, turn off all power to the entire house (manually shut down connected electronics first).

Because you'll be working outdoors with exposed wires, planning the project for a day when there's no rain or moisture in the forecast is best. Make sure the fixture is completely dry before you begin the process.

It's also best to ensure that someone else is home and nearby in case of an emergency. Use a voltage sensor to ensure no electrical current is running through the area before you start to work on the fixture.

Step 2: Remove the old light fixture.

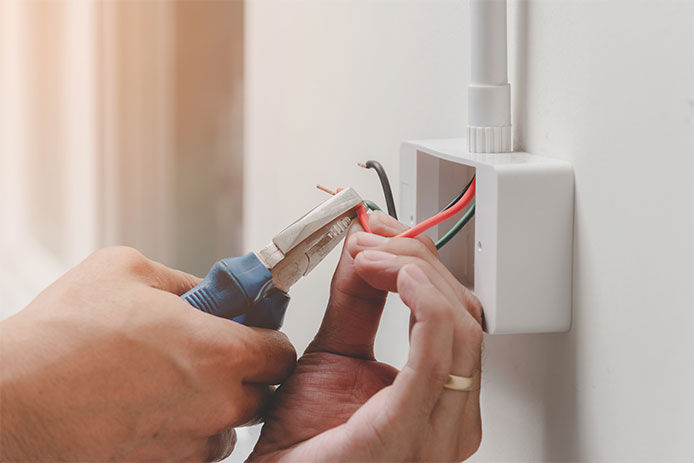
A person uses a set of wire strippers to remove the wire insulation coating on a red wire in a light socket box.

When you’ve confirmed that power is disconnected from your current outdoor fixtures, use a screwdriver to remove the holding screws and gently lift the old outdoor light fixture away from the wall. It may be hard to find all the holding screws in the fixture and mounting brackets—some may be obscured by pieces of trim or decorative covers.

Step 3: Disconnect old wiring cables.

Use the voltage tester to test the electrical wires. When you've confirmed that no electricity is running through the cables, you can disconnect them. Usually, there will be a connection piece, known as a wire nut, that you can unscrew to disconnect the wires. When the wires are disconnected, you should be able to remove the old fixture completely from the wall.

Step 4: Installing mounting bracket.

Most light fixtures come with a mounting kit, making attaching the new light very simple. Kits include the mounting hardware for your outdoor lighting project. If your fixture has a universal bar or bracket, you may not need to move the mount at all.

If you need to add a new mounting bracket and hardware (for example, if the previous mount was smaller than the new one), one of the easiest ways is to line up the screws or bolts with the previous fasteners. If holes don't line up, you may need to drill into your home's exterior finish—the siding, stucco, or brick. Use the proper drill bit for the job. Be prepared to patch the area with repair putty and paint in case of minor damage during the installation of the new light fixture.

Step 5: Connect new wiring to the box.

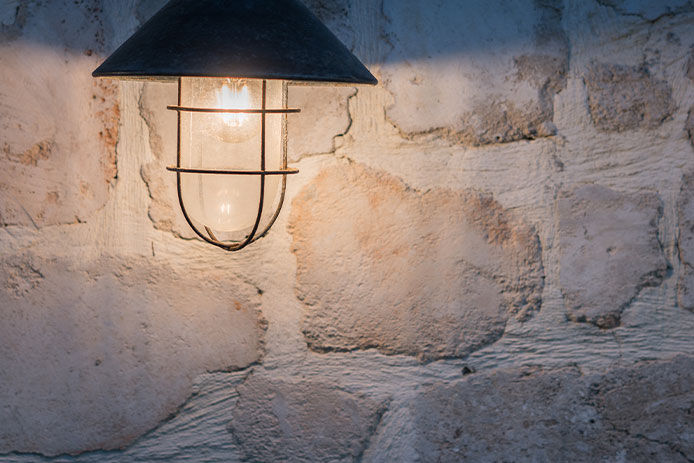
A glowing outdoor light fixture features a black wire cage surrounding a lightbulb with a flared fixture. There is a rock wall illuminated behind the fixture.

Once you've attached the mount (if necessary), the next step is to connect the wiring. The light fixture you purchased likely came with an instruction manual or diagram that indicates the different color of the wires and their purpose. Some fixtures feature only neutral and hot wires, while others include ground wires.

Align the wires for your fixture, following the instructions. Match up the colors and add wire nuts to attach the wires from your house to the wires within the fixture. If the fixture doesn’t feature a ground wire, use the plastic caps in the kit to cap off the wire coming from your house.

Step 6: Attach the new light fixture and enjoy!

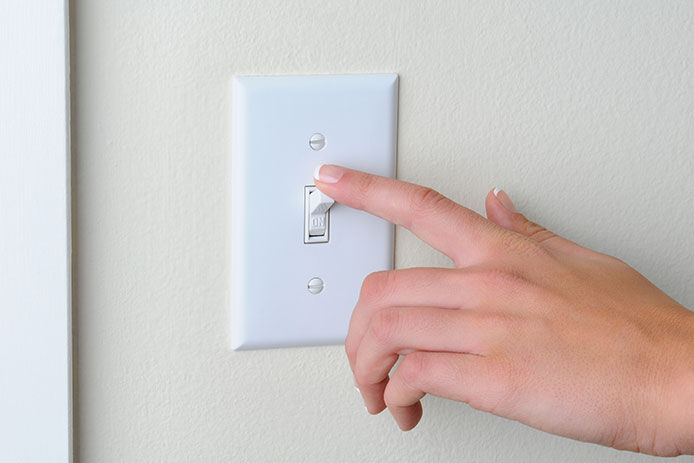
A hand is pressing a white light switch down. The switch is mounted on a cream-colored wall with white trim.

Once you've connected the wiring, attach the fixture to the mount with the enclosed mounting screws. Most fixtures feature a few screws, so be sure that you get them all properly attached. When the fixture is secure, turn the power back on and test the light.

If you’ve purchased a motion light (without a switch), you can cover the sensor with your hand to test it. You may have to contact an electrician if the fixture doesn't turn on. Troubleshooting wiring and compatibility issues yourself can be tricky.

Get Outdoor Lighting at Do It Best

An outdoor light increases the visibility and safety of your home. If the light has motion detection, it can deter animals from your yard and garden (and deter criminals as well). Don’t leave yourself or your family in the dark.

Replacing an outdoor light is simple and easy—a DIY project that most homeowners can handle on their own. If your current light is broken or aging, a new light can brighten and elevate the space.

Remember to follow all the guidelines above when working on electrical projects. Safety should be your number one priority! Turn off the power source and operate with caution as you work on your new light installation.

You'll find everything you need for beautiful outdoor lighting and home improvement projects at your local Do It Best! Explore our selection of lighting and other items to keep your yard beautiful and safe all year round!


While do-it-yourself projects can be fun and fulfilling, there is always a potential for personal injury or property damage. We strongly suggest that any project beyond your abilities be left to licensed professional such as electricians, plumbers, and carpenters. Any action you take upon the information on this website is strictly at your own risk, and we assume no responsibility or liability for the contents of this article.

test

How to Install a Ceiling Fan in 7 Steps

Cut your energy bill down with these simple steps for adding a ceiling fan to any room

Learn more
test

Extension Cord Safety

Learn the simple dos and don’ts for powering your home safely

Learn more
test

Where to Put Outlets in Garage: Things to Consider

Learn how to safely and properly add electricity to your garage

Learn more
test

What to Know About Solar Panels for Your Home

Want to learn more about solar panels? Our solar panel buyers guide shares everything homeowners need to know about cost, benefits, tax credits, and more!

Learn more
test

How to Install a Bathroom Fan

A guide for ventilating your bathroom to prevent mold and mildew

Learn more