While do-it-yourself projects can be fun and fulfilling, there is always a potential for personal injury or property damage. We strongly suggest that any project beyond your abilities be left to licensed professionals such as electricians, plumbers, and carpenters. Any action you take upon the information on this website is strictly at your own risk, and we assume no responsibility or liability for the contents of this article.
How to Replace a Toilet Wax Ring
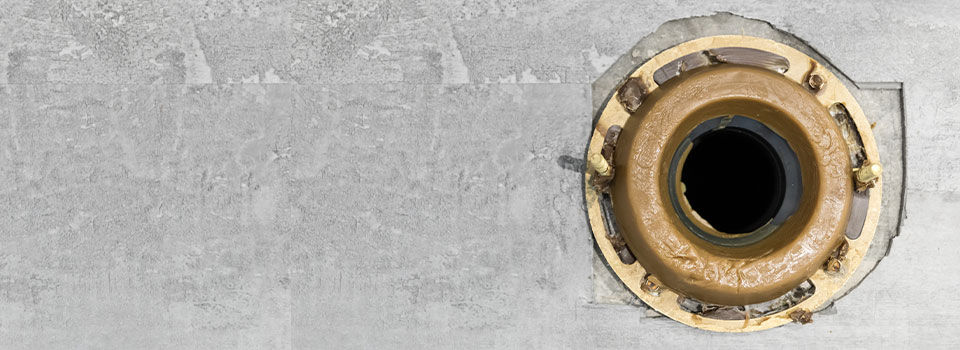
The wax ring is a simple and hidden part of the toilet, but it can cause severe problems if it goes bad and doesn’t get replaced. If you notice a smell or water puddling around the toilet's base, don’t blame someone for missing the bowl. It’s more than likely the wax ring that seals the toilet to the sewage pipe instead. You need a new wax seal when you remove the toilet for repairs or replacement since they compress and can’t be reused. Follow these tips for an easier time getting a good deal with a new wax ring.
Double-check the Size
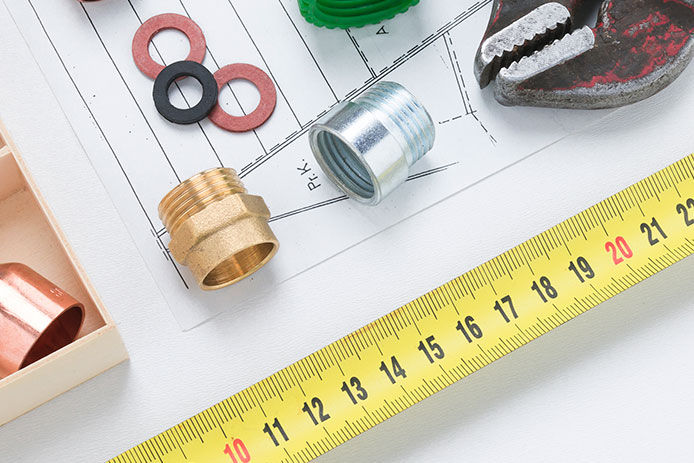
Most of the issues with toilet wax rings come from fit. You may think you have the right ring only to find you’re half an inch too narrow and therefore unable to slip it over the bolts. The ring needs to fit the base of the toilet perfectly and have the same bolt pattern. While some wax rings can be adjusted to fit different bolt patterns, they’re better left to plumbers rather than homeowners handling DIY bathroom repairs. Unless you can find ring recommendations in the manufacturer’s manual, wait to measure for the ring until the toilet is loose so you can get accurate measurements. New toilets are easier to match to a wax ring since they’ll list the right size and bolt pattern on the package.
Temperature Matters

While there’s no need for the wax to melt or soften up significantly, the ring does need to be soft enough to compress rather than crack. As you press the weight of the toilet base down onto the ring, it could snap and cause leaks if it’s too cold and brittle. You won’t necessarily be able to see the cracks until the ring leaks, so it’s best to keep the ring in a warm room around 70 degrees or more until installation. The ring shouldn’t be too warm either, so try to keep it below 80 degrees to avoid messy handling. Non-wax rings often work in a much wider range of temperatures, but they’ll cost a little more.
Remove Old Wax Residue
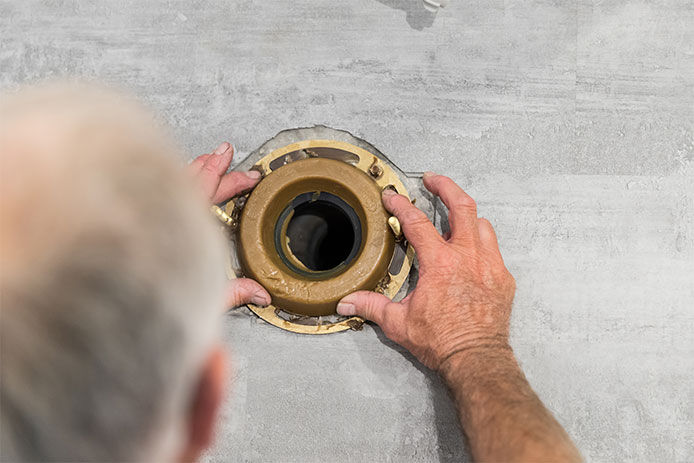
Removing as much of the old wax ring is the key to seating the new one without issue. Leaving too much wax residue behind leads to an uneven and incomplete seal. There’s no way to get every hint of wax off the base or the toilet, but installing a new toilet will at least give you one clean side to start with. Use a putty knife to pry up at least some chunks of wax without risking damage to the floor or toilet base.
Choose the Right Type of Wax Ring
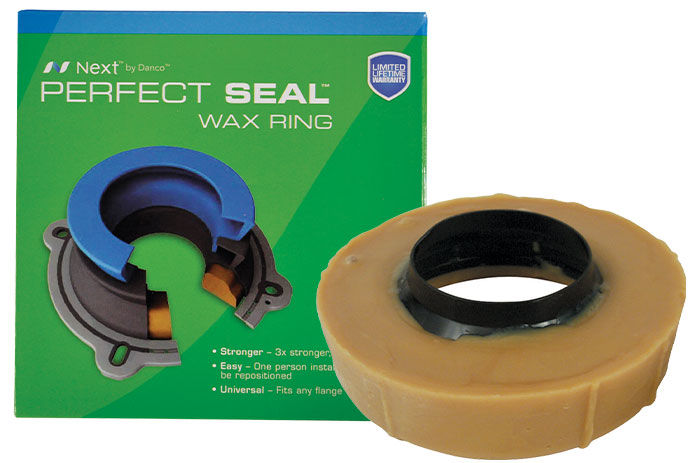
Old-fashioned standard wax rings work just fine for most toilets. Yet, they’re not the only option available at the hardware store anymore. Other options include:
- Rings with built-in flanges, short sections of plastic pipe that help close up gaps on taller toilets that are farther from the floor than usual
- Extra thick all-wax rings, which are recommended by certain manufacturers
- Wax-free rings that rely on rubber, foam, or other compressible materials instead of wax
Keep Everything Even While Lowering the Toilet
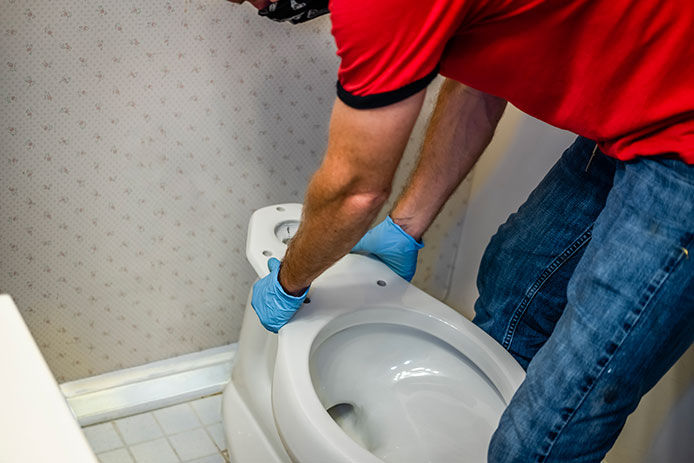
Replacing the wax ring is as easy as sliding the new piece onto the bolts in the floor, then sliding the toilet down to make a tight seal. However, many people try to lower the toilet by themselves and end up setting the ring unevenly. When one side of the toilet presses down before the other, the ring can crack or tip from the weight. This leads to a leaking toilet that requires removal and a new wax ring. Getting a helper to at least assist with lowering the toilet helps ensure even contact with the ring, providing a more even leak-free fit.
Compress the Wax after Seating the Base
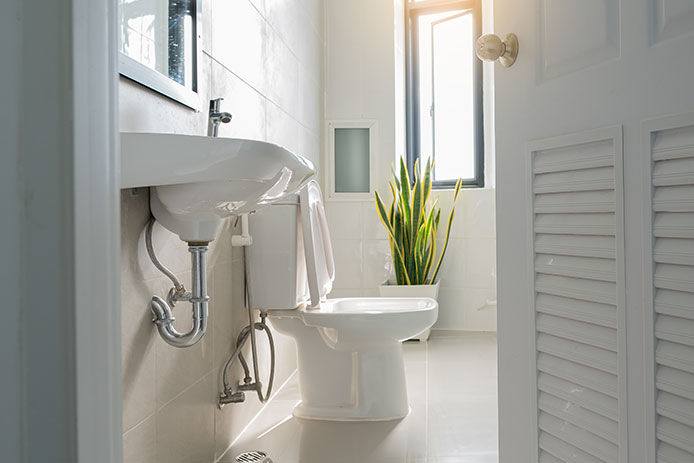
Once the toilet is on the base and the bolts have slid through the porcelain, rock the base back and forth a few times. Doing this in a gentle motion helps settle the base onto the ring and ensures a tight seal. If you notice the toilet tips one way in particular or does not want to rest flush on the floor with all the bolts through the base, lift the toilet back up and check the wax ring. It likely didn’t set and seal evenly and needs to be replaced.
It’s cheaper and easier to pick up a toilet you suspect didn’t seal to the wax ring and try another new ring than to bolt down the toilet and hope for the best. If a wax ring leaks in secret for months or years, it can soften the subfloor to the point that the toilet sags or even falls through the floor. A toilet should slide down smoothly and rest level with the floor even before it’s bolted down if it settled correctly on the wax ring.