Start by turning the grill on high. Let it come to full temperature. If you have multiple burners, turn them on and let the grill get completely hot. This will soften the stuck-on grease and carbon.
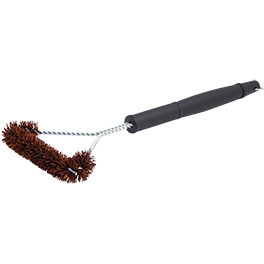
Use a long-handled wire brush and a bucket of warm, soapy water to scrub away any bits of carbon clinging to the grill. Remove any stuck-on food from the hot grates. The warm water will produce steam as it touches the grill, so be sure to keep a distance by choosing a long-handled brush to prevent steam burns. Keep your face back from the grill.
Step 2: Cool the Grill Down to Clean Bars
Once you've scrubbed the grill with the brush, turn off the grill completely. Disconnect the gas supply and then remove the propane tank. Allow the grates and bars of the grill to cool down.
Once the grill has completely cooled off, remove the grates and wash them using the 5-gallon bucket of soapy water. Be sure to remove any remaining debris from the grilling surface.
Step 3: Clean the Inside of the Grill
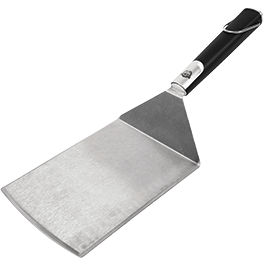
Next, you'll need to clean the inside of your grill by wiping down the lid and inside. Remove any food debris from the bottom of the grill (a wet-dry vacuum is a helpful tool for this process). If needed, you can use a putty knife to remove any particularly stuck-on bits. Clean the burner's gas ports with a dry wire brush using a side-to-side motion—this will help prevent debris from clogging the gas ports.
Once you’ve wiped down everything inside the grill, use a soft towel to dry each part of the grill. Thorough drying will help prevent rust on your grill, which can significantly shorten its lifespan. Rinse and wipe down the flavorizer bars, grates, and other components so there's no food residue left. Towel dry them thoroughly and reassemble the grill.
Step 4: Clean the Outside of the Grill
Once the inside of your grill is completely clean, you'll want to clean the outside of your grill as well. If you have a stainless-steel grill, you should use a stainless steel cleaner along with a soft microfiber cloth to get a bright, shiny surface.
If your grill is made from ceramic, porcelain, or a painted surface, you can use soap and hot water to clean the outside. Be sure to thoroughly dry the outside to avoid water spots and residue. Always follow the manufacturer's recommended cleaning process.
Step 5: Properly Store the Grill
Now that your outdoor grill is clean and fresh, it’s ready for storage. By storing your grill carefully, you’ll keep it working well for many years.
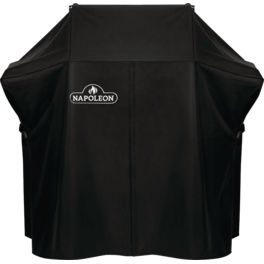
For outdoor storage, you can leave the propane line attached. Cover the grill with a well-fitted grill cover. Store your grill somewhere it is protected from harsh weather conditions.
If you plan to store your grill in a garage, you’ll need to remove the propane tank from the gas line before moving it inside and keep it out of direct sunlight.