So how do you find a leak in your pool liner? If you suspect a leak, you might notice that water seems to be seeping out onto the ground or deck below. You may also notice that your water levels suddenly drop more drastically than usual. If you're doing regular pool maintenance, you'll likely notice the leak right away. It's especially important to watch for leaks in an older liner before it becomes a large tear.
A visual inspection is the first step for finding a leak in your pool liner. Walk around the pool and look for any spots where water seems to be seeping out onto the ground. Sometimes this is easier said than done, especially if the leak is small or your pool is in a shadier spot in the yard.
Check the liner for wrinkles. A good indication of a pool leak is a wrinkle or gathered spot in the liner. This indicates where tears may have formed in the pool liner.
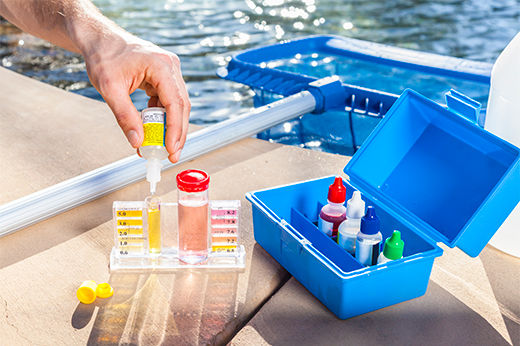
If you don't see a tear inside the pool and can find the leak spot on the ground, you can use a simple dye test to find the leak. Use food coloring or special pool dye to pinpoint the leak location. As water leaks out of the pool, the dye will be pulled toward the hole, giving you a clear idea of where to patch.
Can You Patch a Pool Liner?
If you’re wondering if you can patch a swimming pool liner, the answer is a resounding yes! In fact, patching your pool liner is a super easy DIY job that any backyard pool owner can do. It’s a regular and necessary part of pool maintenance.
Of course, repairing the pool liner is much preferred to buying a new liner or a whole new pool. With a few regular repairs and pool maintenance, your above-ground pool can last for many years. There’s no need to buy a new pool or a replacement liner.
The DIY approach to pool liner repair is quick and inexpensive (while even a smaller backyard pool is an investment). You’ll protect the life and health of your pool by addressing any leaks quickly before they start to cause further cracks and degradation. It’s well worth the effort and a fairly simple fix.
Pool Repair Tools: What Patch Should You Use?
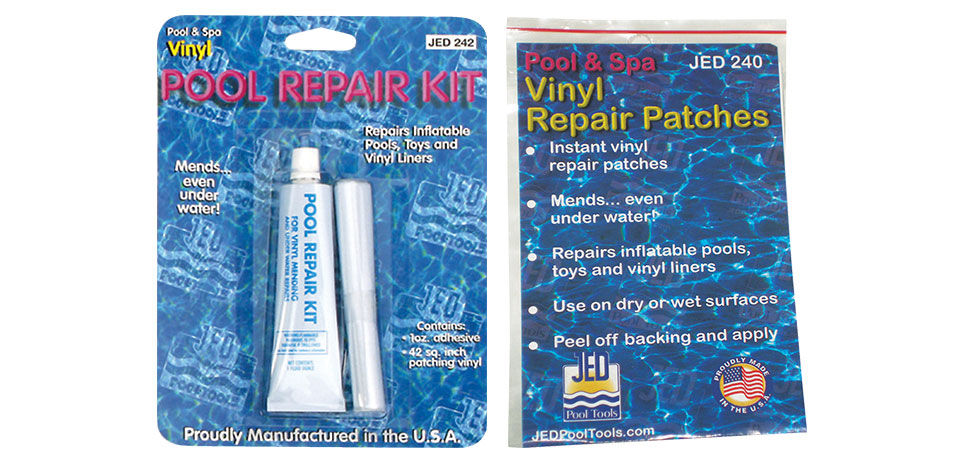
When it comes to pool liner repair, you have a lot of options. You could use waterproof tape, a vinyl patch kit, peel-and-stick patches, or a pool liner repair kit.
For small rips and quick fixes, waterproof tape can hold the liner together and quickly stop leaks. The main issue is that many types of waterproof tape aren't designed for long-term underwater use. Waterproof tape can also be unsightly. But if you need a quick fix, waterproof tape is a simple option for small repairs.
For the best results, use a tool designed for the application. Vinyl patch kits and pool liner repair kits are often your best bet for quick and easy pool liner leaks since they're made especially for repairing backyard pools. These simple kits are often very affordable and specifically designed for the task at hand.
Your local Do it Best will have several pool repair kit options. Choose the best material for your pool and the tear type. For example, patches can cover puncture wounds and holes better than epoxy-type vinyl repair kits. However, vinyl repair kits are ideal for patching tears, cracks, and small leaks.
Steps to Patching a Pool Leak
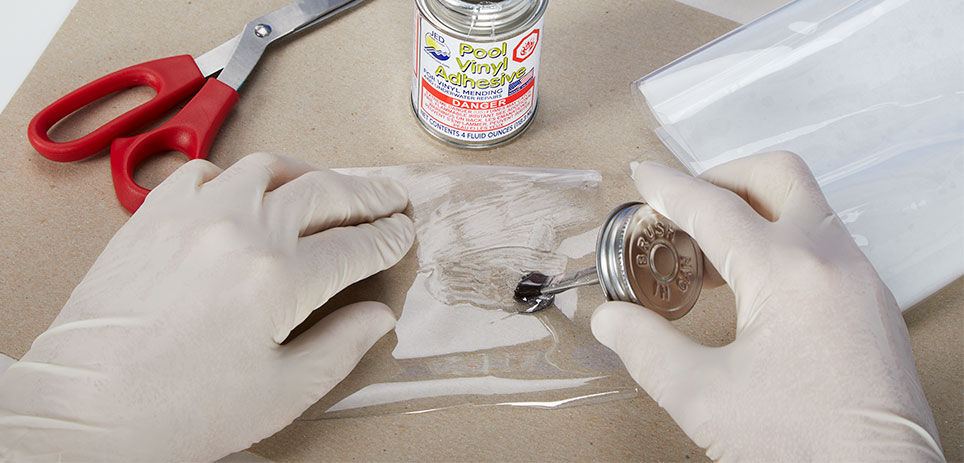
When you know that you have a leak and select the proper repair kit for the job, your next step is to apply your patch and repair the leak so you can get back in the water. Follow these steps to learn how to patch a pool liner.
Step 1: Locate the Tear
Using the methods outlined above, locate the tear or source of the pool leak. Assuming that the tear is in your pool liner, the dye method is usually one of the most successful ways to detect a backyard pool leak. You may need to call a pool professional for serious damage or deep underwater repairs. Otherwise, applying pool patches to small holes or using an underwater repair kit is an easy fix that most pool owners can DIY.


