While do-it-yourself projects can be fun and fulfilling, there is always a potential for personal injury or property damage. We strongly suggest that any project beyond your abilities be left to licensed professionals such as electricians, plumbers, and carpenters. Any action you take upon the information on this website is strictly at your own risk, and we assume no responsibility or liability for the contents of this article.
How to Use a Scroll Saw: Scroll Saw Basics 101

With the many kinds of saws out there with all their different uses, sometimes it’s hard to know where to begin when buying or using saws. Woodworking and carpentry projects typically require power saws, and when looking at projects that entail intricate or detailed cutting, it’s likely you’ll be looking to use a scroll saw. If you like to undertake finer woodworking projects, you’ll want to know as much as possible about scroll saws and probably want to own one, too. A favorite among woodworkers, fine carpenters, and wood artisans, scroll saws are loved by the experts but don’t require you to be an expert to use one.
What is a Scroll Saw?

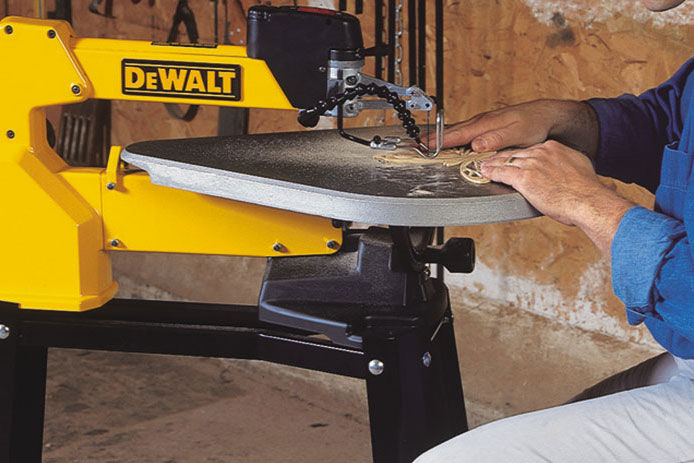
This begs the question, what is a scroll saw? A scroll saw is a stationary power saw tool used to cut intricate or delicate designs out of wood. It uses a thin blade mounted from top to bottom of the saw to cut vertically into thin pieces of wood. Powering on the saw causes the blade to rapidly move up and down to create a quick sawing motion. While you can use different saw attachments on a scroll saw, typically the saw blade itself is small with little blades on one side to allow for fine cutting and detailed woodwork. Most scroll saws also come with an adjustable speed dial to make it easy to control the speed at which you want the blade to move. You can also easily adjust the angle for cutting from a particular direction.
Because of the mechanics and design of scroll saws, they are considered very safe to use relative to most other power saws. This is one reason scroll saws are great for beginner woodworkers or for kids. The scroll saw moves up and down, and the blade is quite fine, causing barely any kickback (which makes other power saws potentially more dangerous).
Scroll saws are also great for kids and beginners because they aren’t that complicated to use. Quiet, relatively safe, sturdy, and easy to use, scroll saws make a great power saw option for even amateur or hobby woodworkers.
When to Use a Scroll Saw

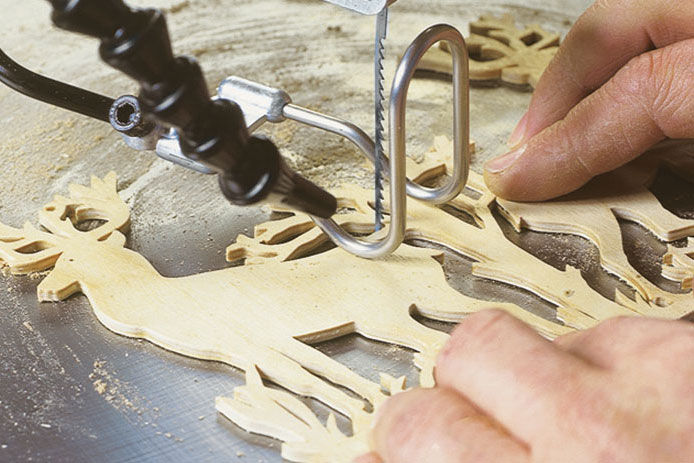
Scroll saws are used for detail, delicate, and exact woodwork. They can be used for carpentry projects, such as cutting detailing in finishing work. Scroll saws are also used for cabinetry, furniture making, and other pieces that require detailed work. For artisan and finer woodworking projects, such as carving and creating items like wooden puzzles and other small items, a scroll saw will be a very useful tool. Scroll saws are excellent for ordinary projects and carpentry, but are also great tools for making art pieces and wood sculptures.
Scroll saws can also be used with a wide variety of blade attachments for more precision over the details of a woodworking project. Some different scroll saw blades are regular, skip tooth, double tooth, reverse tooth, crown tooth, two-way cut, and spiral. Each blade toe is designed for different kinds of woods, purposes, and types of projects. But, even with just a regular blade, it’s possible to cut intricate curves and corners.
How to Use a Scroll Saw

Using a scroll saw is relatively simple. Before starting, use the bevel scale under the saw table to adjust the saw to the angle you need for accurate cutting. Also, check the blade tension knob to make sure it’s right for your project. Too little tension can cause the blade to bend, and too much tension can cause the blade to break. Put the workpiece foot lock in place to prevent the workpiece from lifting during sawing and adjust the speed adjustment knob so it’s on the right setting for the project you’re working on.
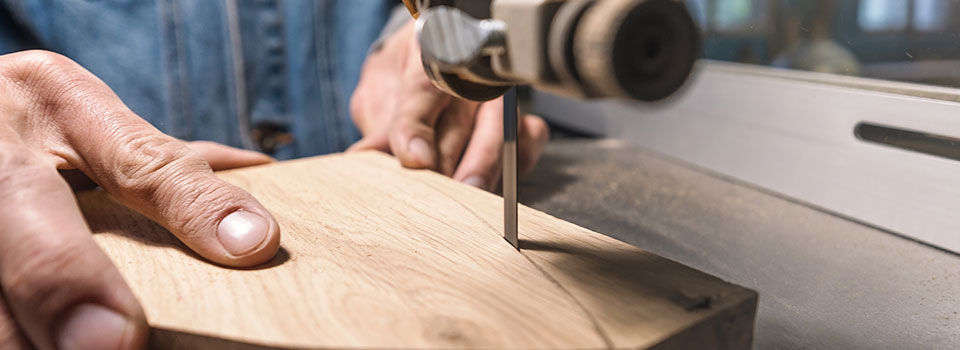
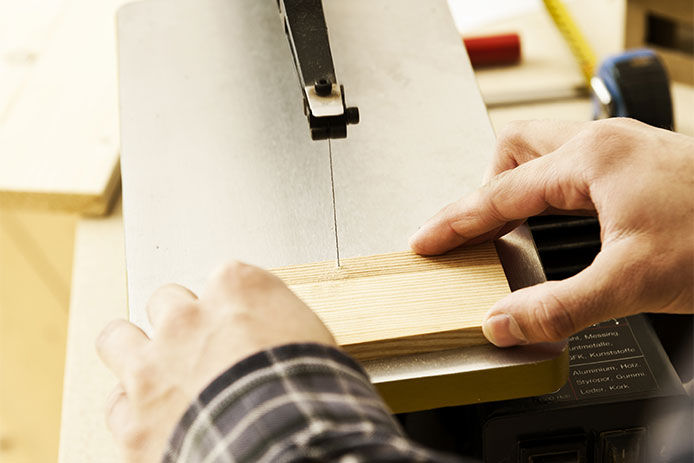
Always wear your safety equipment when using a scroll saw. Use safety goggles and a dust mask to prevent dust and small wood pieces from getting in the eyes and lungs. Keep both hands firmly pressed on the piece of wood, and always keep fingers far away to the side of the blade, never in front of it.
You can free saw or use pattern designs for your scroll sawing. Pattern designs can either be bought or ordered online, or, if you’re feeling savvy, you can also make them yourself.
To start, turn on the saw and trim way any excessive wood material around the outside of your pattern or design. Adjust the speed to cut patterns or details from the inside. To do this, first drill a hole in the center of the piece, thread the saw blade through the hole, securely clamp down everything, and then begin carefully sawing the pattern from the inside. For outside cuts, simply cut in along the patterns from the outside so the extra material falls away as you cut. Use both hands to carefully guide the workpiece along the pattern guidelines, adjusting the blade speed as needed.
When you’re finished, use a sander or piece of sandpaper to smooth out any parts of the workpiece or any edges or surfaces that feel rough or frayed. Wipe off excess dust, unplug the saw, and you’re all done!