Your local Valu Home Center stocks a wide variety of Ball® mason jar canning supplies. Stop in today and speak to one of our knowledgeable Sales Associates about canning techniques, tips, and equipment!
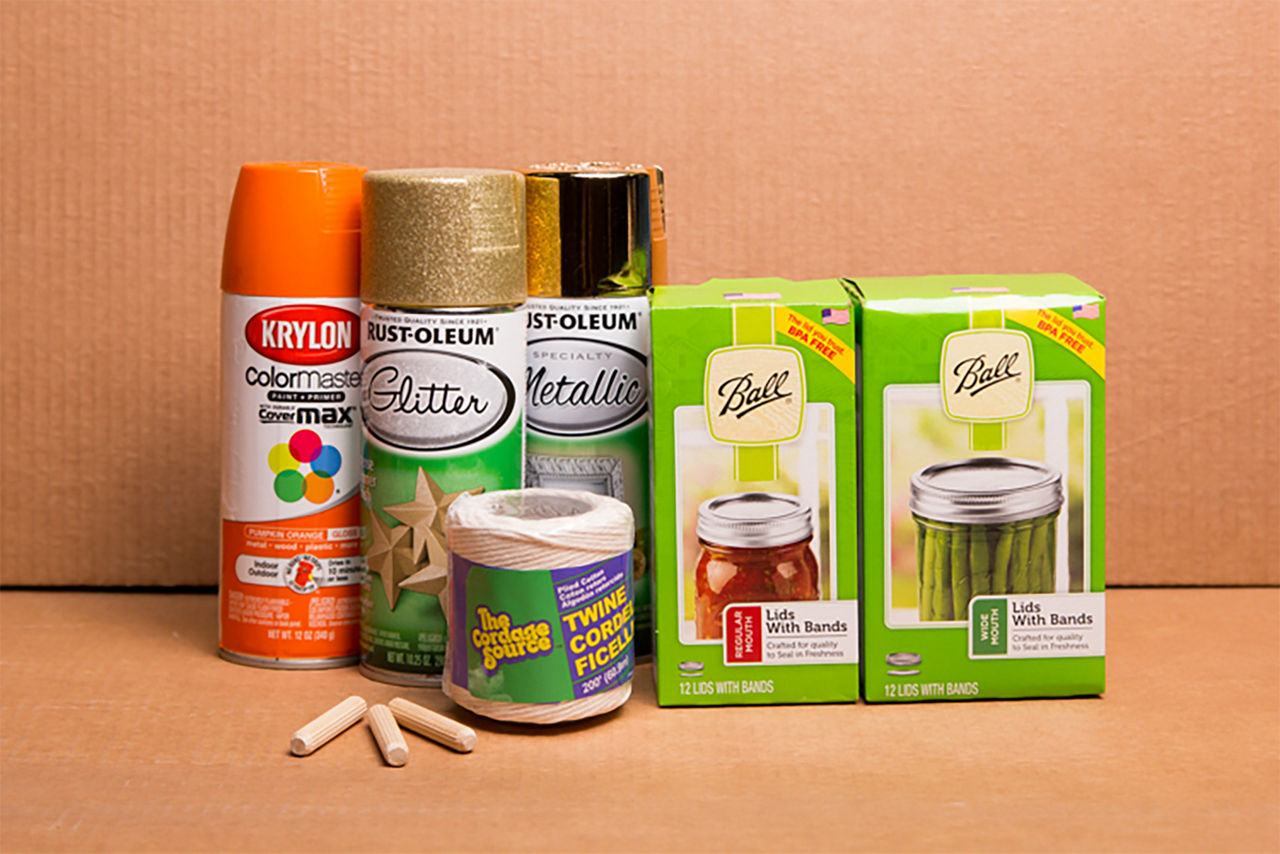
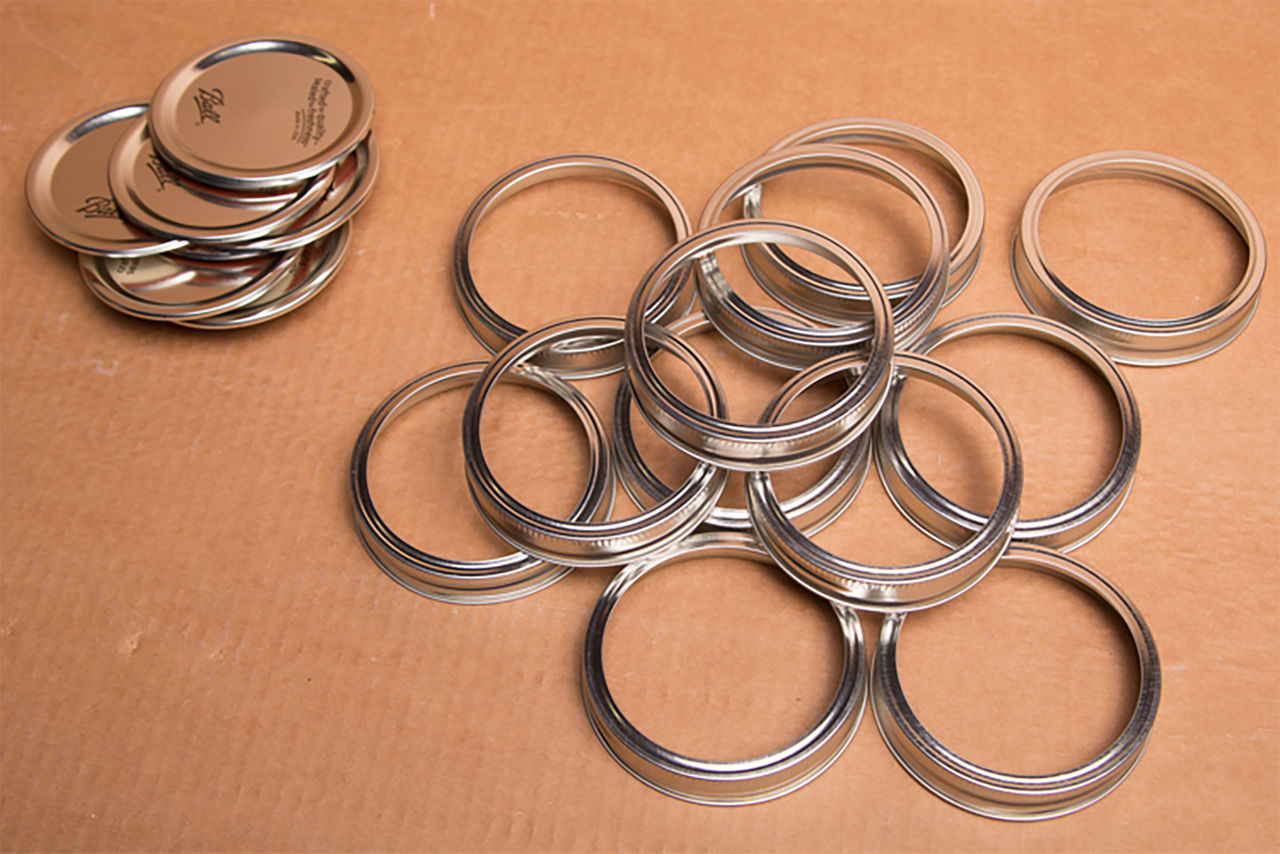
We recommend doing this on a flat surface as the lids tend to slide around. You will not need the inserts for this project, but keep them to use for another project in the future! Use 22 lids instead of 24 for a better fit. For this tutorial we started with our wide mouth lids, but feel free to choose whichever size you prefer.
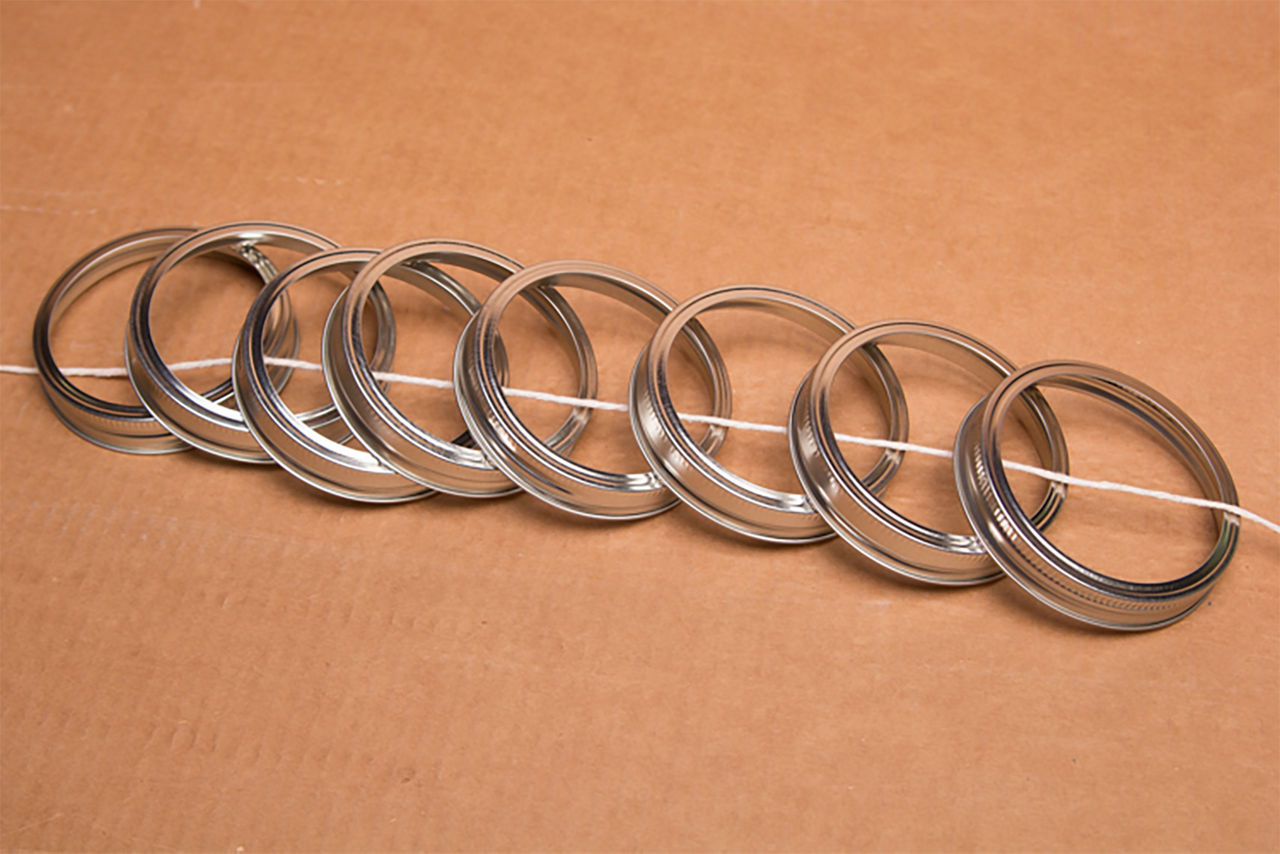
Cut a piece of twine that is at least 24" long. String your 22 lids onto the length of twine, making sure they are all facing the same direction. They must all be facing the same direction, or your pumpkin be the proper shape at the end!
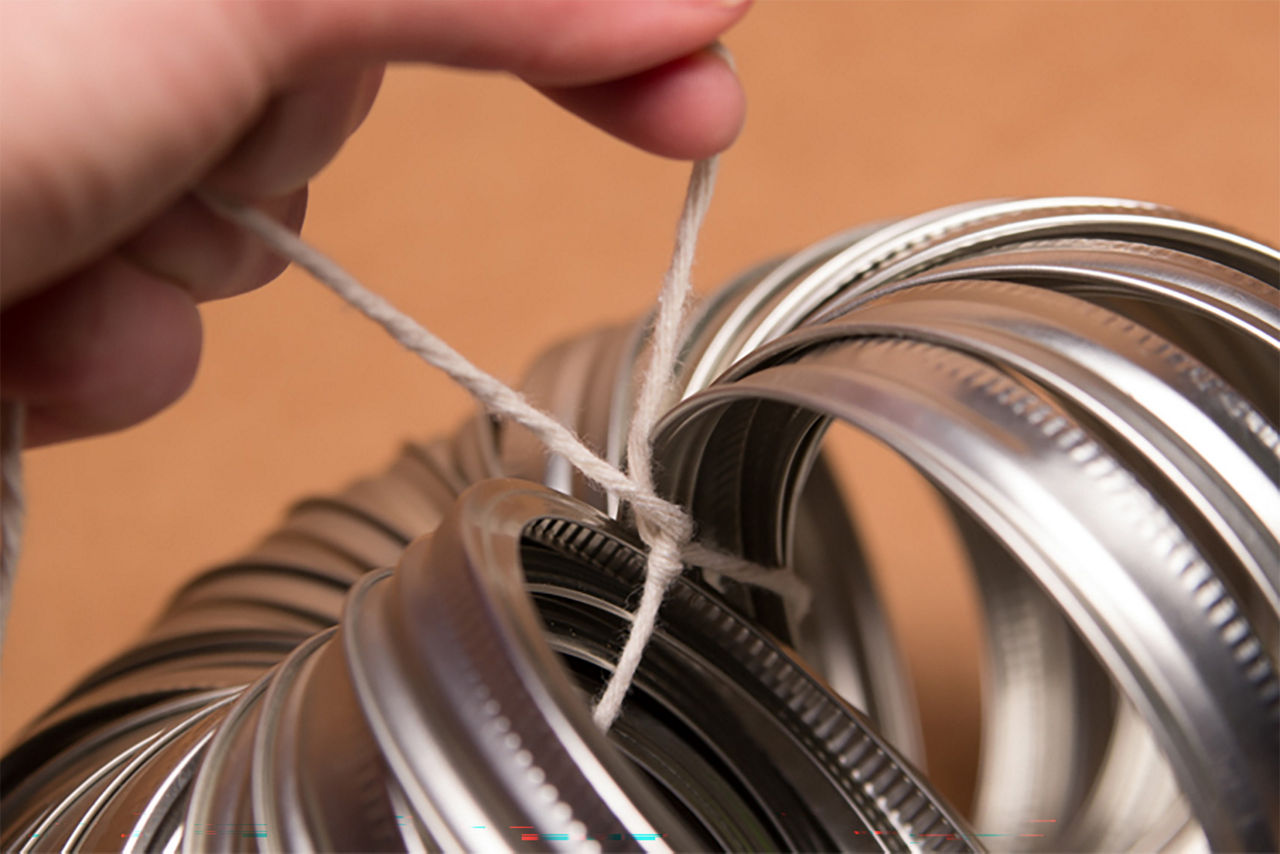
Grab both ends of the twine once you have all of your lids strung in the same direction, and pull tight! You'll want to tie a good double knot to keep the lids secure.
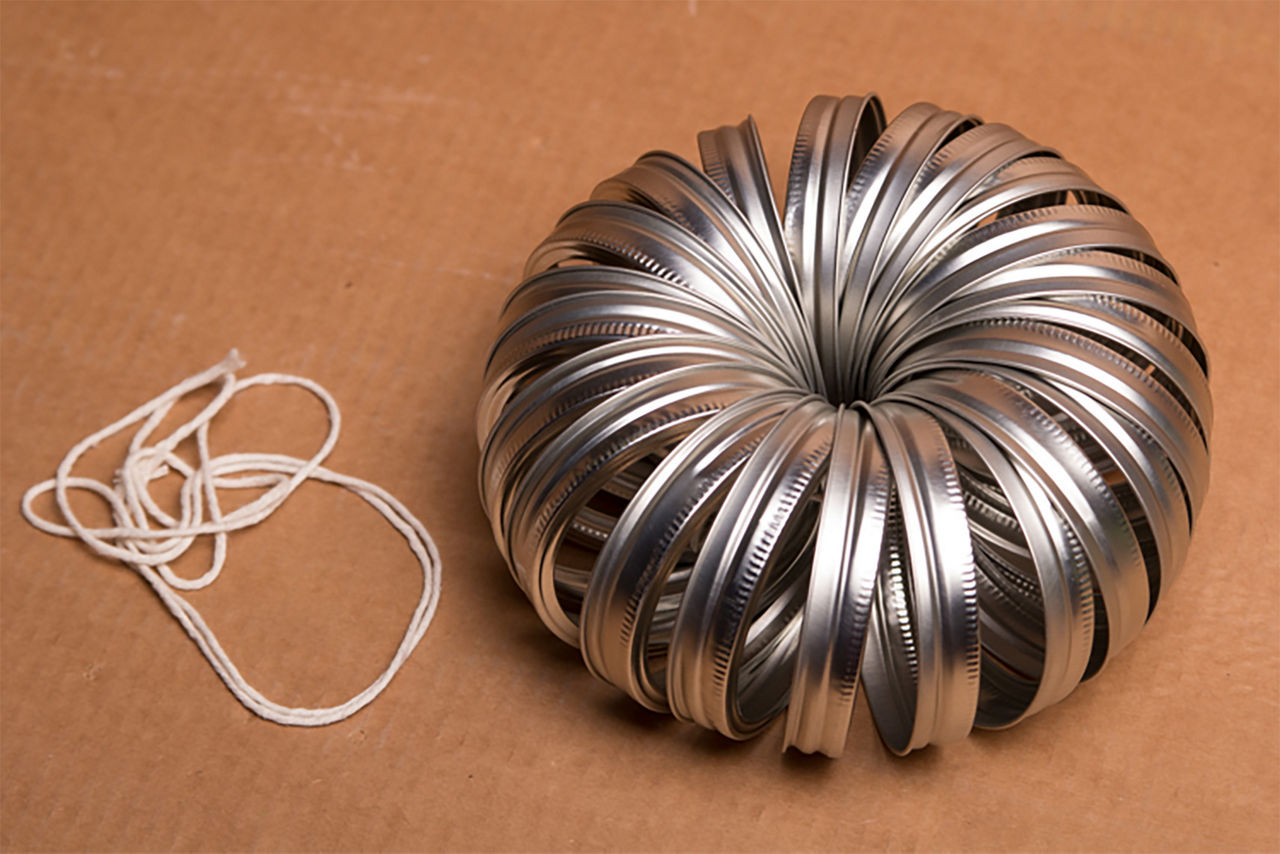
You will use this extra twine in a later step. Once the lids are all tied into their circular form, arrange them into a nice fan for your optimal pumpkin shape.
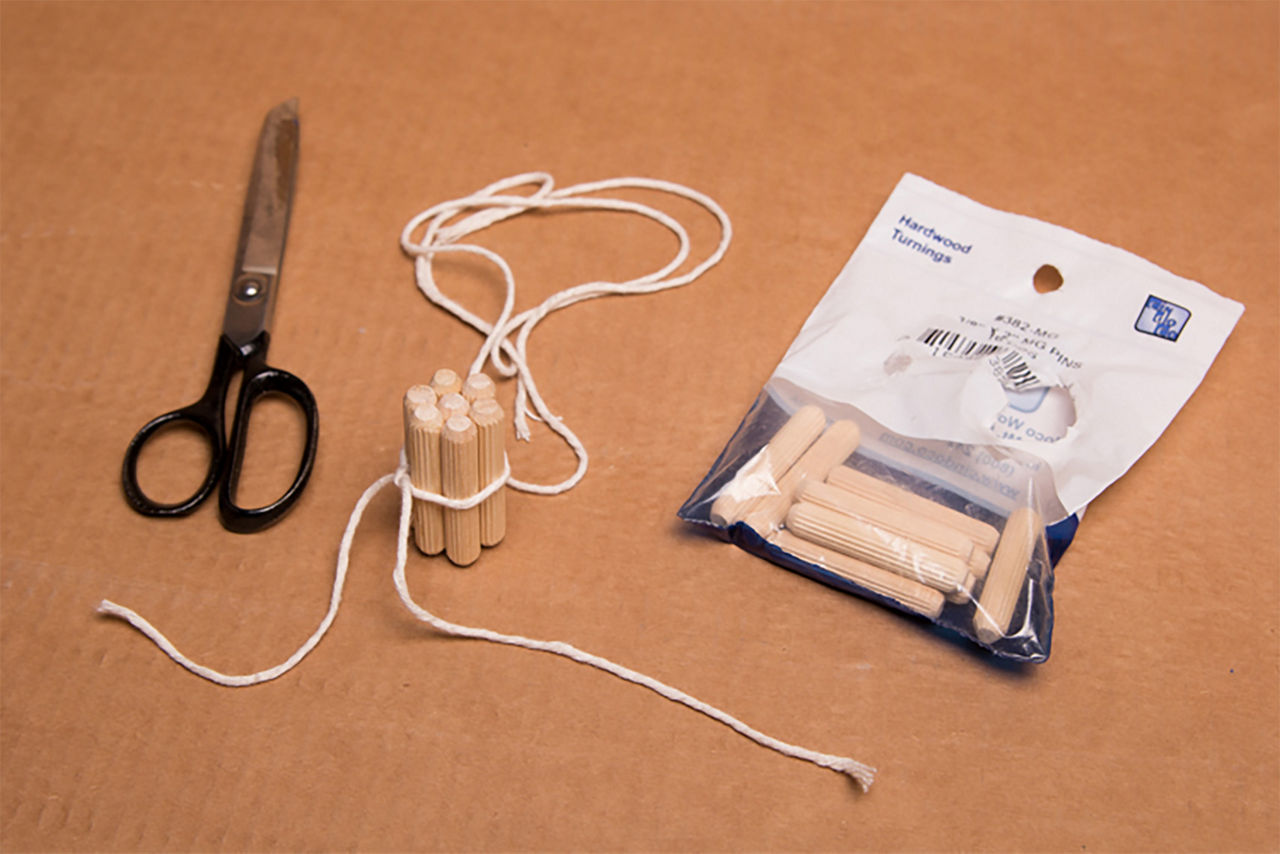
Use that leftover twine from step 4 to secure your wood pegs and form a stem. Substitute the twine with ribbon for a fancier look.
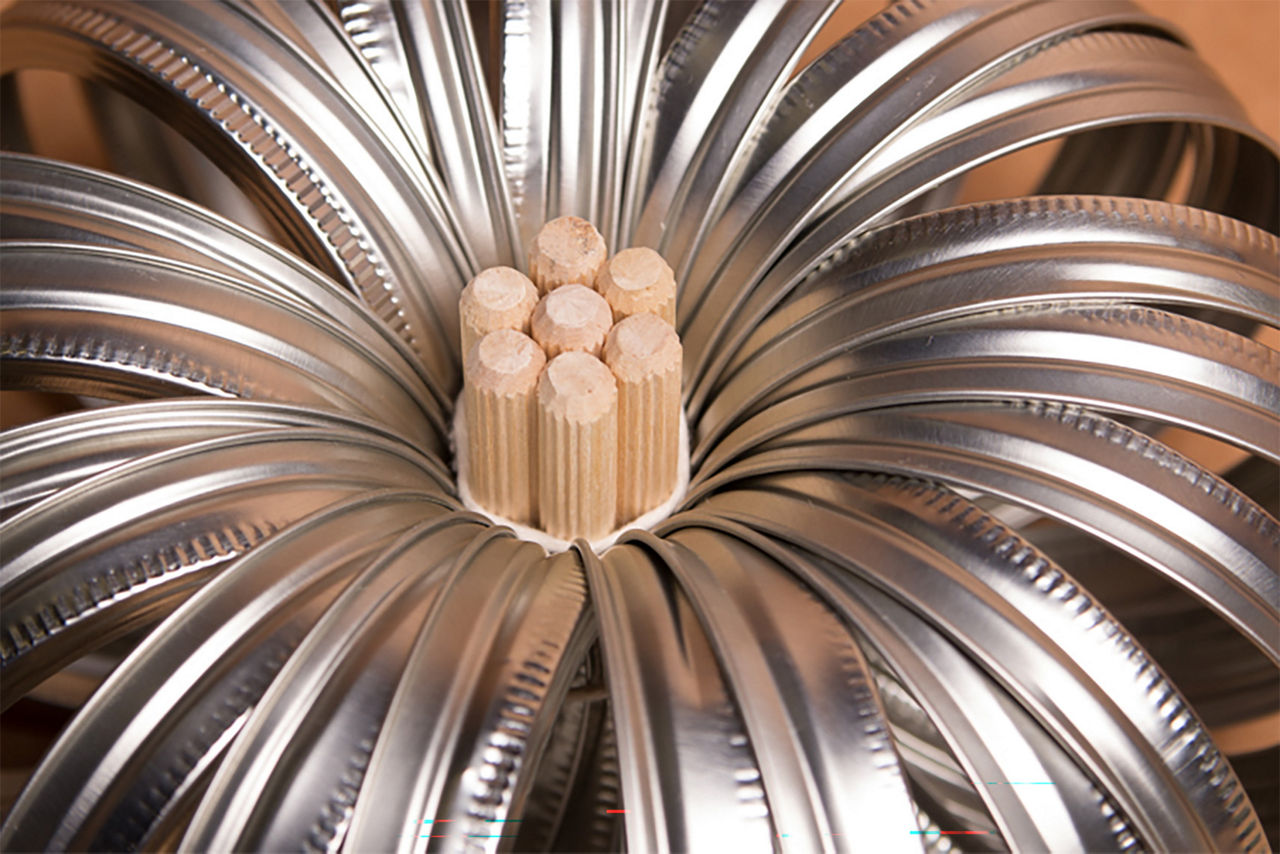
The stem should fit snugly in the middle of the pumpkin. If it doesn't, take it out and add another wood peg.
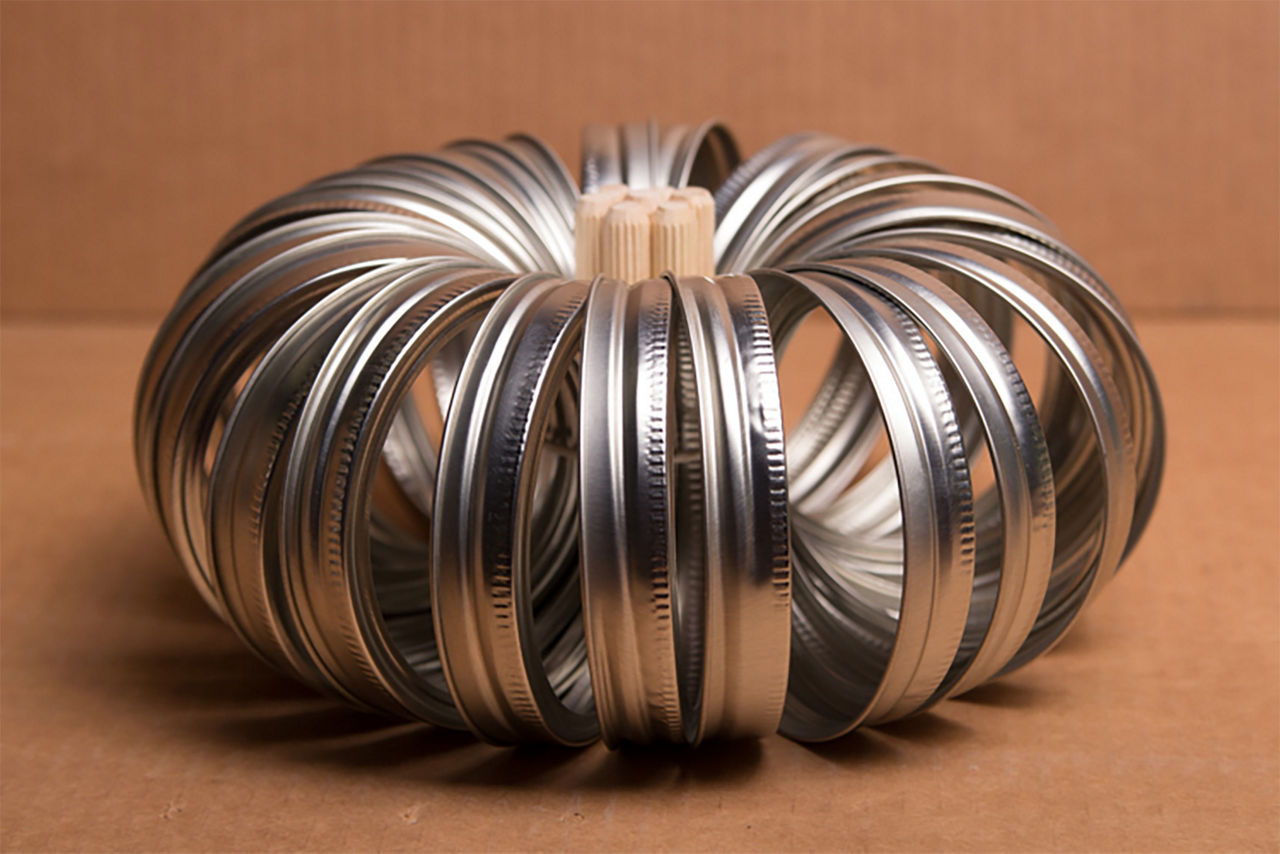
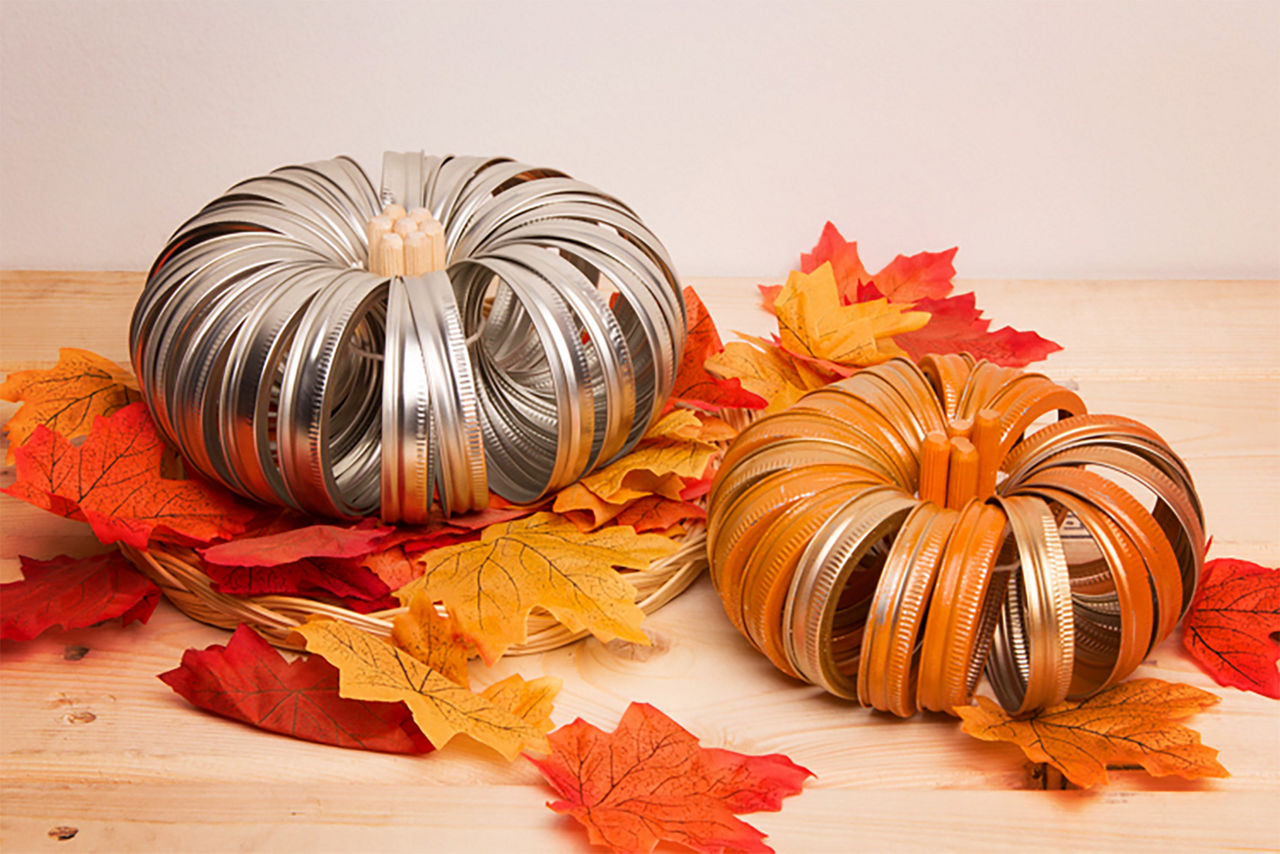
Your first pumpkin is complete, and looking great! If you'd like to kick it up a notch, keep reading...
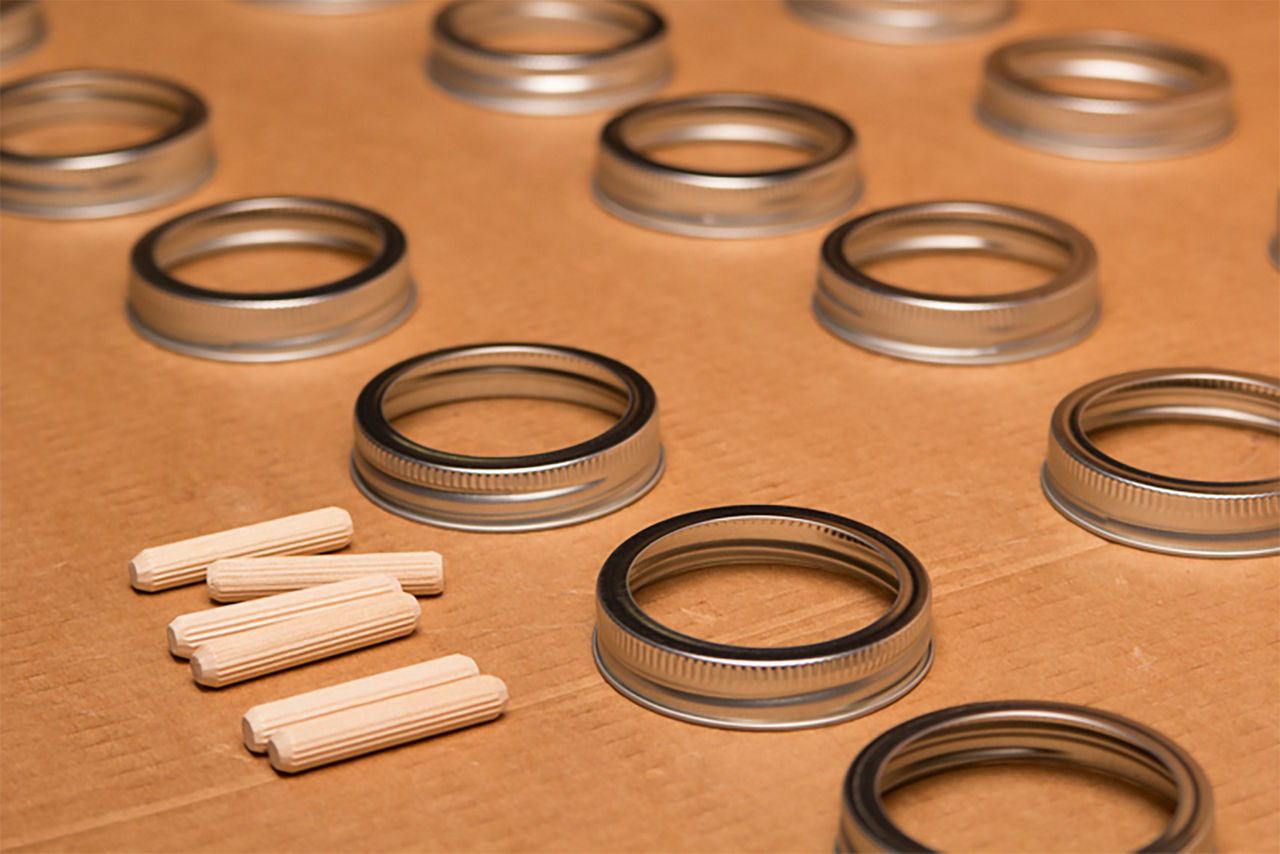
These Ball® jar lid pumpkins look great in their natural silver state, but if you'd like to add more color to your decorating, spray paint the rings before you assemble your pumpkin. You could also paint the pumpkin in its finished state, but it's much harder to get the paint inside all of the nooks and crannies.
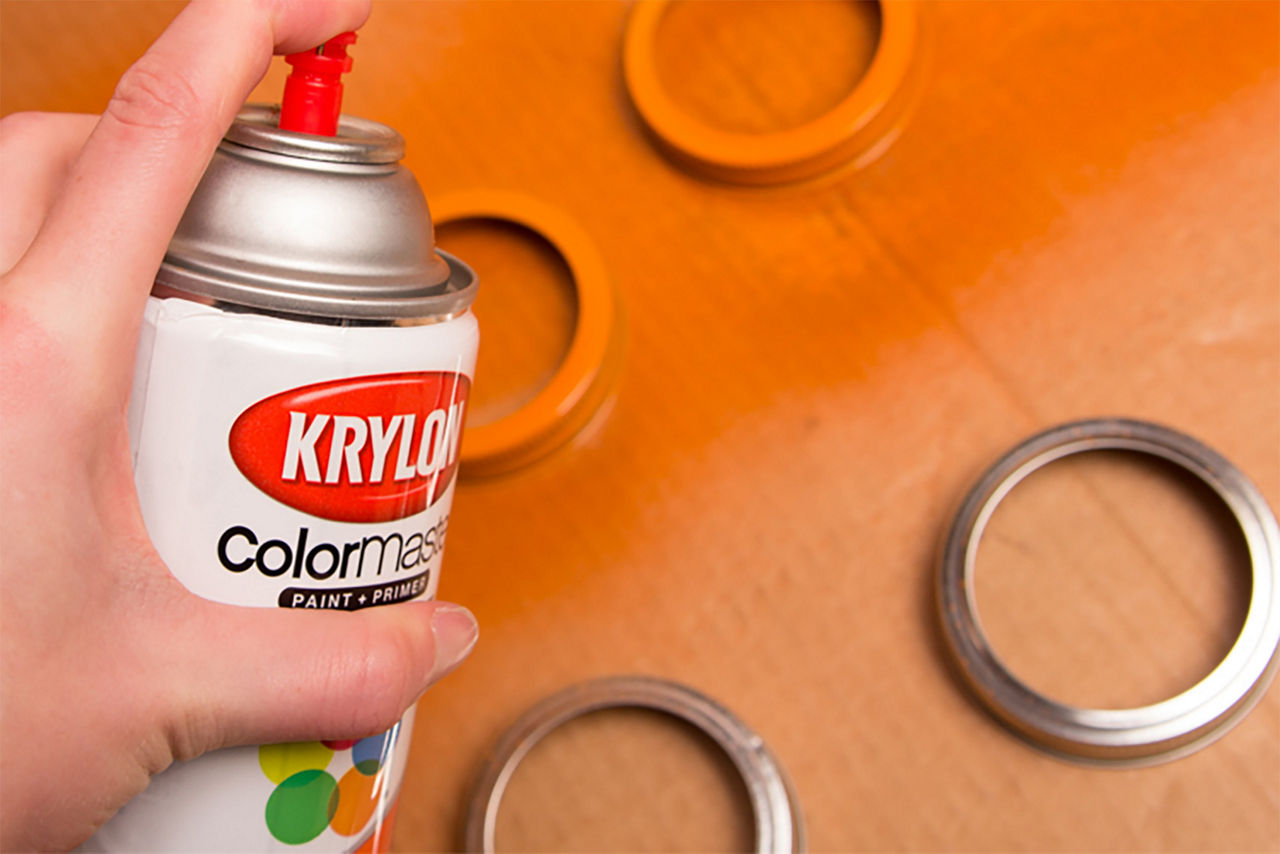
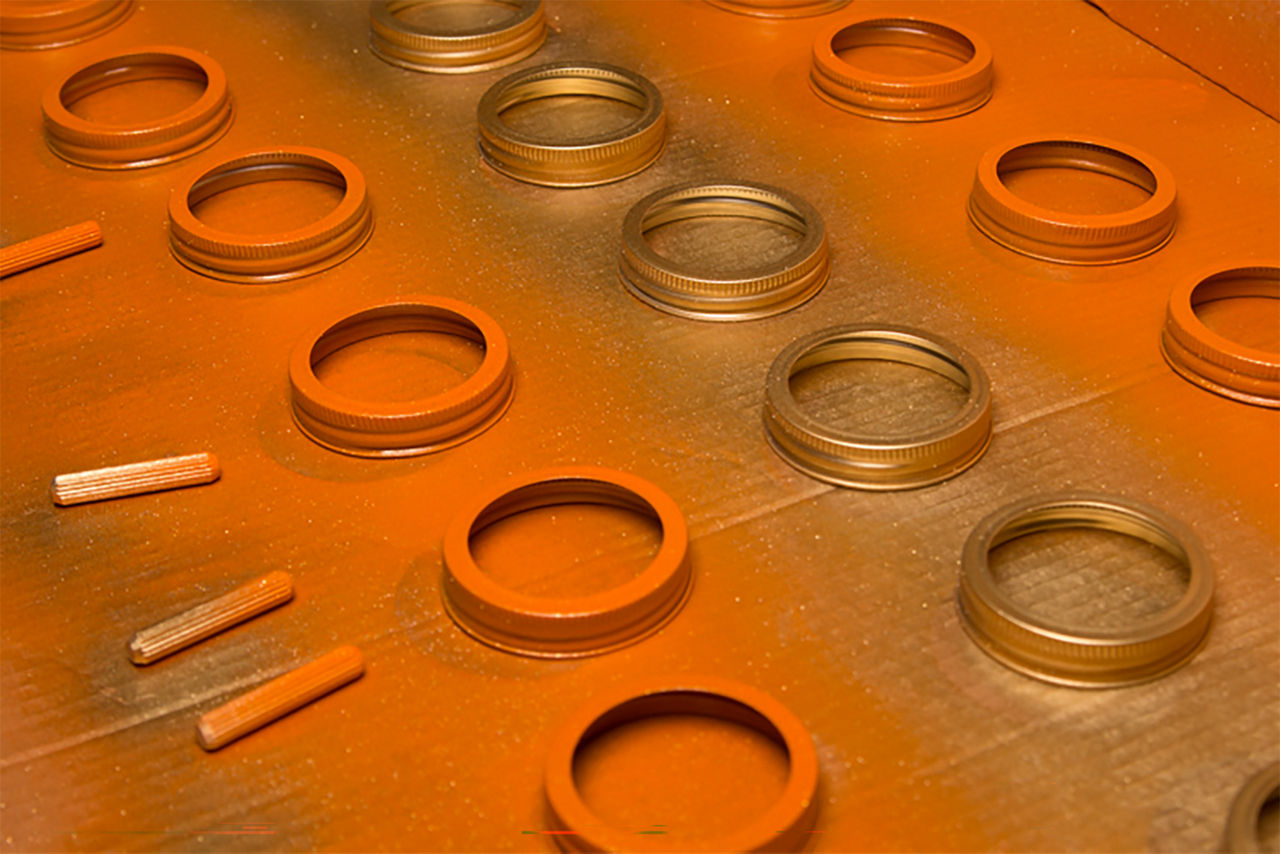
We opted to lay the Ball® lids fairly close to each other so that our colors would overlap slightly. If you want your lids to stay one single color, we recommend painting them on separate surfaces. If you like this look, once you are finished painting spray over the top of all of your lids with a healthy coat of Rust-Oleum Glitter spray.
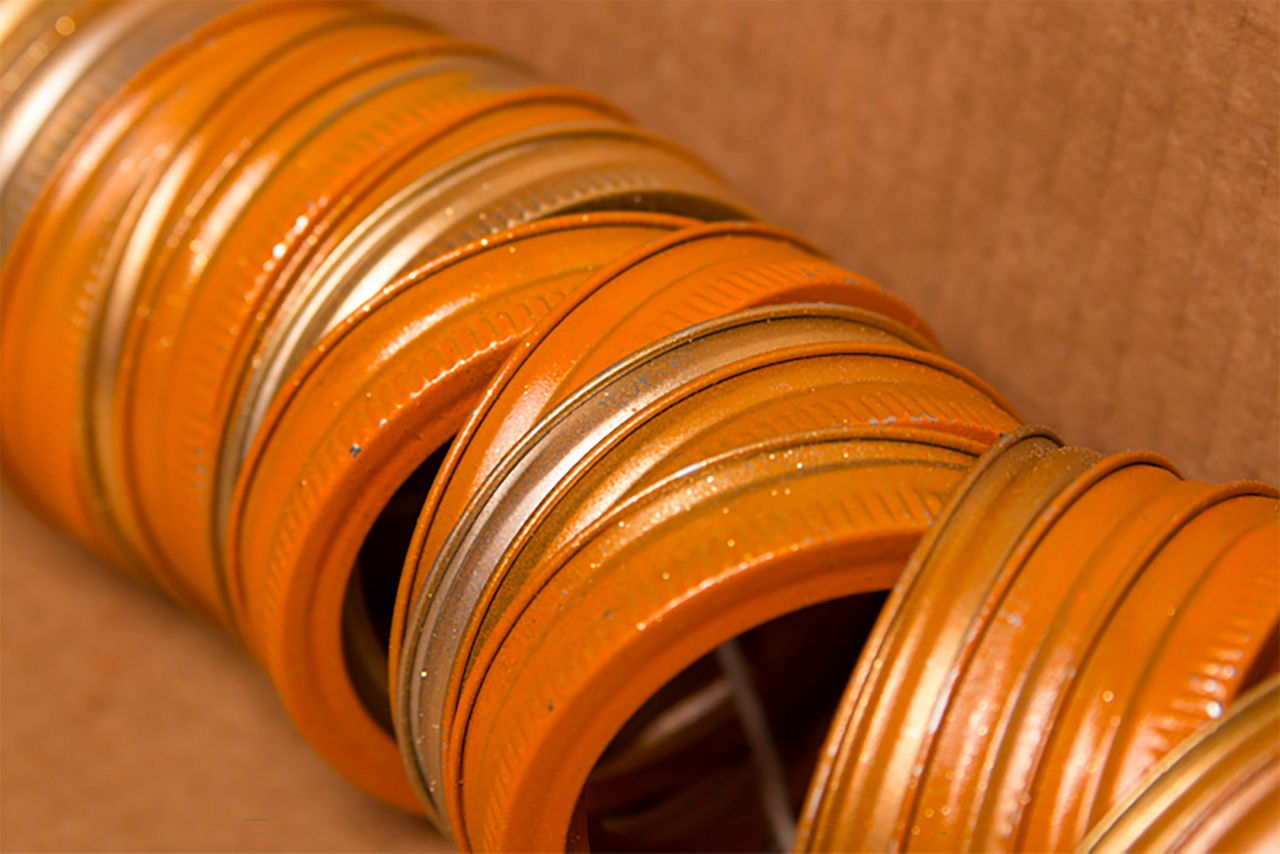
Lay out the lids in the order you want them to appear on the pumpkin, then thread the twine through. Pay special attention to which 2 colors will touch at the ends once you tie the pumpkin together.
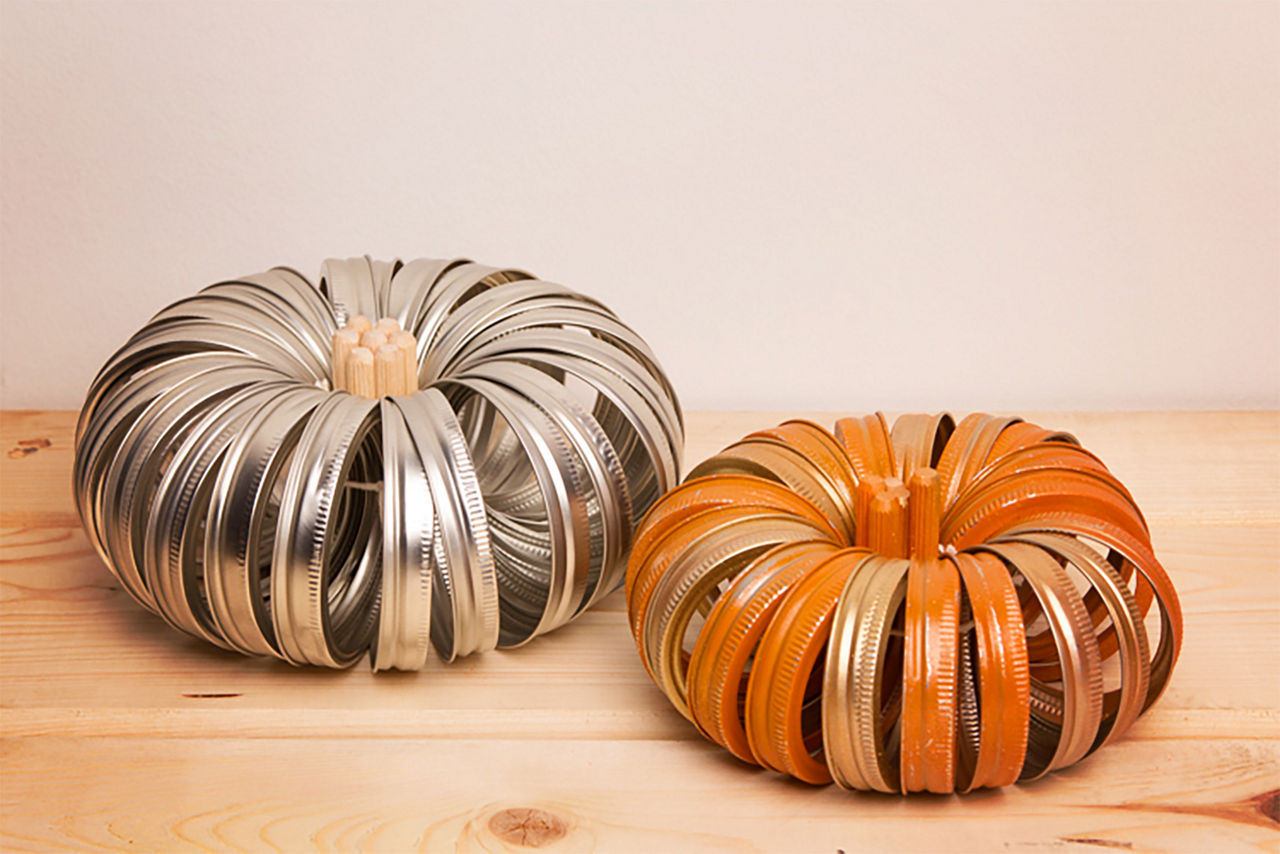
Repeat steps 4, 5 and 6 to add your stem. Place these pumpkins anywhere in your home that could use some Fall spirit and Thanksgiving vibes.
Your local Valu Home Center stocks a wide variety of Ball® mason jar canning supplies. Stop in today and speak to one of our knowledgeable Sales Associates about canning techniques, tips, and equipment!