Skip to Main Content
Back to Navigation

How To Make a Wood Pallet Garden

Turn a pallet into a planter! By recycling an old wooden pallet, you can turn it into a vertical planter - perfect if you're short on space!

Wood pallet garden supplies

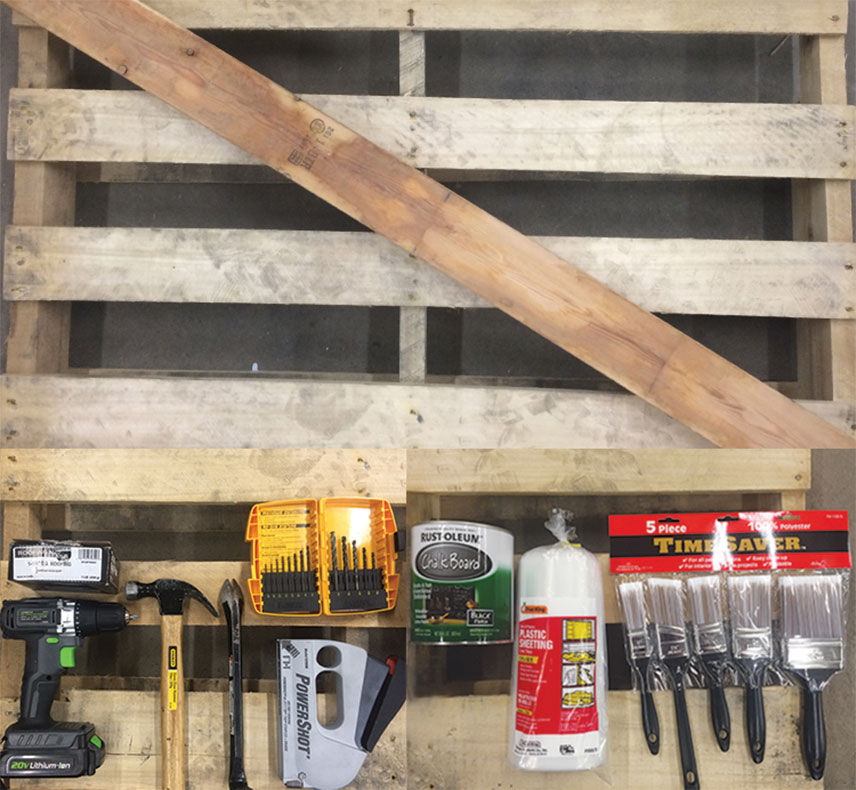
What You Will Need

  • A pallet
  • 1 ¼ roofing nails
  • Hammer
  • Nail puller/pry bar
  • Six 3" 10d deck screws
  • Staple gun with 5/16th staples
  • Assorted drill bits and drill
  • Power saw or handsaw
  • Roll of 3' x 50' 3mil plastic sheeting
  • One 2x4
  • 2 furring strips
  • Five 5 gallon paint sticks
  • Potting soil and seeds of your choice
  • (Optional) 4 roller casters if you would like it to be mobile
  • (Optional) A quart of chalkboard paint and paint brushes
Step 1: Setting the Framework

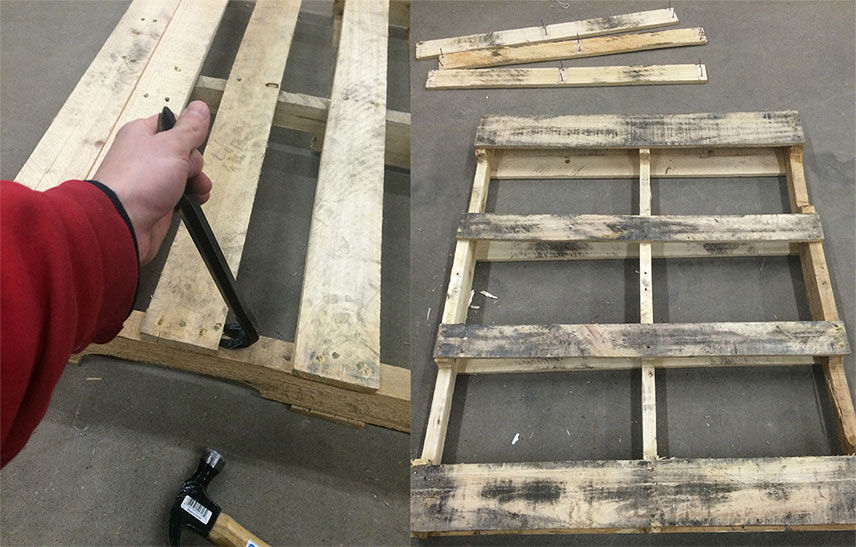
Removing every other board on the pallet

a) Remove every other board on the pallet starting with the board after the top or bottom edge using the Nail Puller or Pry Bar. You may need to use the hammer to tap in the Nail Puller or Pry Bar under the board.

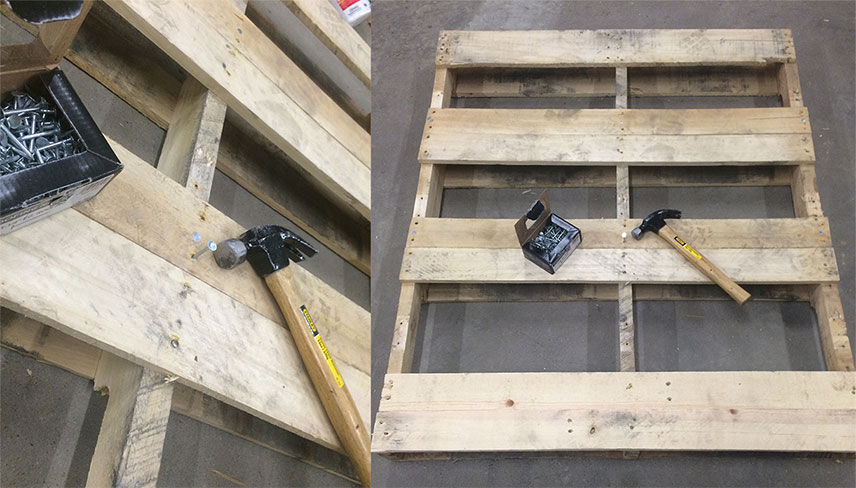
Reattach the removed boards

b) Reattach the removed boards using the 1 ¼'' Roofing Nails. Nail them in above the two existing center boards on the front and back of the pallet.

Step 2: Adding Supports to Your Planters

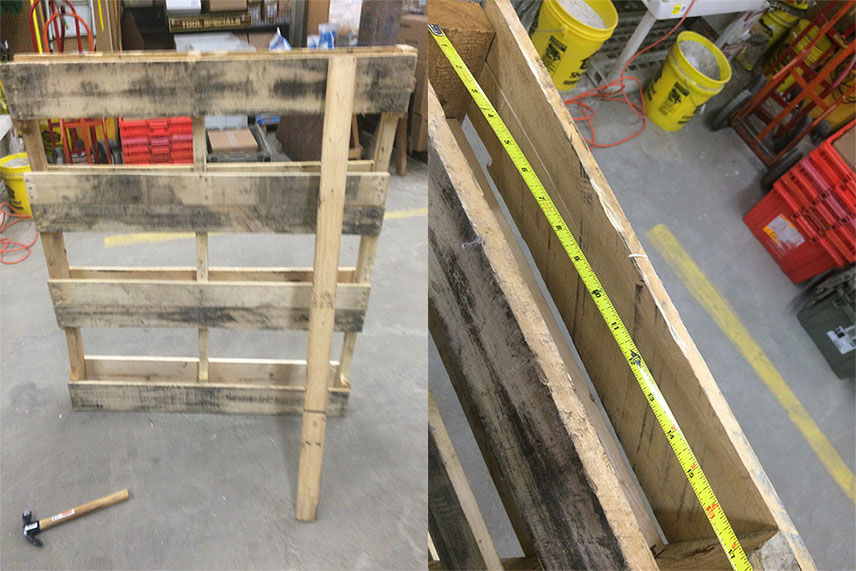
Measuring the pallet

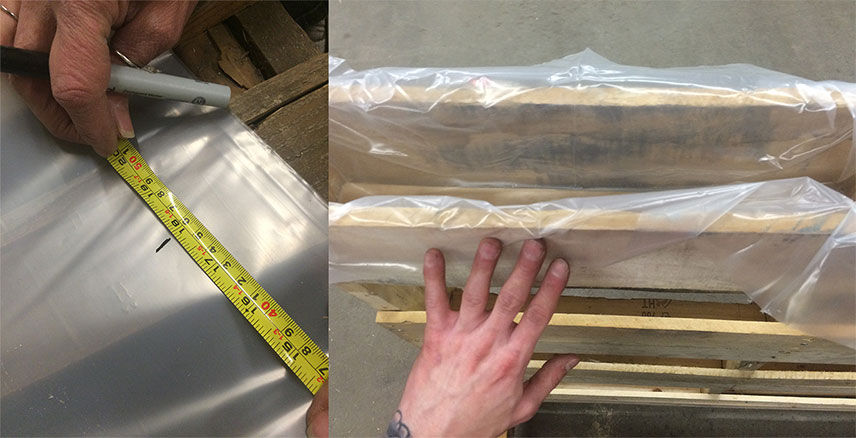
a) First get measurements of the inside length of your pallet's planter bays so you know what length to cut your Furring Strips. Keep in mind that the pallet is not perfectly constructed and that each bay's measurement may differ.

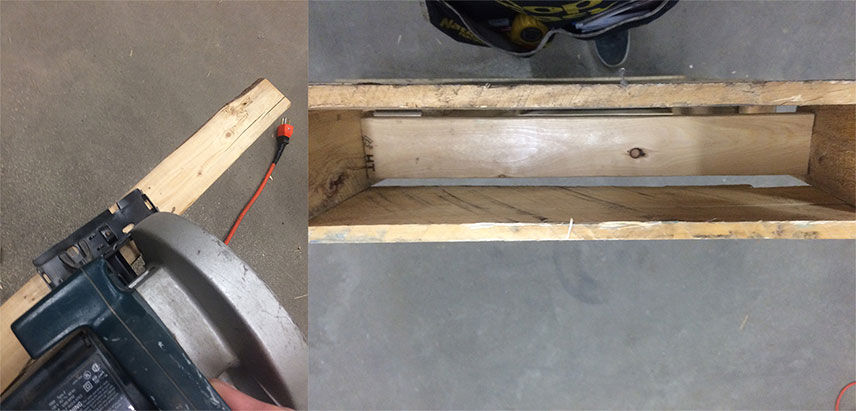
Cutting furring strip

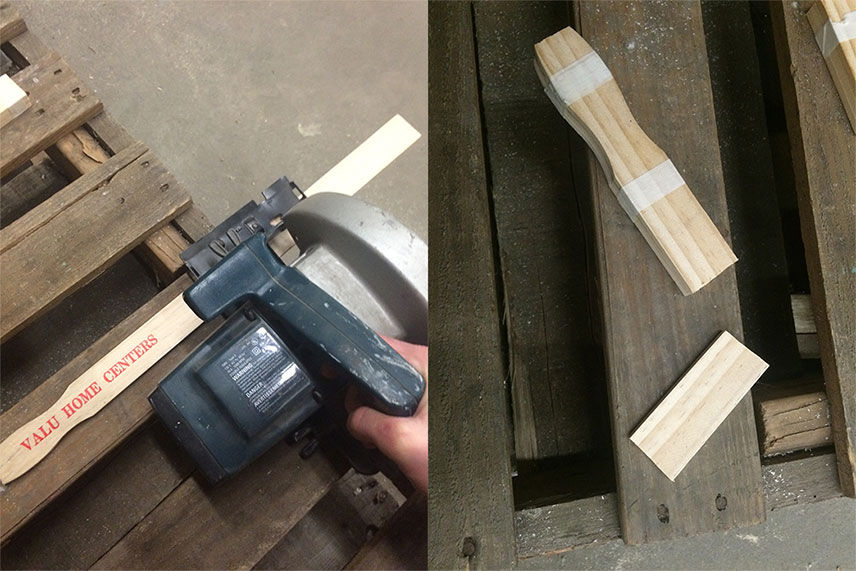
b) Take your furring strip and cut it to the length that you measured for each bay. Make sure they fit snugly into the bay. You may need to tap them down into place with your hammer.

Cutting paint sticks

c) Next you will take your Paint Sticks and cut them to the width of your planter bays. Sometimes it is easier to tape 3 sticks together at a time to reduce the amount of cuts you have to do.

Installing bottom suports

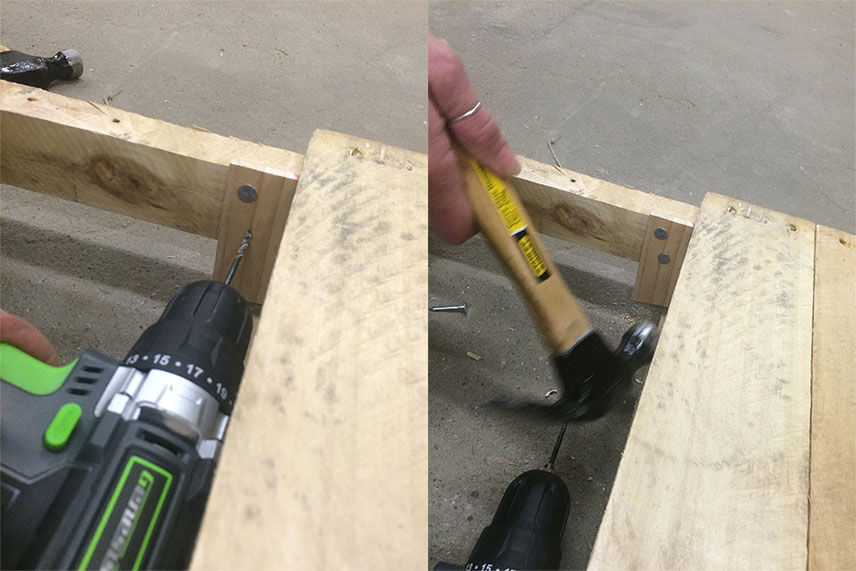
d) Install your newly cut bottom supports right under each of your planter bays using the 1 ¼'' Roofing Nails. Make sure to pre-drill the holes in the paint sticks to avoid splitting them when nailing them into place. These will help hold your furring strips in place and support the weight of the dirt when you add it.

Step 3: Making Legs

Cutting a 2x4 into two pieces

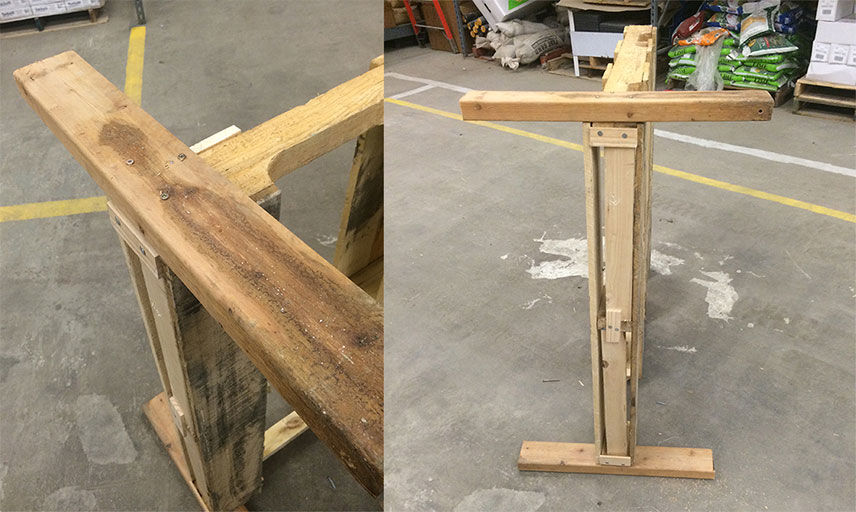
a) Cut your 2x4 into two pieces that roughly stick out 1' to a 1 ½' on the bottom of the pallet.

Installing rollers onto the edges

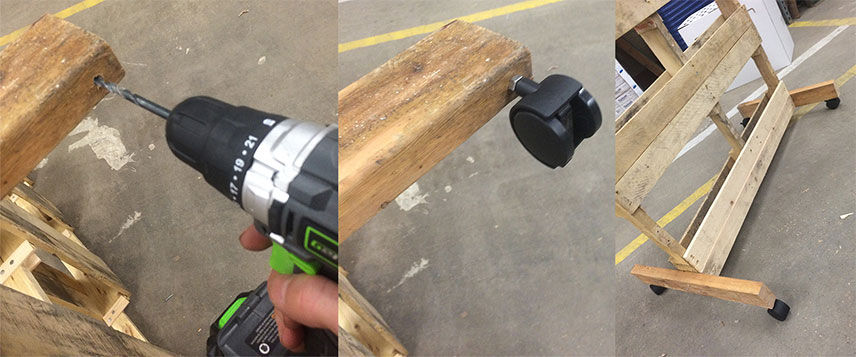
(OPTIONAL) If you would like your Pallet Garden to be mobile you can install roller casters to the edges of your legs. First pre-drill a ¼'' hole about 1'' in from the outside edge of your leg. Then screw in your caster wheel to your hole.

Step 4: Lining Your Planters

Cutting plastic liners

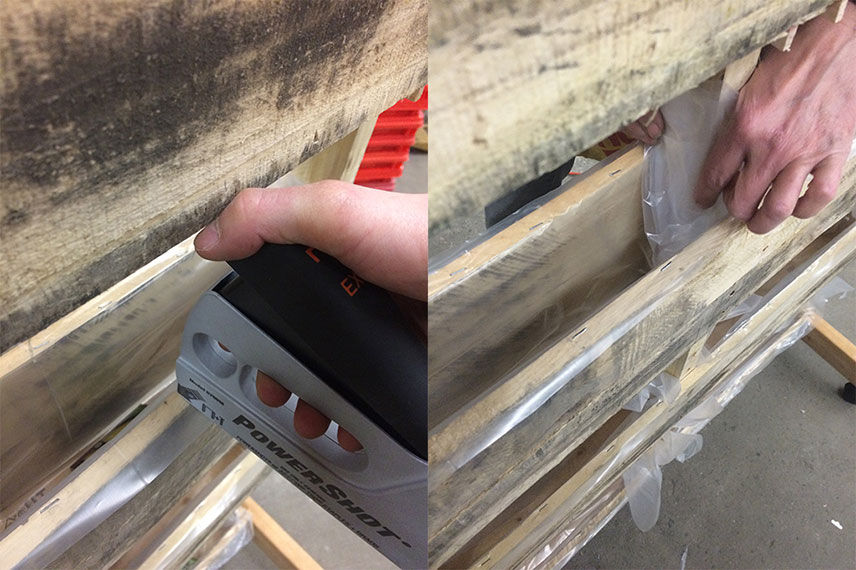
a) Start off by cutting your plastic sheet to about 1' wider than your planter bays to allow enough material to tuck it into the planter.

Stapling plastic edges to planter

b) Staple the longer edges first making sure to stretch out the plastic to be taut along the edge. Then fold and tuck the shorter edges in and staple them. Trim excess plastic off for a nice clean look.

Step 5 (Optional): Painting the Chalkboard

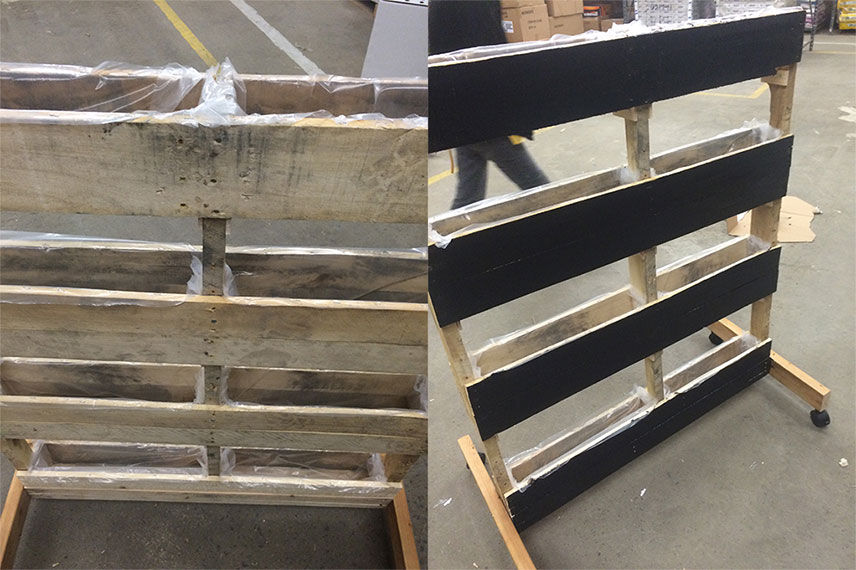
Painting planters with chalkboard paint

a) You may want to sand smooth the side that you are going to paint. After sanding, make sure all of the dust is removed from the surface. b) You may want to use 2-3 coats of paint to get a nice dark Chalkboard look. Wait 4 hours in between coats. c) After you have applied all the necessary coats you now have a place to write down what you have planted, when it was watered, the time it takes to grow, etc.

Final Step

Gardening products

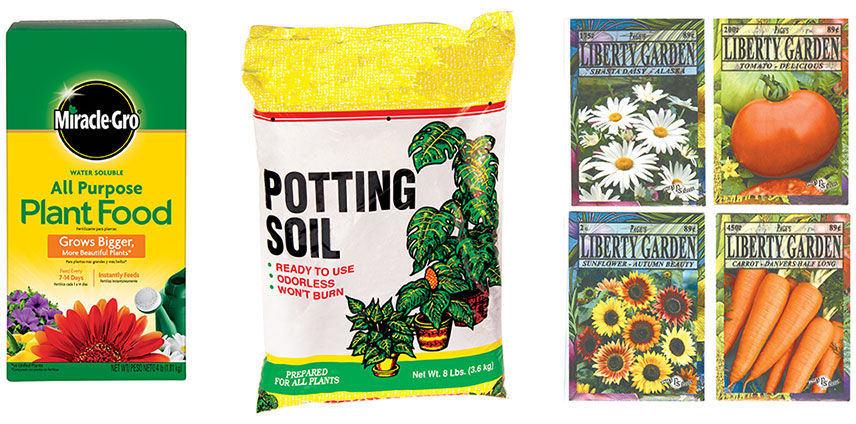
Pick your seeds and soil of choice and enjoy your vegetables and herbs for the next months to come! Valu carries a wide range of plant foods, fertilizer, soil and seeds.

Need a little help?

Not to worry! Visit your local Valu and speak to our knowledgeable Associates. They are always happy to answer questions about your project, and come up with unique solutions.