Skip to Main Content
Back to Navigation

Pool Noodle Christmas Wreath

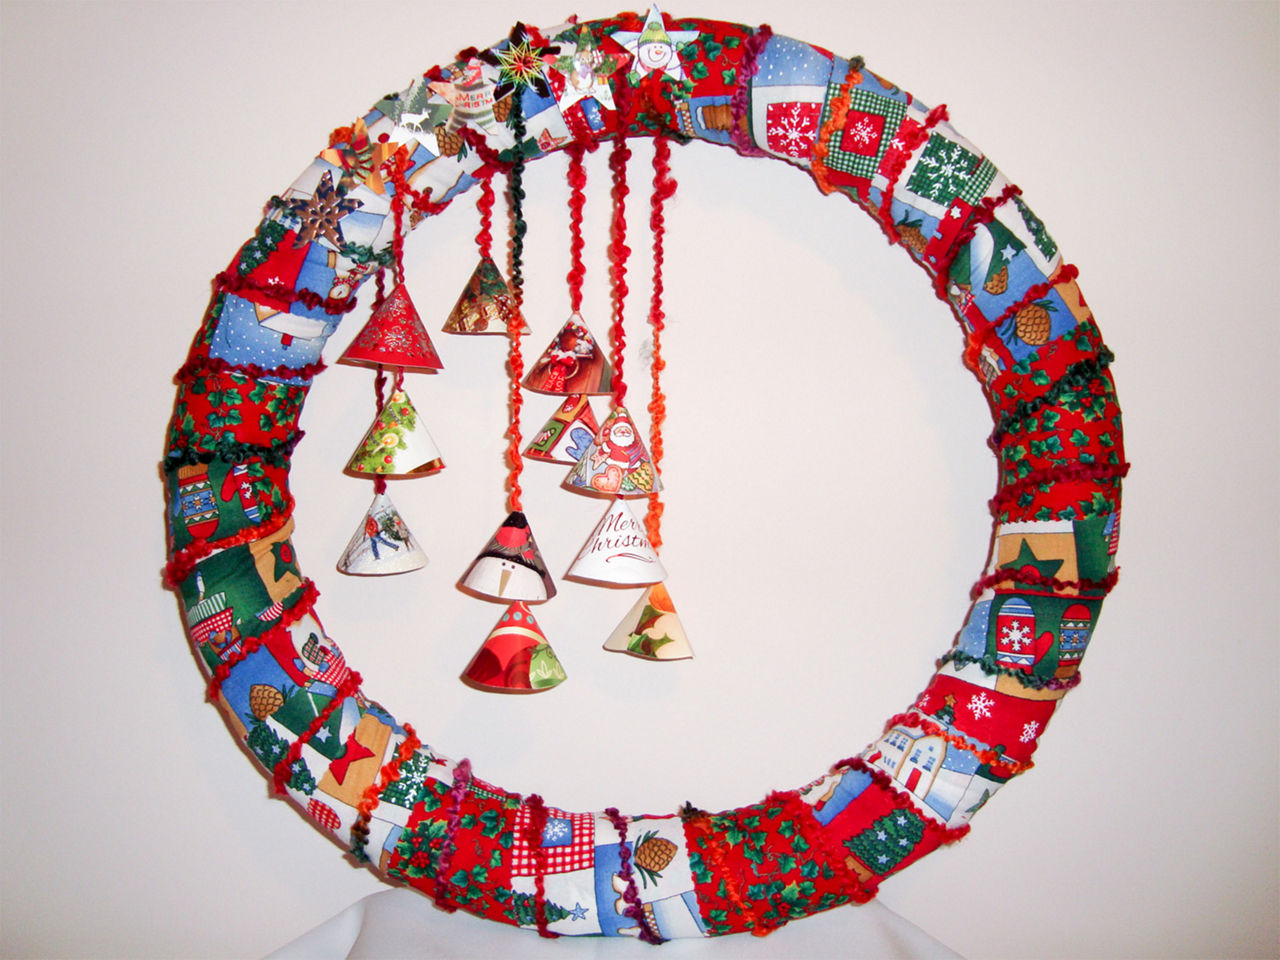
Finished Christmas wreath made from pool noodles after following the instructions

How to Make a Christmas Wreath Using a Pool Noodle

Parts and Tools Used

  • 1 pool noodle full length
  • Four-inch piece of 7/8” doweling
  • ¼” batting
  • Christmas fabric, two styles
  • Christmas card fronts- recycle!!
  • Slub (novelty) yarn
  • Large soda pop can tab
  • Industrial type craft glue
  • Sticky type white glue (note: hot glue will melt the pool noodle, but can be used with the fabric)
  • ballpoint pins
  • scissors, pencil, ballpoint pen, pencil compass, ruler, fine sandpaper

STEP 1 - Cut a piece of 7/8” wooden dowel 4” long. An old broom handle was used here. Sand down the edges as shown.
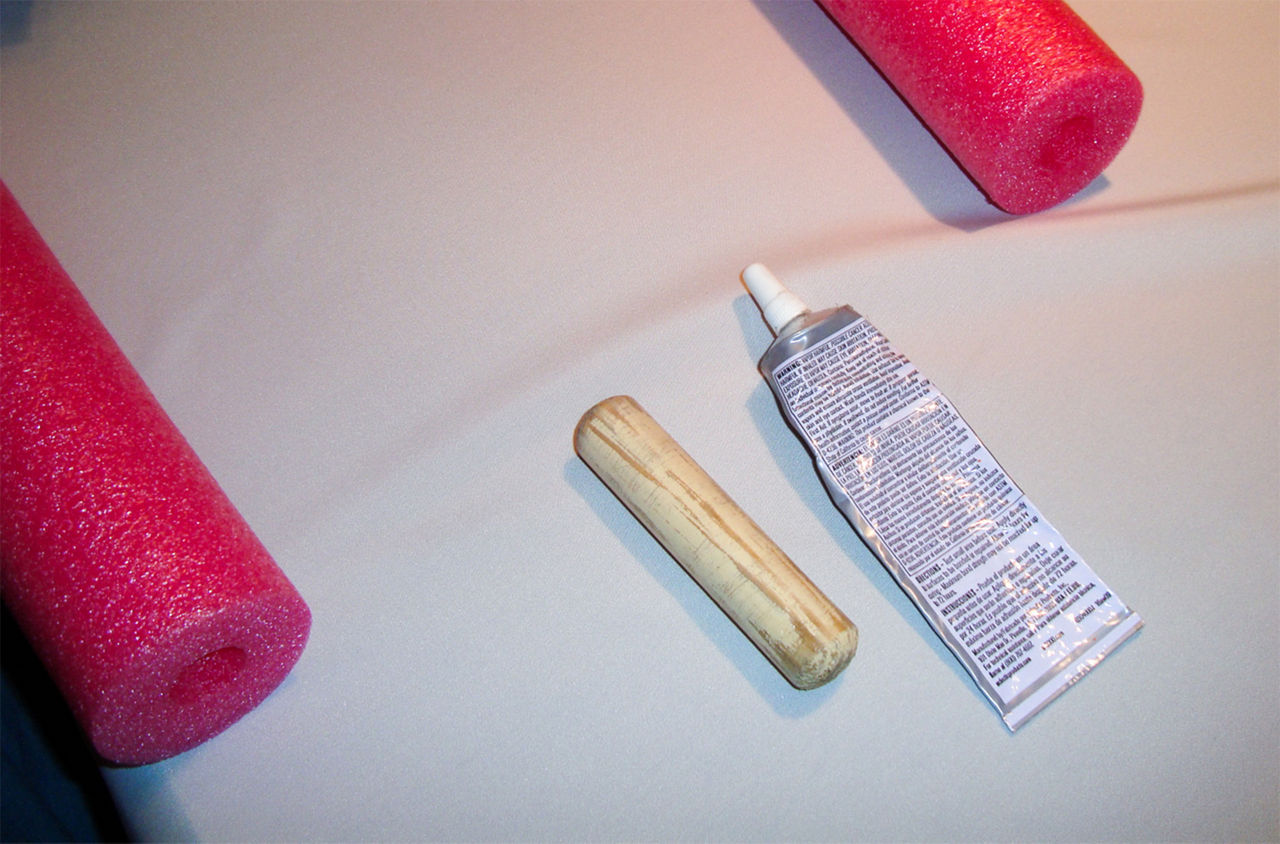
Step 1 materials which include industrial glue, a dowel, and a pool noodle

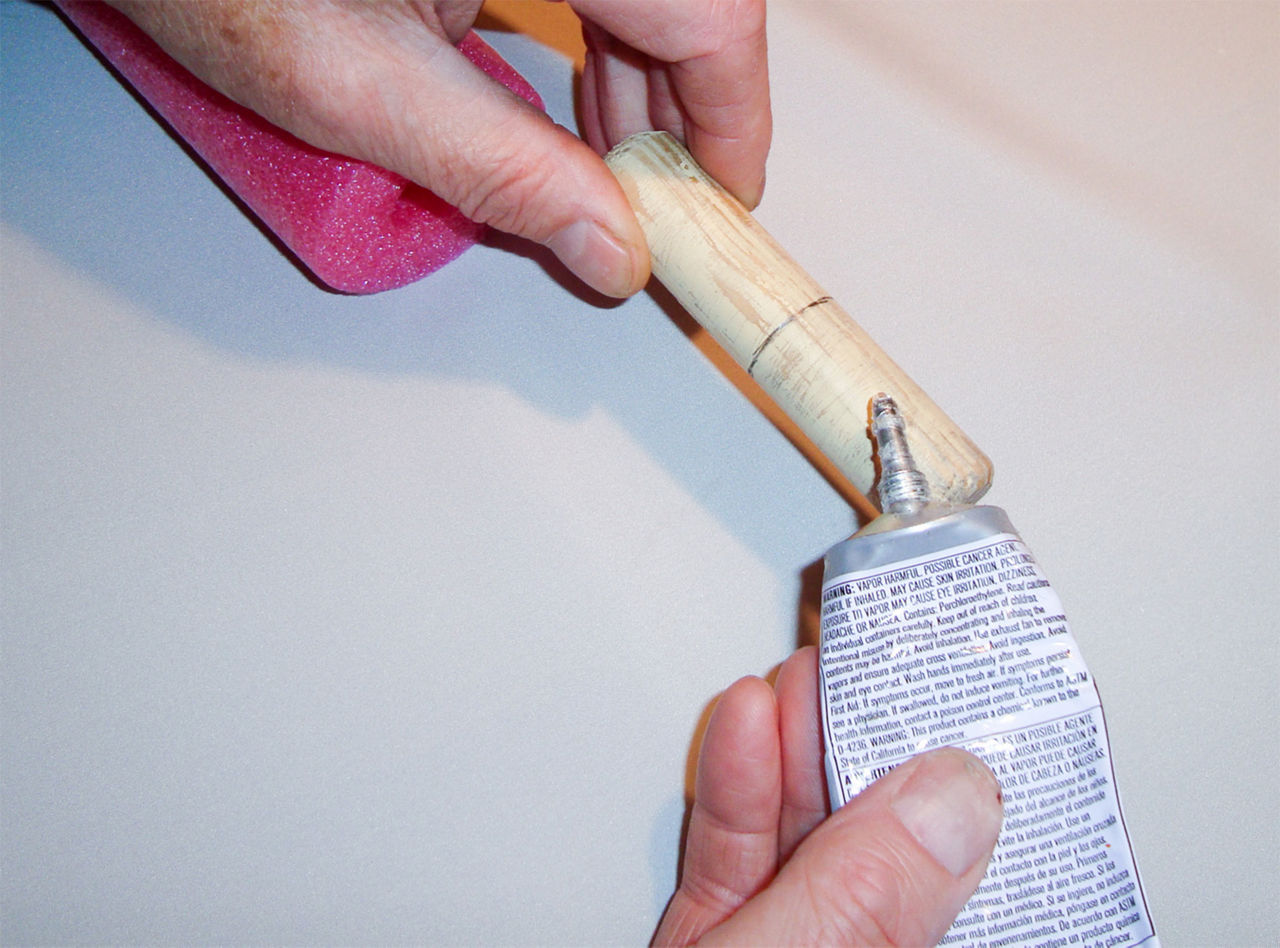
STEP 2 - Mark a halfway point on the dowel and apply an industrial type glue to one end.

Image of step two; a pencil mark made half way on the dowel

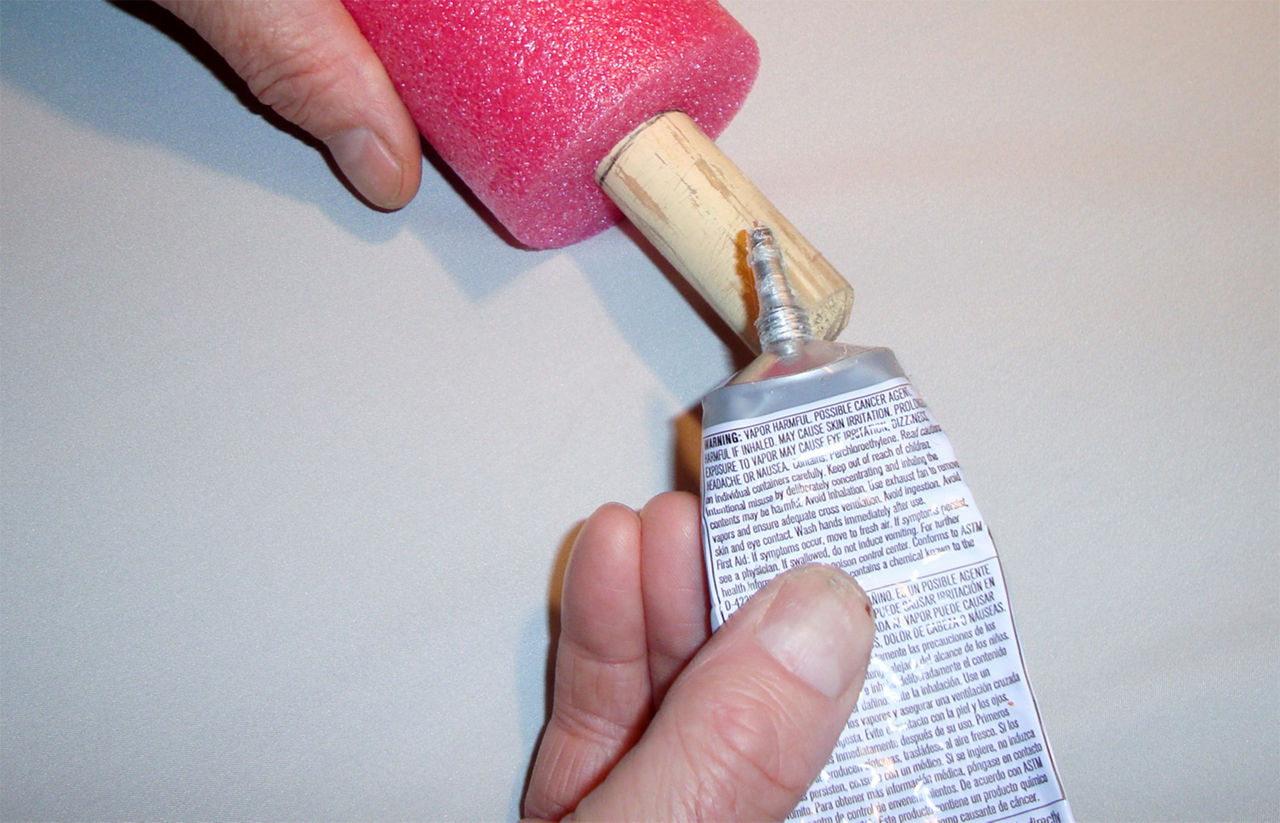
STEP 3 - Slide the dowel into the end of the noodle up to the mark.

Putting the dowel inside the pool noodle, as step 3 says

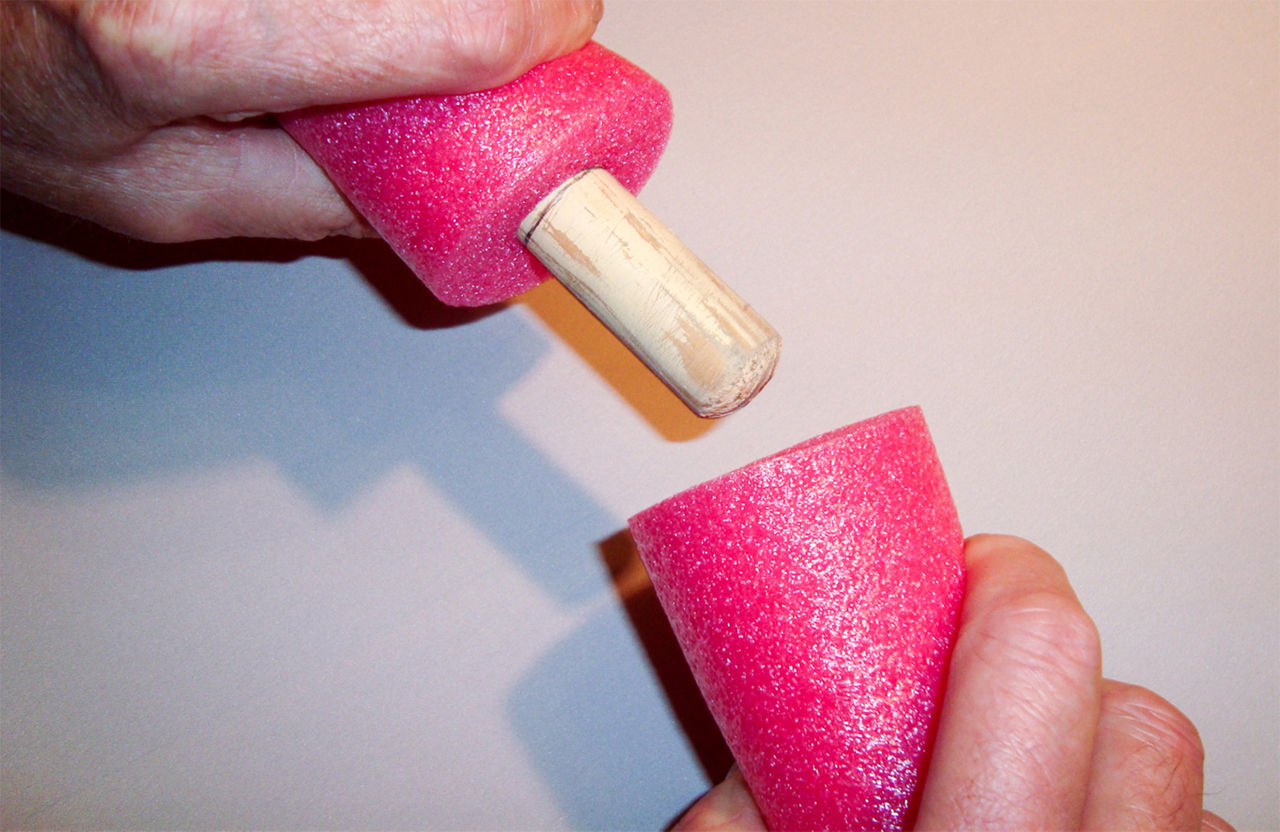
STEP 4 - Apply glue to the second half of the dowel. Also apply glue to the edge of the pool noodle all the way around. Pinch the noodle and dowel tightly and press the other end of the noodle onto the dowel.

Putting the other side of the dowel inside the other end of the pool noodle

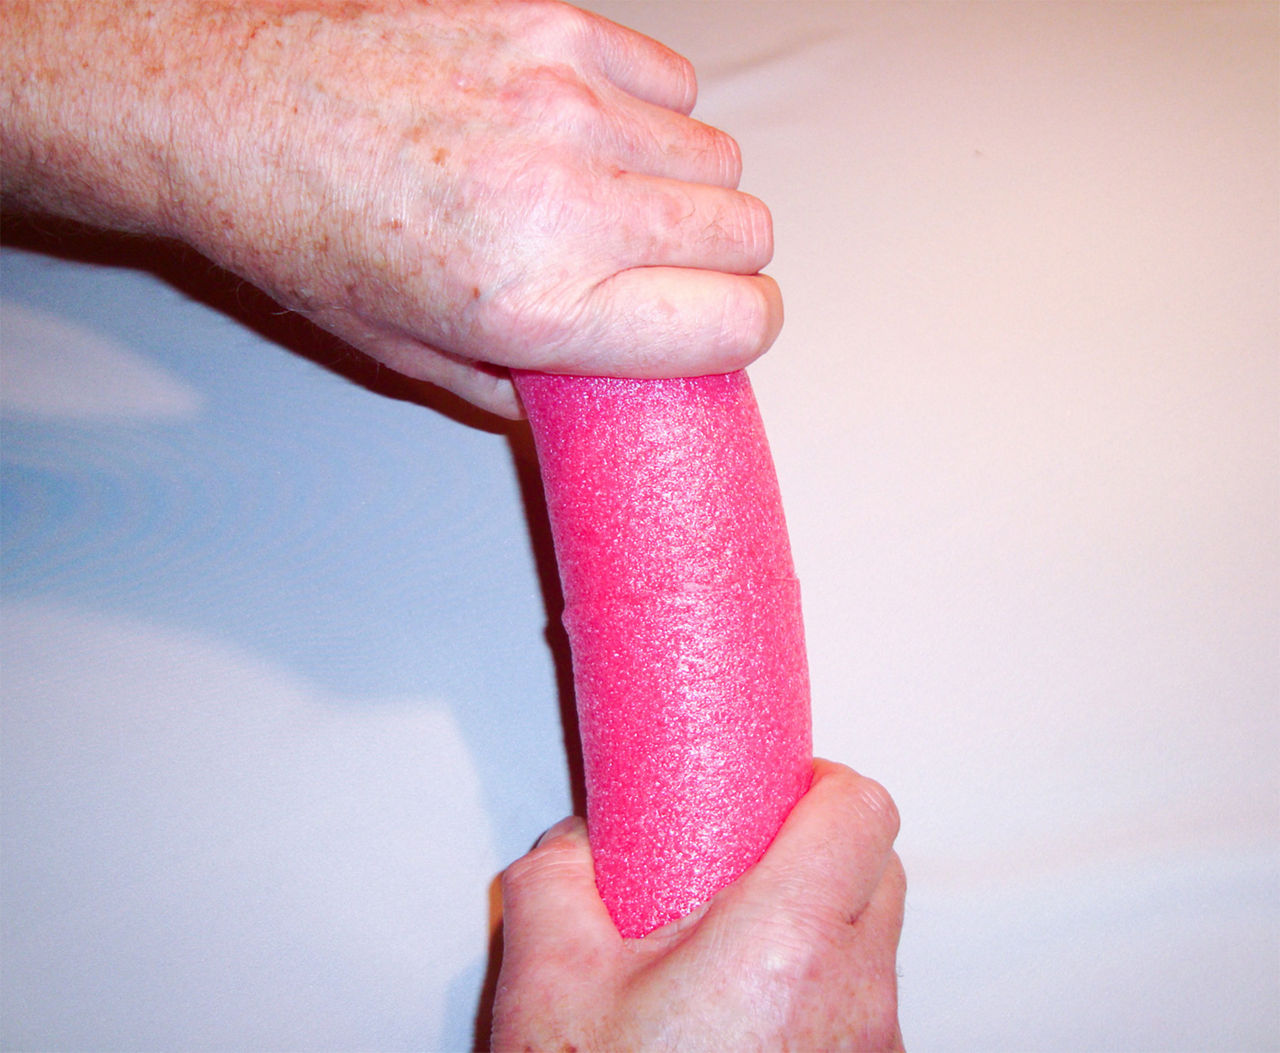
STEP 5 - Hold the glued ends together firmly for about 5 minutes or have a helper apply masking tape to the noodle to temporarily hold the two ends together. Set the pool noodle ring aside.

Holding the pool noodle ends together as the glue dries

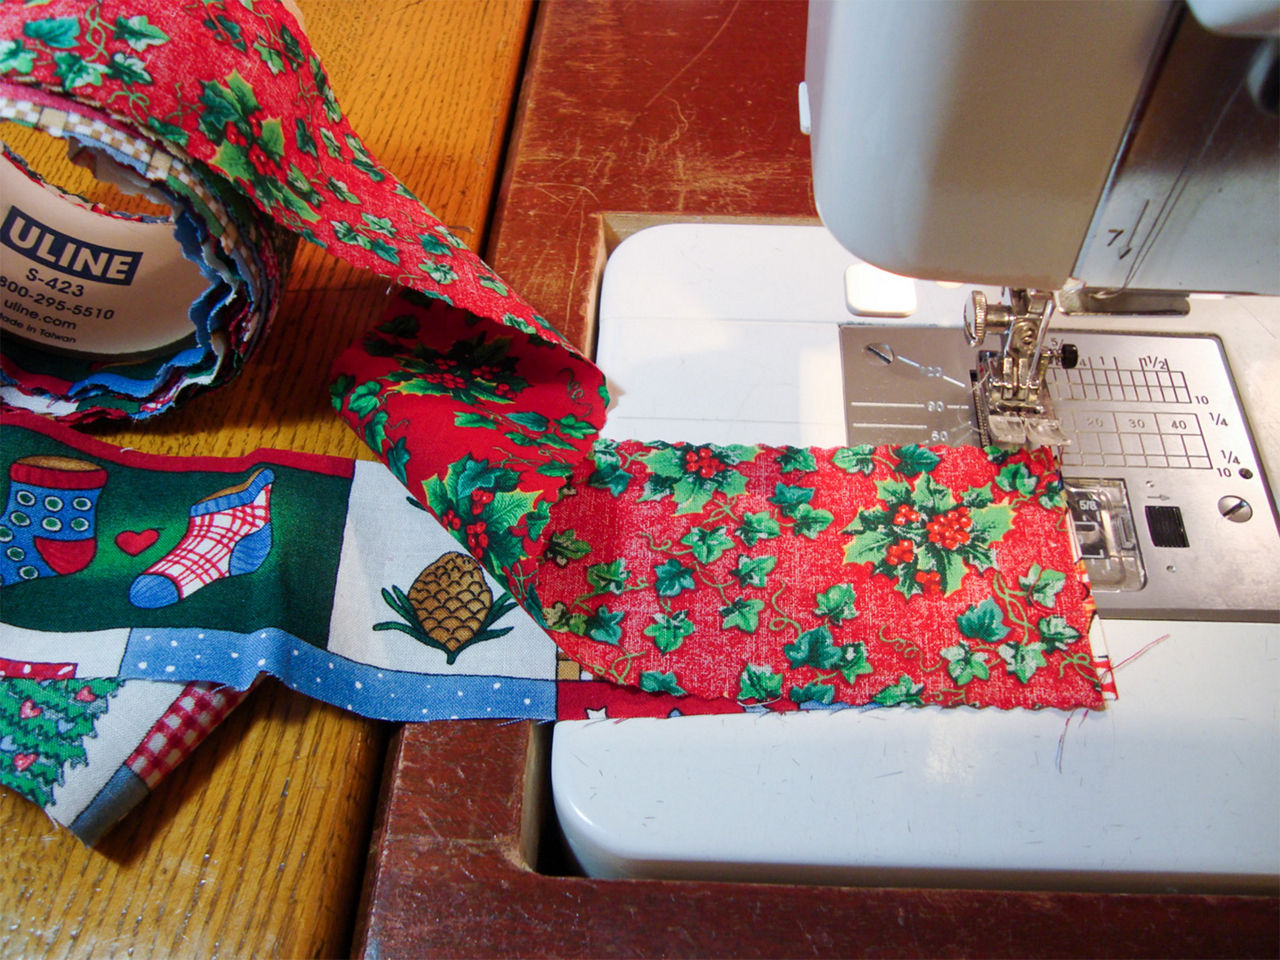
STEP 6 - I used scrap fabric in two different Christmas designs in an alternating pattern. I cut the pieces 2 ½” “ wide by as long as the scrap was. Mine was about 30” for one and 15” for the other. I used pinking shears for all the cuts to prevent fraying. Place one of each fabric piece, right sides together. Machine sew the edges together about 1/4” in from the end. I made about 16’ of cloth but had some left over after I wrapped the noodle. Iron the seams open to flatten the cloth. I rolled the finished cloth piece, right side out, on an empty packing tape core.

Christmas fabric near your sewing machine

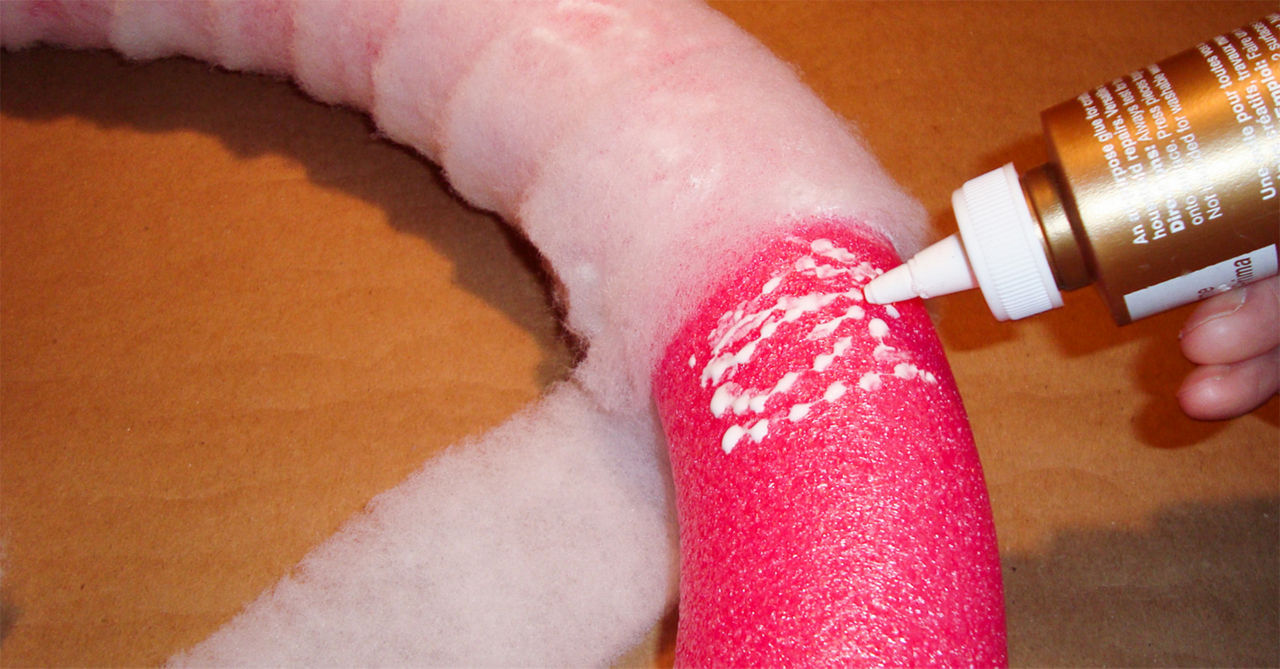
STEP 7 - Cut lengths of ¼” batting 2 ½” to 3” wide that will make a final length of about 16’. How much you need depends on the angle you wrap the noodle at. Apply a good white glue to the noodle and set the end of the first piece onto it. I tried to keep a ½” off center angle but as long as there are no gaps it will work fine. Glue down as you roll the batting over the face of the wreath.

Putting glue on the outside of the pool noodle to get batting to stick on the noodle

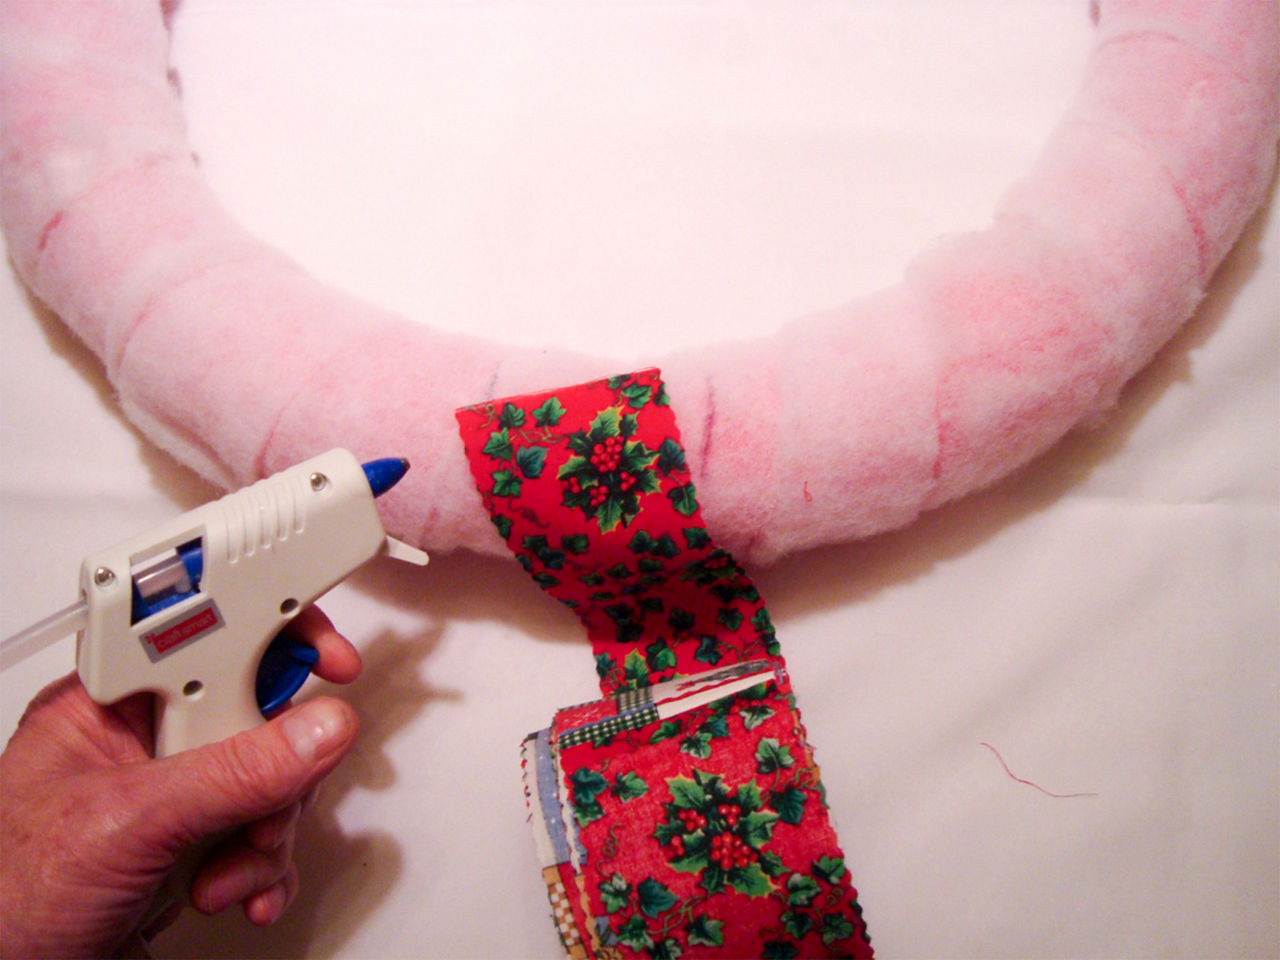
STEP 8 - Glue the end of the fabric on the face ½” off center opposite the angle of the batting. Overlap the fabric ½” on the previous pass and glue the cloth on each face as you cover the wreath. Use small dots of white glue so it won’t soak through.

Putting the fabric over the batting on the pool noodle and getting your hot glue gun

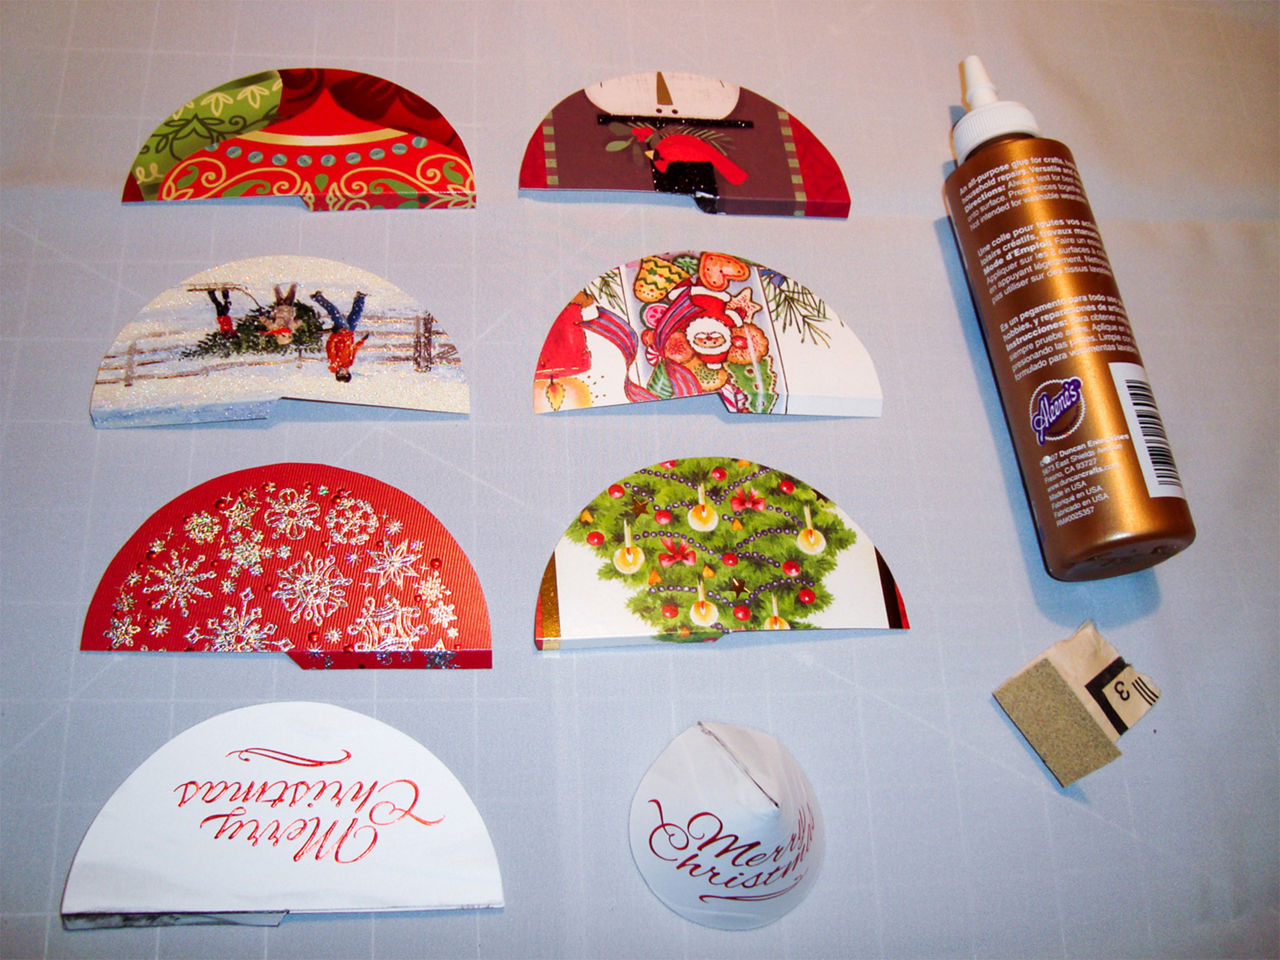
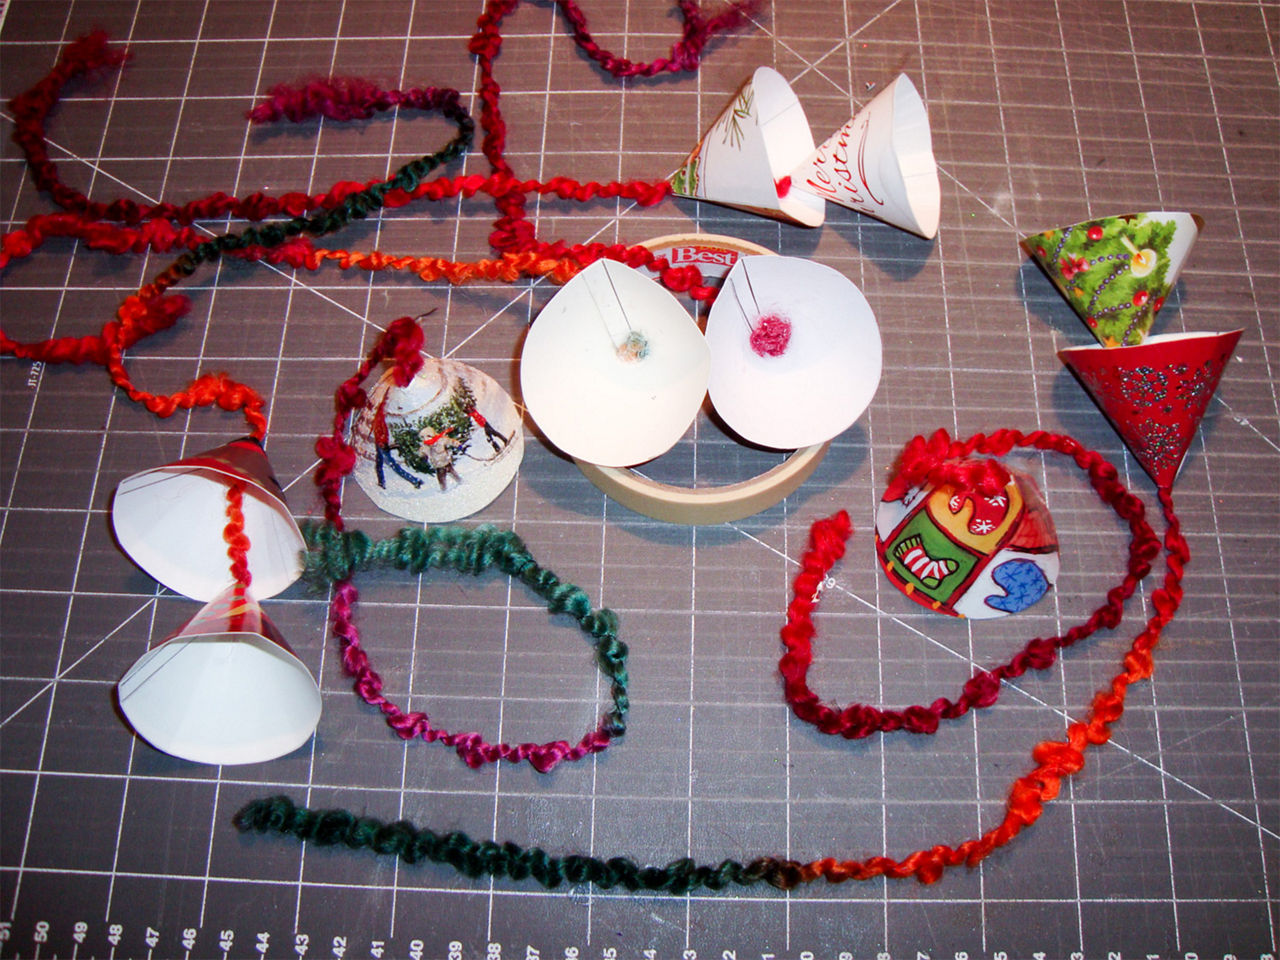
STEP 9 & 10 - Making the card bells. Practice on a couple card backs to get familiar with working with the card stock. It is helpful to use a flat layout of the bell when picking out the scene you would like to show from each card. You can also put the marks on the back of the card. I did this by holding the selected card up to the light with the pattern behind the card. Then mark the card with a pencil at the center of the circle that includes the special scene. Use a compass to draw a circle 4” in diameter. Decide which side of the scene should get the tab. Use a pencil to draw the diameter line. Use a ballpoint pen to draw the tab. The pen makes it easy to fold the tab evenly. I made extra bells and used the ones that came out the best.

Card bells that you made in step 9 and 10

STEP 11& 12 - Most cards have a gloss finish so I take a small piece of very fine sandpaper to de-gloss the tab. The glue takes hold much faster this way. After the tabs are dry, select the yarn to hang them. For this project, I used some Slub Yarn that was given to me. Cut the tip of the bell top to make a small hole to fit the yarn through. Once you have the bell in position, add some glue to the tip on the inside to hold the yarn. I worked the glue around with a pencil point, then, using my dampened pinky finger, I pushed the yarn tightly towards the point.

Other craft materials you want for the pool noodle wreath

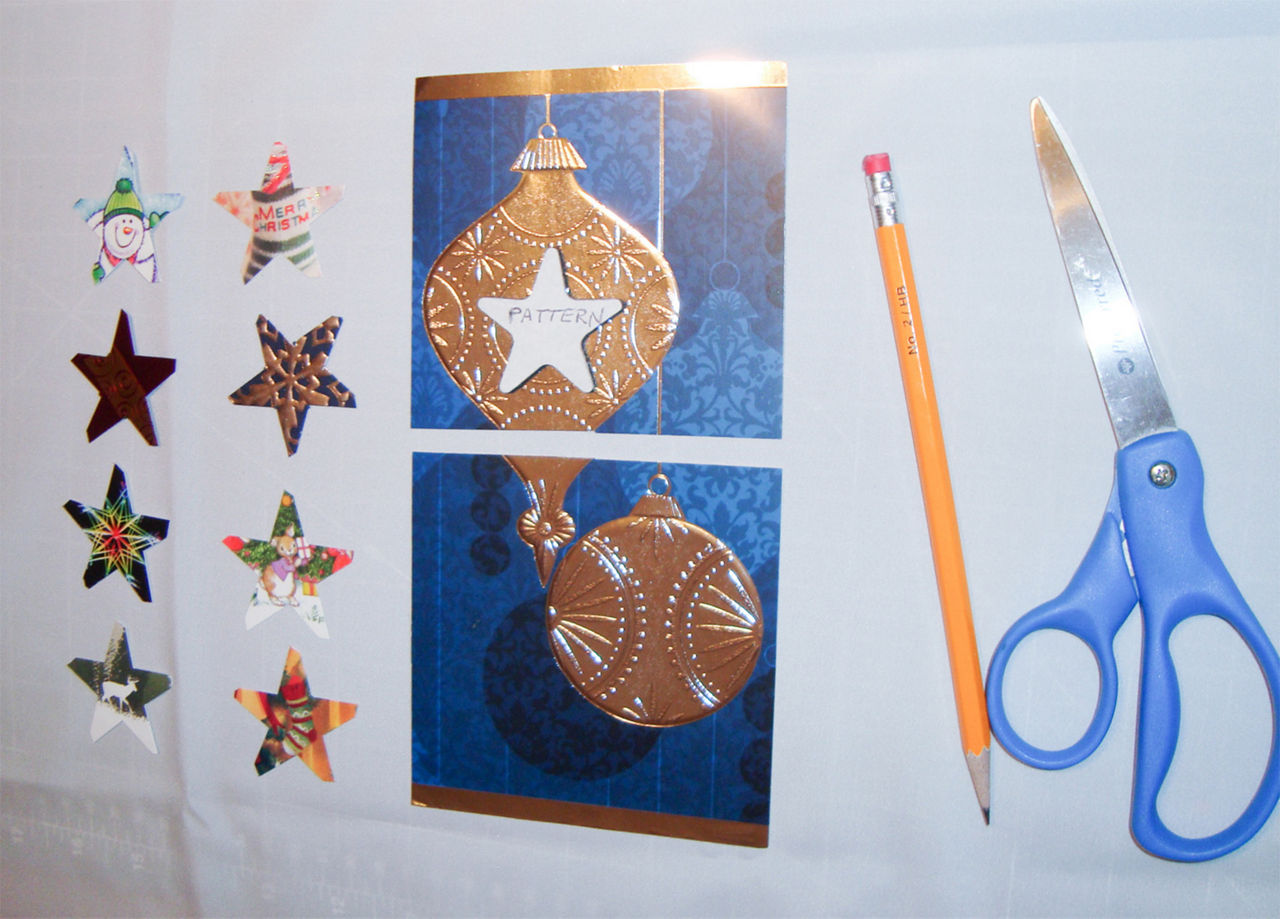
STEP 13 - The stars were traced from a foam –sticky back star I had. A wooden star would be easier to use. The stars cover up the glued ends of the yarn on the wreath.

Stars you traced from a foam to cover up the glued ends of the yarn on the wreath

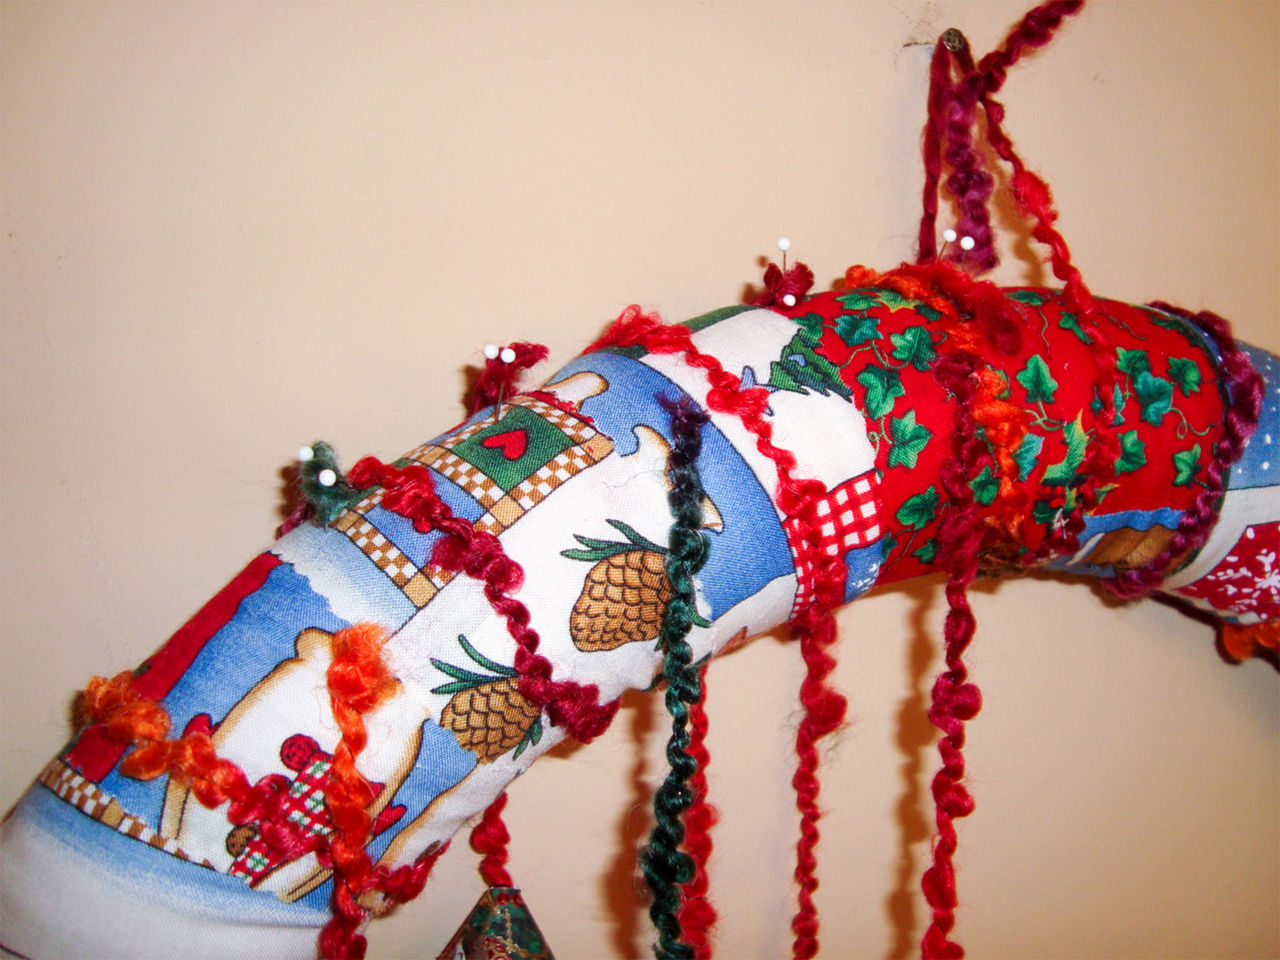
STEP 14 - Before I hung the bells I decided to wrap the wreath with the Slub yarn. I glued it down on each revolution around the noodle. I hung the wreath on the wall and, using pins, I laid them out as shown, front and rear. I then lifted the yarn at the pin and added the glue pressing the yarn back down.

Close up of the pool noodle wreath with the yarn wrapped around it

STEP 15 - The finished wreath! I sewed a pop tab on the back to hang it.

Finished product of following the instructions

Need a little help?


Not to worry! Visit your local Valu and speak to our knowledgeable Associates. They are always happy to answer questions about your project, and come up with unique solutions.