Thanksgiving Chalkboard
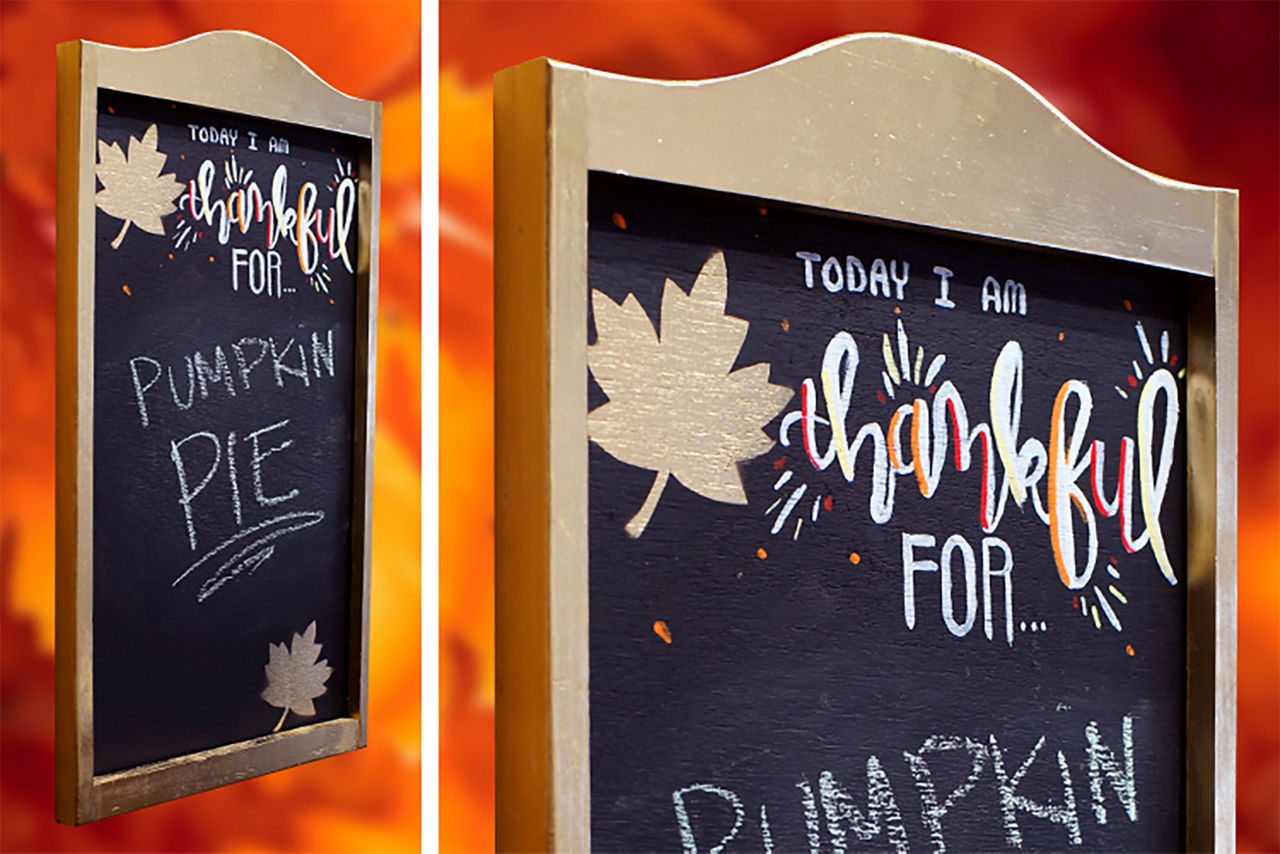
This Thanksgiving, we're thankful for Rust-Oleum Chalkboard spray paint! Rust-Oleum Chalkboard paint turns any old surface into a usable chalkboard. In this project, we used it to turn a thrift store find into a festive Thanksgiving-themed board. Watch the video below to see how!
Materials
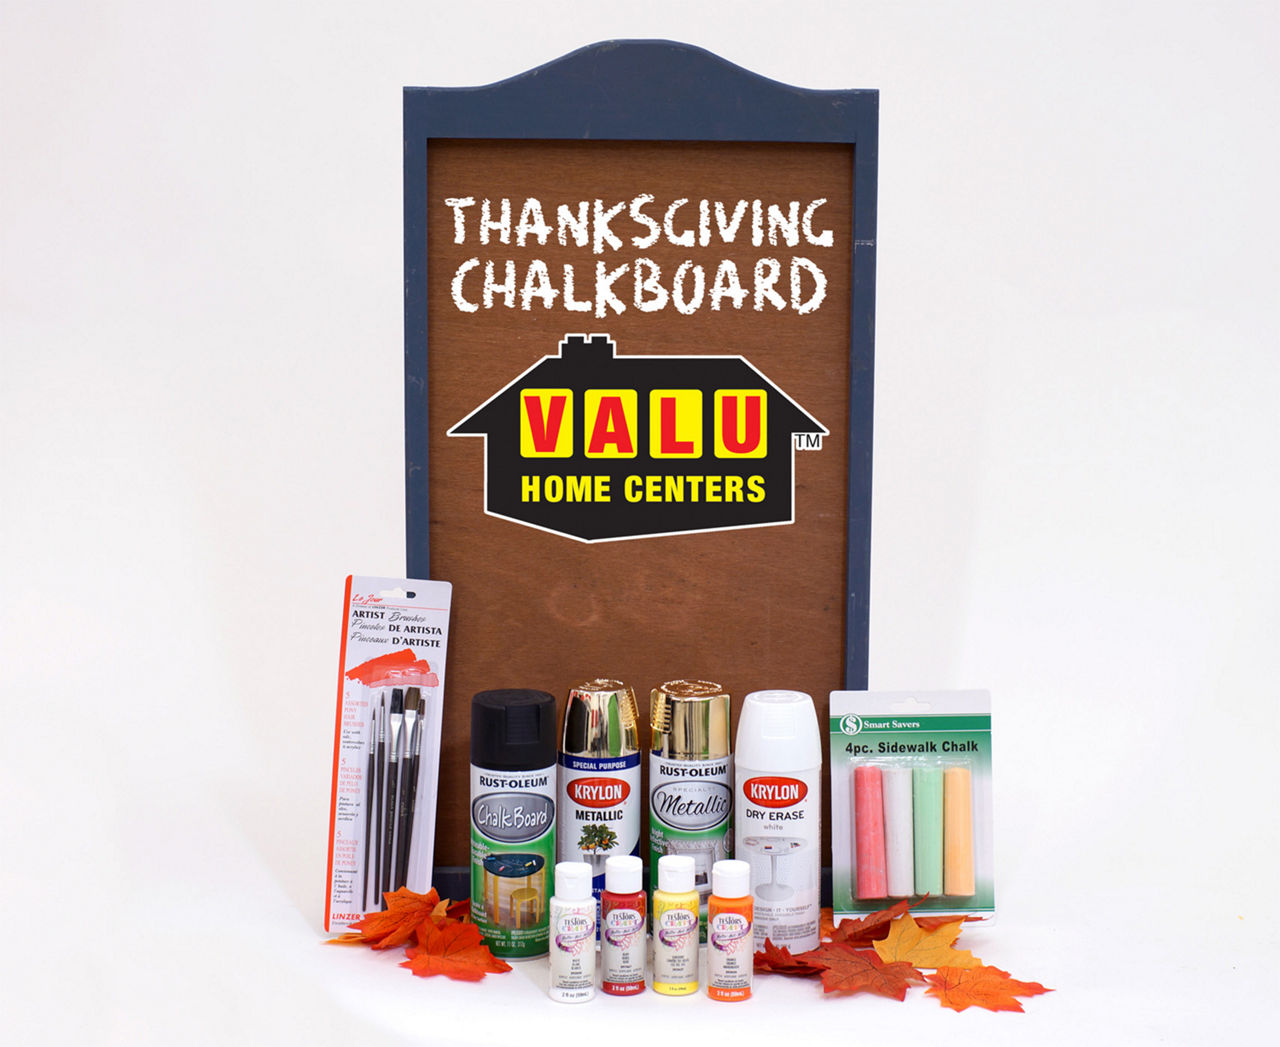
- Surface to paint - we found this frame/board at our local Habitat for Humanity ReStore but a glass picture frame would work just as well
- Rust-Oleum Chalkboard spray paint (or, if you prefer, Krylon Dry Erase spray paint)
- Krylon or Rust-Oleum Metallic gold spray paint
- Testors craft paints
- Artist brushes
- Chalk
- OPTIONAL: Paper & X-Acto knife to cut out a leaf stencil
Step 1: Prep Your Board
If your board is anything like ours, it's definitely seen better days. No worries, though, that's why we're here! Give your board and frame a good cleaning before you even shake a spray can. If your surface is rough, feel free to sand it a bit as well. If you choose to sand, do it before you wash as this step may produce a good amount of dust.
Step 2: Paint the Frame
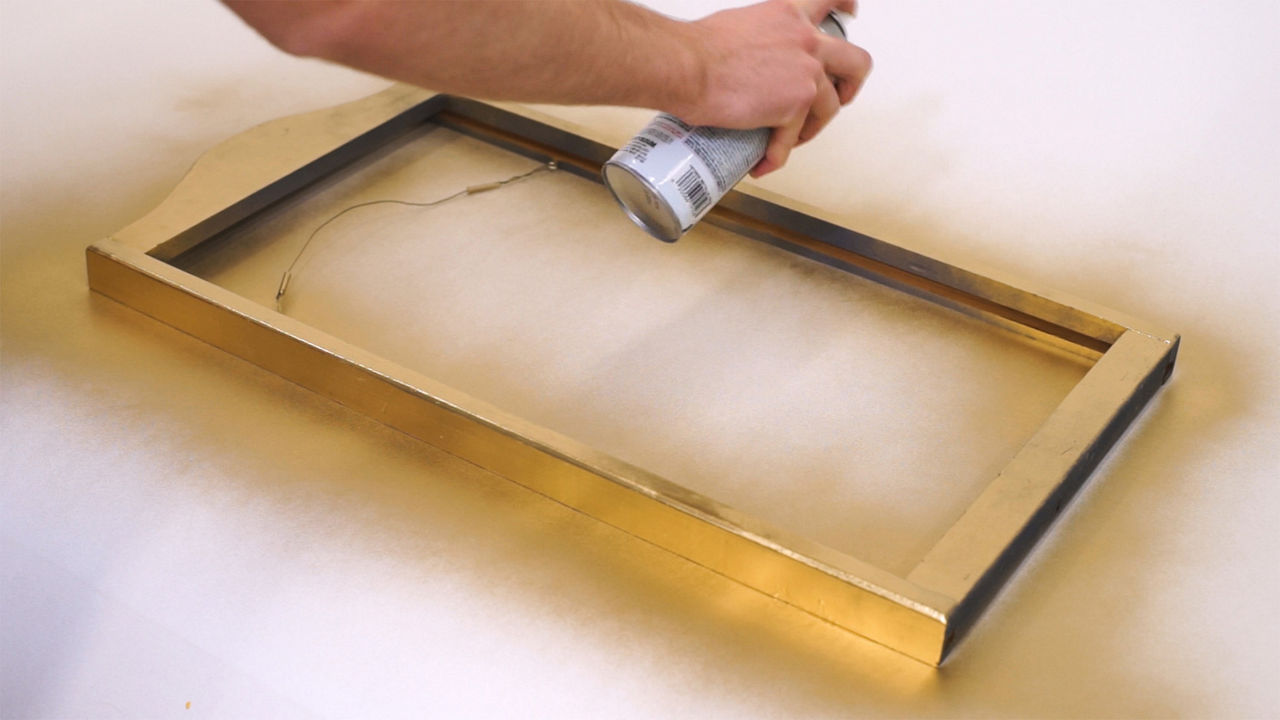
Both Krylon and Rust-Oleum make high-quality metallic spray paints. Grab whichever one strikes your fancy, and spray away! If you're unfamiliar working with spray paint, check out our comprehensive guide.
Step 3: Paint the Board
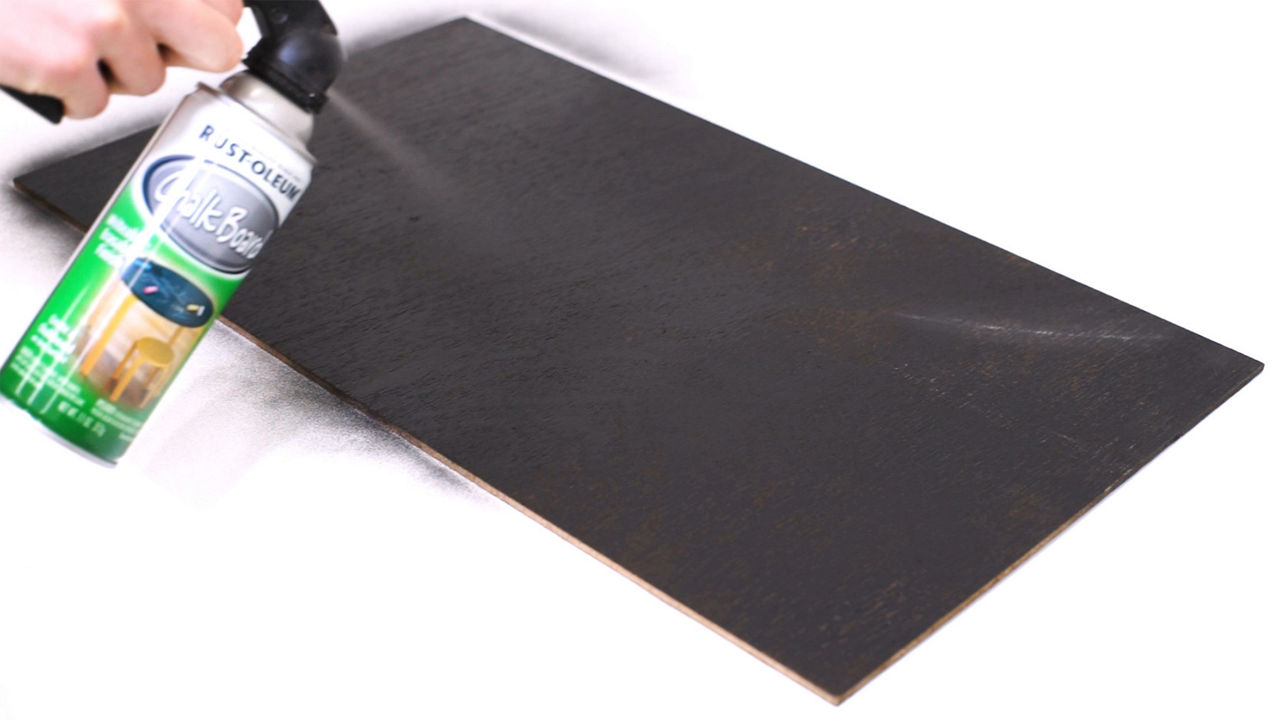
Use Rust-Oleum Chalkboard spray paint and evenly coat your board. You may need several coats; we needed about three. If you're not a fan of chalk, you can also turn your board into a whiteboard with Krylon Dry Erase spray paint!
Pro Tip: For larger projects, this spray handle is a lifesaver. You'd be surprised how tiring holding down a spray nozzle can be! Clip one of these handles onto any paint can and spray away!
Step 4: Decorate
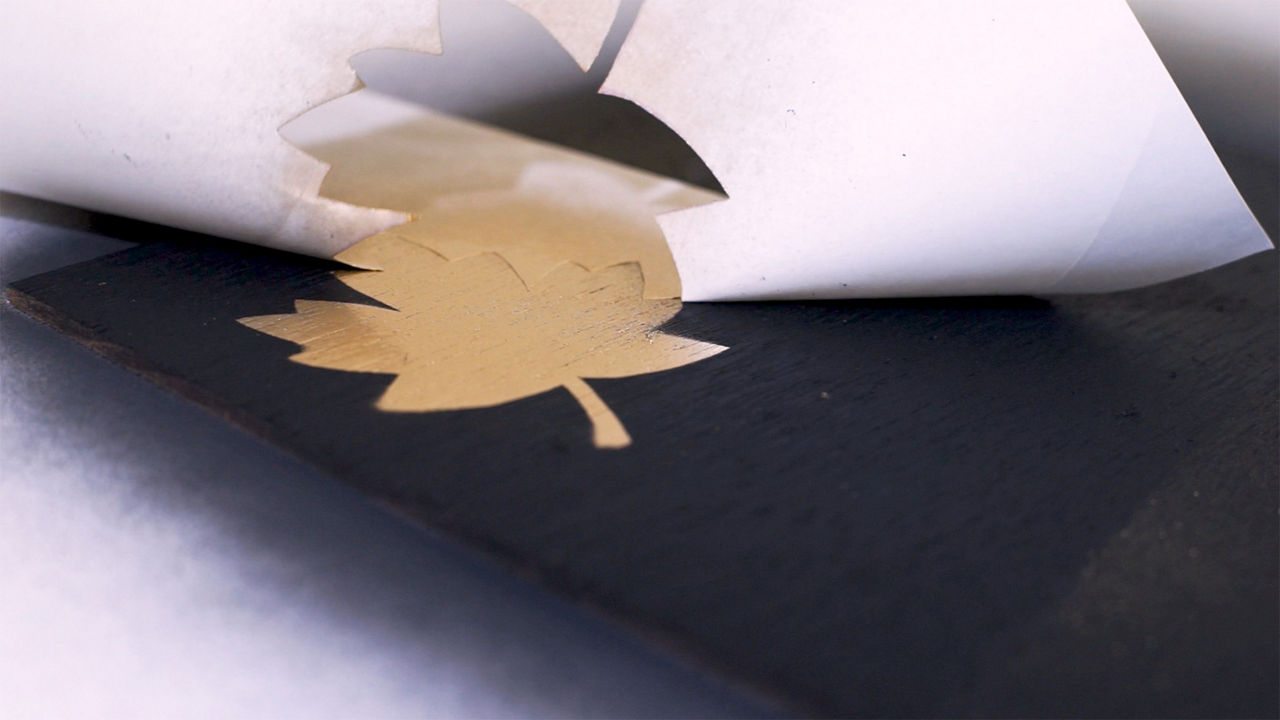
It's time to decorate! This your chance to be creative, so feel free to do as little or much as you'd like. We found a leaf outline online, printed it out, and used an X-Acto knife to make our own stencil. Then we just sprayed it with the same metallic paint we used for the frame.
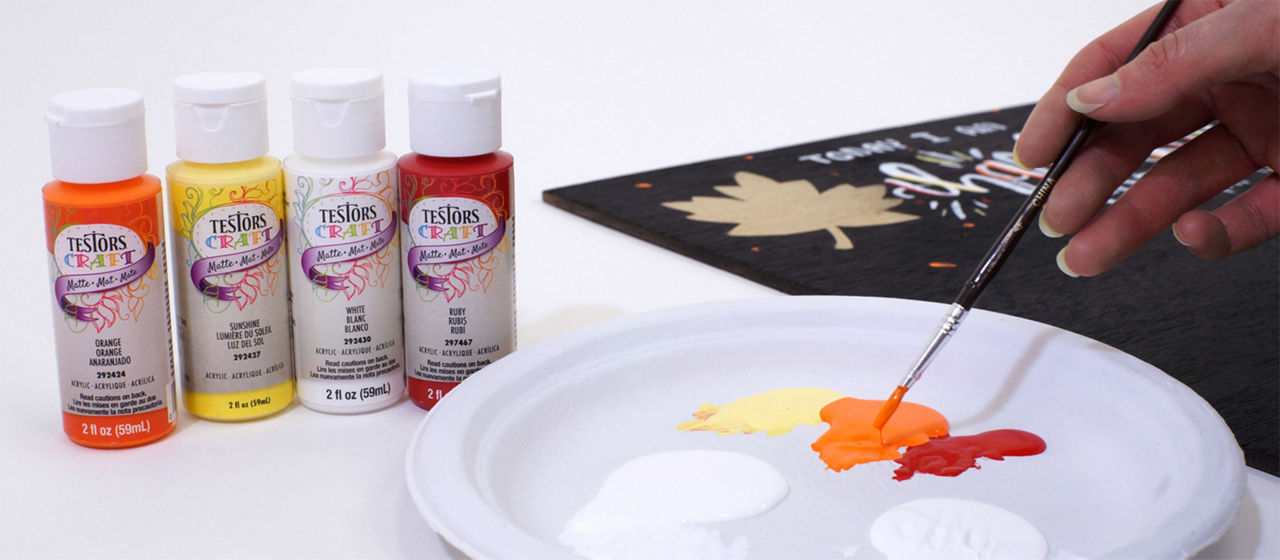
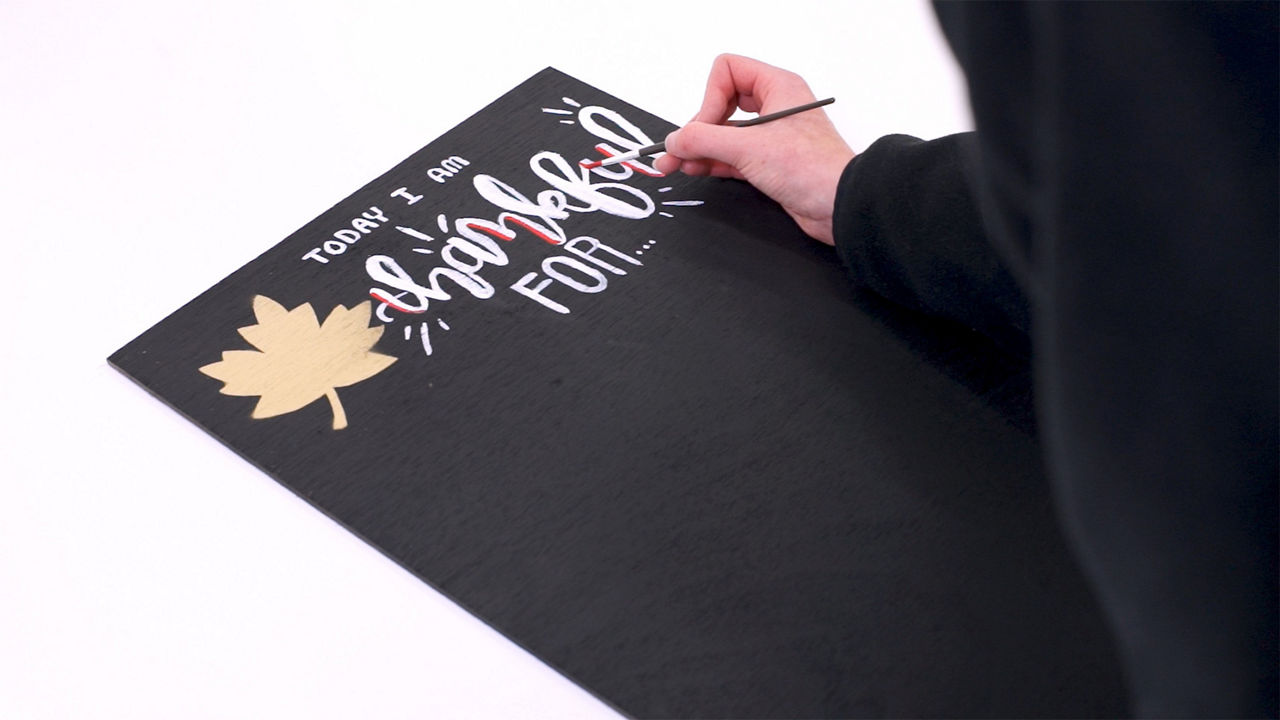
Next, we used Testors craft paint to create the header. If your penmanship isn't quite up to par, you could also make stencils for the words in the same way that we made the leaf stencil. Again, this is the time to be creative and think outside the box. If you come up with a unique way to decorate your chalkboard, share it with us! Comment below or snap a picture and share it with us on social media.
Step 5: Be Thankful!
What are you thankful for? Hang up your new chalkboard as a reminder of all the things in your life to be thankful for this Thanksgiving. From our family to yours, Happy Thanksgiving!
