6 Steps to Installing Laminate Flooring

After searching for the right floor style and color you’ve finally settled with laminate flooring. But now the question is, how do you install it? Laminate or engineered flooring can often go over existing flooring, no matter what the material is. With a few tools and a little time, you can turn any old floor into a new beautiful space where everyone can hang out.
Tools Needed to Install Laminate Flooring

1. Remove the Existing Floor

When removing an existing floor, whether it be laminate, carpet, or vinyl, always use best-practices to ensure the safety of yourself and your home.
Remove thresholds and baseboards using a flat pry bar. Use a piece of wood between the bar and the wall to protect the wall from damage.
*Expert tip: If you're removing existing molding, do so carefully so it can be reused.
Check to see if the subfloor is solid, flat, and clean. Fix any holes or crack and remove protruding nails. Use an embossing leveler for floors that are mildly worn or damaged to smooth out the surface. This will provide a stable base for the new flooring. If the floor is badly damaged and too difficult to remove, cover it up with new underlayment.
Plywood works best for carpet and wood floorings. Remember, when laying new underlayment on top of existing floors it will raise the floor, so make sure to cut door jams and give enough clearance for any appliances or cabinets.
If you are replacing a floor that is below grade, or in a place with high humidity and moisture, put down a vapor barrier.
Lay the unopened boxes of laminate planks in the room for 2 to 3 days to acclimate to the room’s temperature and humidity. This will ensure that the planks stay flat and do not warp.
2. Cut the First and Last Rows

Measure out the width and length of the room.
Plan to have your first row of planks parallel to the focal wall or longest wall in the room.
To determine the width of the final row, divide the width of the room by the width of the planks.
Allow for a 1/4 inch gap along both walls, as laminate flooring will expand.
Make sure the first and last row of planks are at least 2 inches wide.
3. Remove the Tongue

Start with the first row along a straight wall, and use tape to mark the plank.
Then using a table saw, circular saw, or hand saw, remove the tongue along the side that will be up against the wall and the short side of the first plank.
Keep the finished side of the planks up while cutting to help reduce splintering.
For the cleanest cut use a finishing blade and clamps to hold planks steady.
4. Put Down the First Plank

It is easier to start your first row of planks away from the wall. Take the pieces you cut earlier and piece them together.
Put the tongue into the groove of the previous plank.
Press the plank flat to snap together.
Continue by laying the first 2 rows of planks.
When you get to the far wall, cut planks to fit the opening leaving a 1/4 inch gap.
Using a hammer and pull bar, snap planks down into place.
5. Stagger the Planks to Create Appeal

Start the third row with the end of the plank at least 8 inches from the neighboring plank. This will give you a staggered look to your flooring, creating a stronger and more attractive floor.
Work your way across the room laying down a single row at a time.
Use a block and hammer to tap together any planks that have a gap.
Once all rows are laid down and planks are tapped in flat, nail in baseboards and quarter-round molding to complete the room.
6. Finishing Touches

Once your laminate flooring is installed, the final details are what make the space truly complete.
Start by reattaching any baseboards or molding that were removed during preparation.
Use finishing nails or adhesive to secure them in place, ensuring they cover the expansion gap along the edges of the flooring for a clean look.
For areas around doorways or transitions to other flooring types, install transition strips or moldings with easy connection.
Maintenance & Care

To keep your laminate flooring looking great for a long time, regular maintenance is important. Sweeping or vacuuming frequently is important to remove dirt and debris that can scratch the surface. Use a damp mop with a laminate-safe cleaner for deeper cleaning, avoiding excessive water to prevent damage to the floor’s core.
Use furniture legs for furniture to minimize dents and scratches, and use mats at entryways to prevent dirt and moisture.With proper care, your laminate flooring will maintain its beauty and durability for years to come.
Installing snap together laminate flooring allows any DIYer to create a beautiful new space within their home. All you need are a few tools, a few days, and you can give your outdated floor a face-lift in no time.
While do-it-yourself projects can be fun and fulfilling, there is always a potential for personal injury or property damage. We strongly suggest that any project beyond your abilities be left to licensed professionals such as electricians, plumbers, and carpenters. Any action you take upon the information on this website is strictly at your own risk, and we assume no responsibility or liability for the contents of this article.
Related Articles
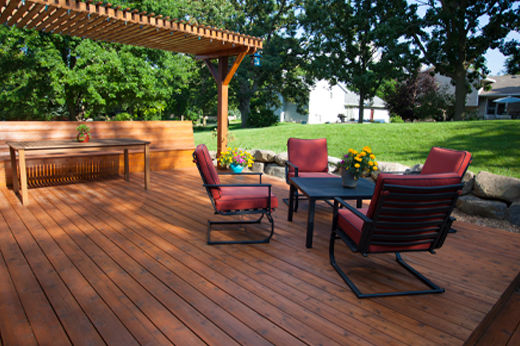
Build a Deck That Stands the Test of Time
Build a deck designed to last. From strong foundations and durable materials to moisture protection and hardware choices like post bases, this guide shows professionals how to create structures that stand the test of time.
Learn more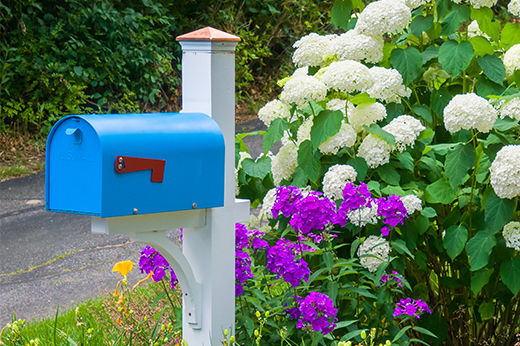
The Best Mailboxes of 2025: Modern, Decorative, Secure, and Residential Options
Discover mailbox ideas, tips, and buying guides to help you choose stylish, secure, and durable options that enhance your home’s curb appeal.
Learn more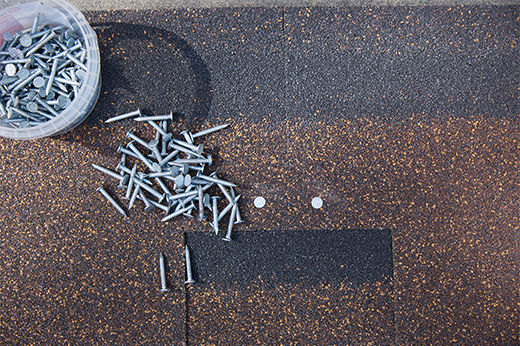
Roofing Nails: A Comprehensive Guide to Nails for Roof and Shingle Installation
Explore expert guides on roofing nails – learn how to choose, install, and maintain the right nails for lasting, secure roof and shingle performance.
Learn more
Repairing and Sealing Concrete and Asphalt Driveways
Tips to help keep your driveway looking new for years to come
Learn more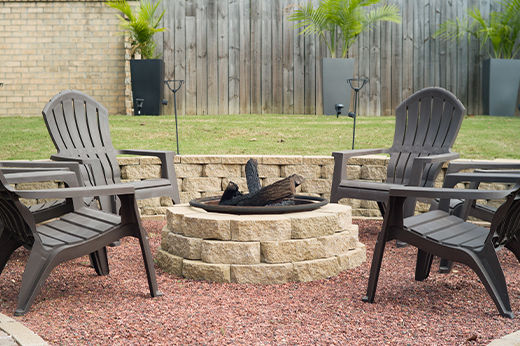
How to Build a Fire Pit
A simple and affordable outdoor DIY project with a step-by-step guide
Learn more