5 Fruits and Vegetables That Can Be Regrown From Kitchen Scraps
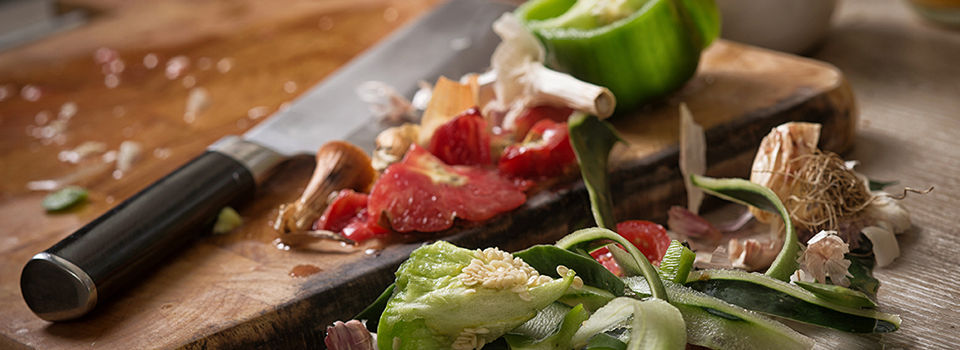
Don’t throw away those scraps! There are many fruits and vegetables that can be regrown from your leftover kitchen scraps. Here are some tips and tricks to get you started.
Celery
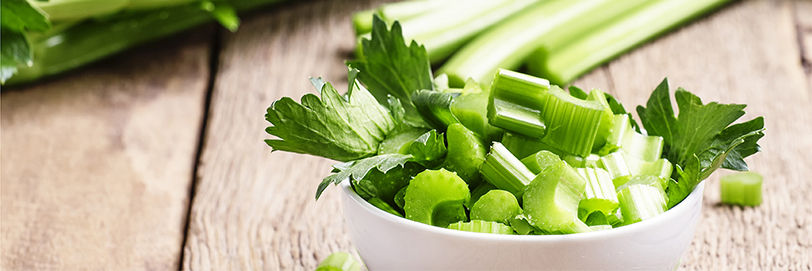
To begin regrowing celery, cut the base off a bunch about 2-3 inches from the bottom. Place the base in a jar and fill with water until half the base is submerged. Put on a windowsill that gets a good amount of light, and soon, there will be small roots and a leafy stalk beginning to form. At this point, it can be moved outside or into a pot with fertile soil.
Your celery is ready for harvest when there are stalks about 3 inches from the ground. Cutting individual stalks encourages growth. You can also wait until the whole plant fully matures. If you choose to harvest the entire plant, start the process over again and again!
Tip: Celery loves moist, fertile soil. Working some compost into the soil will yield the best results.
Peppers

Start by coring the top of the pepper and collecting the seeds. Each seed is a new plant that could potentially give you 20-40 peppers in a season! Make sure there is proper drainage, and place 1-2 seeds in your container of choice about ¼ inch down. If your soil isn’t already moist, lightly water it. Put your container on a warm windowsill, and within a week, you should begin to see sprouting. Once the weather is consistently warm, move the plants into the ground, or into a larger pot. Drop the plants 3-4” in the soil and if you are planting more than one, 1½‘ apart. Peppers don’t require a ton of attention, but they do require a 2-3 month growing period so plant accordingly!
Garlic
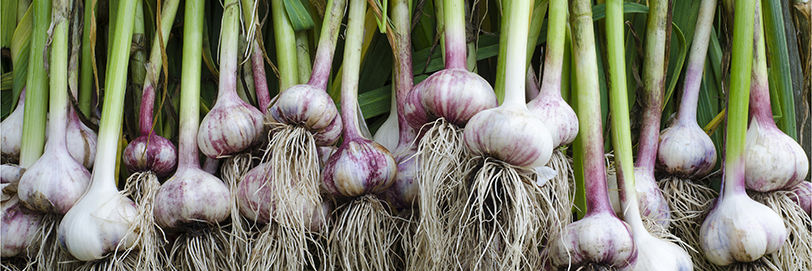
Ever forget about the garlic in your fridge or on your counter and then notice a green sprout growing out of it? Garlic is one of the easiest vegetables to regrow from scraps - but it does take some time. In the Fall, break up a bulb into cloves leaving as much of the papery covering as possible, then plant the cloves 3-4” down in the ground with the pointed end facing upward. Cover with soil, and water enough to naturally compact it.
Come spring and summer, keep the cloves weeded and watered. Harvest in late July- early August.
Pineapple
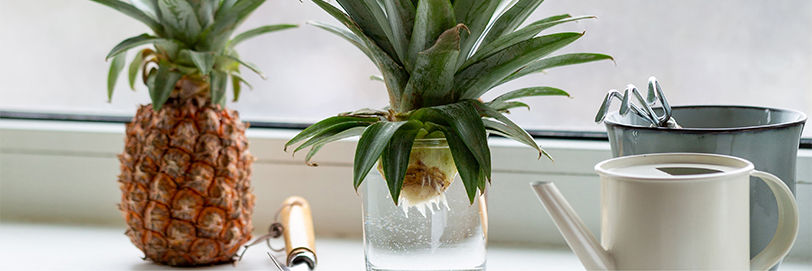
Begin by twisting the top off your pineapple. Preferably, it's green and has not yet begun to yellow. Pull out some of the lower leaves from the stem to give the roots room to grow from the bottom. Next, let the crown dry for one week. Once dried, put your pineapple top in a cup of water so it is partially submerged, and place it in a windowsill for about three weeks to give the roots time to sprout. Be sure to change the water every other day. After the roots have grown for three weeks, plant in a large container filled with nutrient-rich soil. Because most of us don’t live in tropical climates, pineapples should be grown in a large pot/container indoors. Harvest when the new fruit is yellow to orange.
Tip: Because pineapples are tropical plants, they enjoy moisture. Keep the soil damp and mist it with a spray bottle to keep your plant happy!
Lettuce
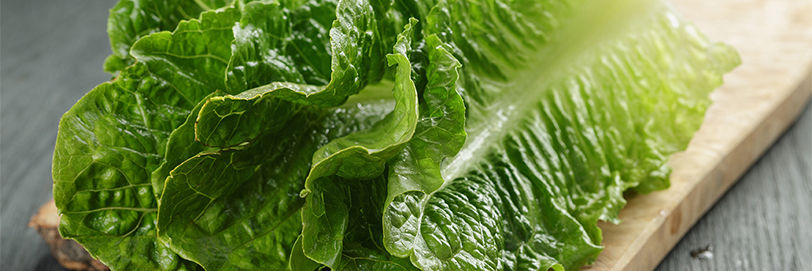
Lettuce can easily be grown from kitchen scraps. Simply cut the white base off a head of romaine lettuce and place it in a cup of water. Like other kitchen scrap regrowths, be sure to change the water every other day so the water doesn’t get stagnant. You will see new leaf regrowth in as little as a few days. Once roots begin to form, you can move it to a pot or container, just completely cover the old base with soil and keep the soil moist.