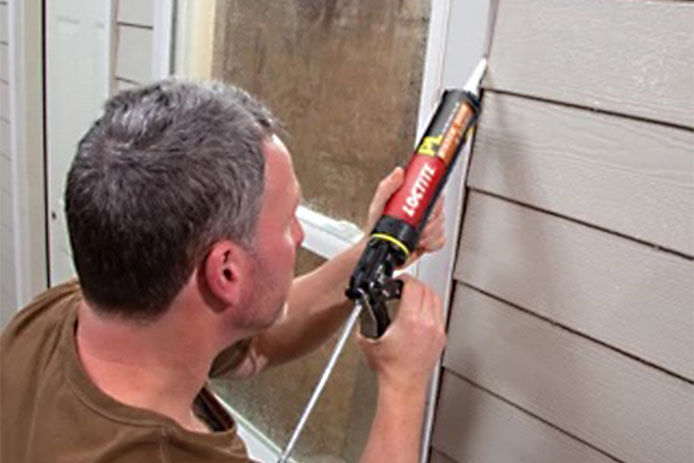
5 Tips to Caulk Like a Pro

Knowing the steps for the perfect bead of caulk is important for achieving a truly finished look on many home improvement projects. Caulk is also used to waterproof the inside and outside of our homes to prevent costly damage and to reduce heating and cooling costs.
Whether you’re caulking your new backsplash or sealing a drafty window, these five tips will teach you how to caulk like the pros.
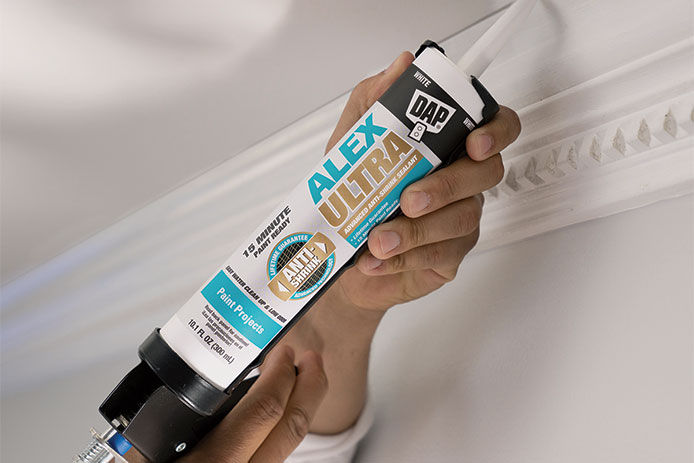
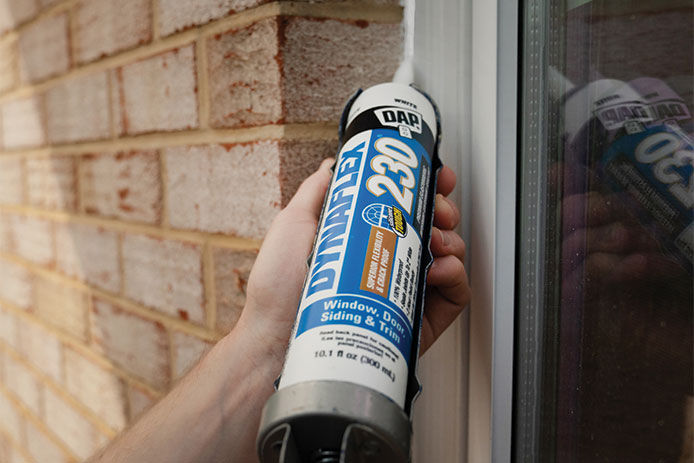
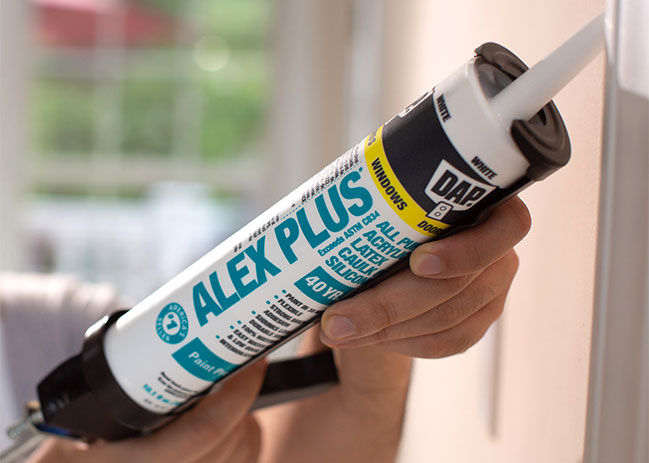
Step 3: Cut the Tube
Use your utility knife to cut the tube end at a 30-45 degree angle. Don’t cut too far down. Once it’s cut, puncture the seal with a puncture device. Most caulking guns will have this feature built in. Put the caulk into the caulking gun. After you’ve done a test bead on a dry paper towel, wipe the tip clean with your damp cloth. You’re ready to start caulking!
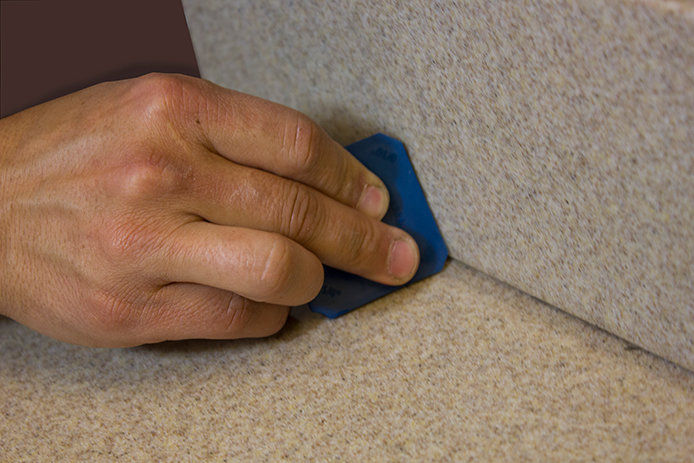
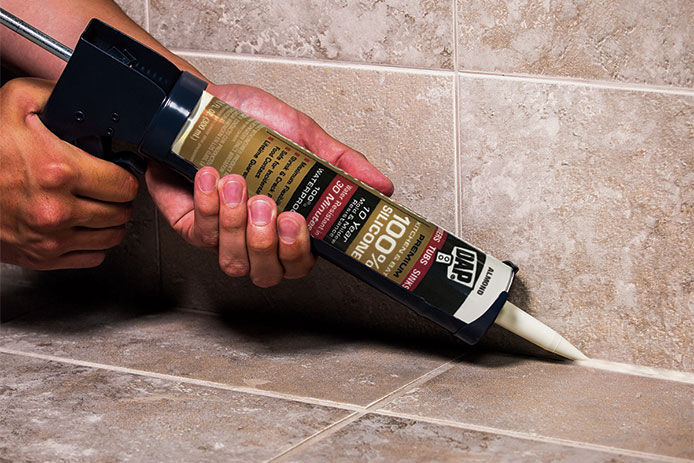
Step 5: Clean Up
After you’ve applied the caulk, it’s time to tool. Tooling is the process of gliding over the length of the caulk to smooth it out. This can be done with a damp finger or finishing tool. A damp, soapy finger works best with latex caulk, whereas a finishing tool and solvent may be needed with silicone and polyurethane caulk. Don’t apply too much pressure, just enough to settle it in the joint. If you press too hard, you may smear it. Once it’s smooth, be sure to seal your caulk with a nail or wire nut.
Related Articles
How to Paint a Brick Fireplace
Change things up and give your fireplace a sizzling new look!
Learn more
How to Stain Wood Like the Pros
Learn the proper technique to bring out wood's natural beauty
Learn more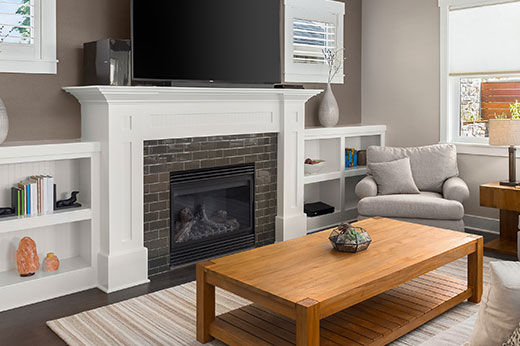
5 Easy DIY Fireplace Makeover Ideas
Easy, cost-effective makeover tips to add some flair at home
Learn more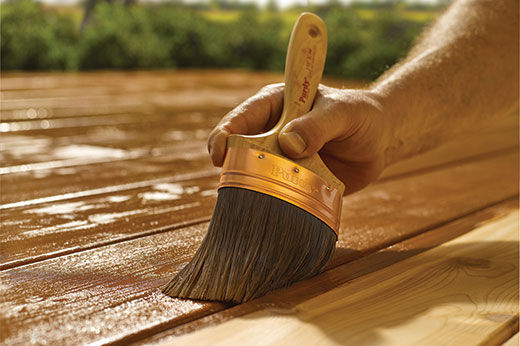
How to Choose the Right Paintbrush
Simple tips for choosing the right tool for a stress-free DIY project
Learn more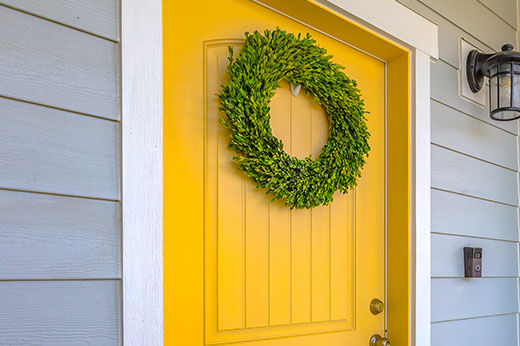
How to Paint Your Front Door
Give your home a fresh new look with this simply DIY painting project
Learn more