The Original 3M Scotch Blue Painters Tape is great for multiple surfaces:
- Painted walls
- Trim
- Woodwork
- Glass
- Metal
- Removes cleanly for up to 14 days
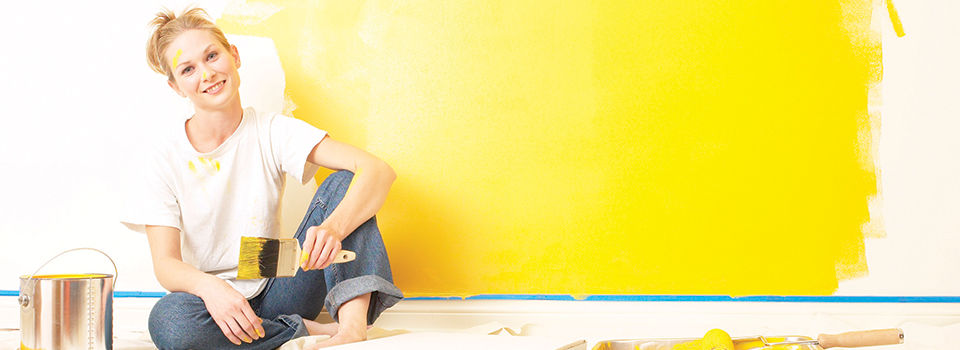
Finish your paint job faster and with fewer mistakes using painters tape and these step-by-step directions for taping off a room before painting.
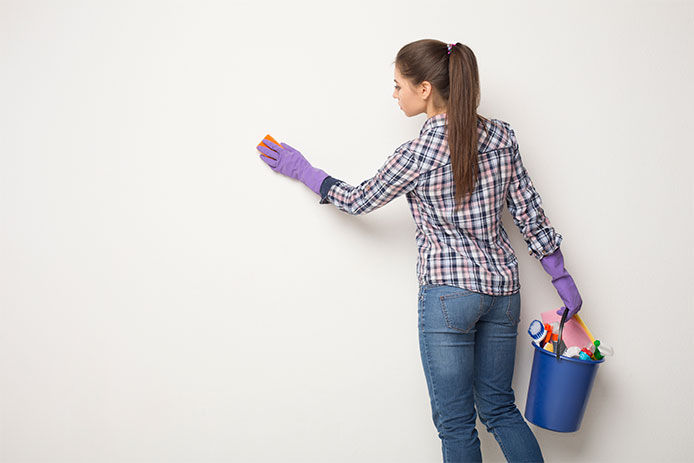
The biggest mistake that can be made when taping walls or trim for painting is to skip the cleaning process. Even the stickiest painters tape won't stick to dusty, dirty, or greasy surfaces. Simply use a damp cloth to remove dust or dirt, and let your surface dry fully before starting your taping process. If you find grease, you'll have to use soap and water to successfully remove all of the residue before beginning.
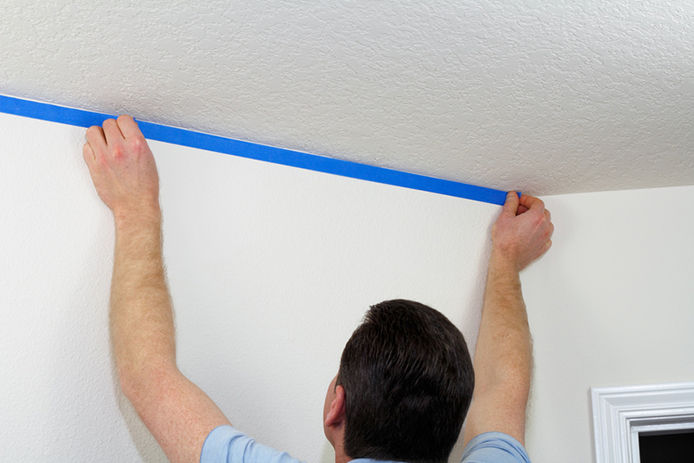
You'll find it's very hard to get a straight line, even with painters tape. The trick to paint corners or around ceilings is to paint around the corner with the first color. Once the paint dries, tape off the painted side using tape that is safe on 24 hour fresh paint. Instead of trying to tape perfectly down the center of the corner, move the tape about 1/8" from the corner where it'll be easier to get a straight line. No one will ever notice that your line isn't perfectly centered in the corner! The last step is to press down the edge of the tape to make sure it's sealed.
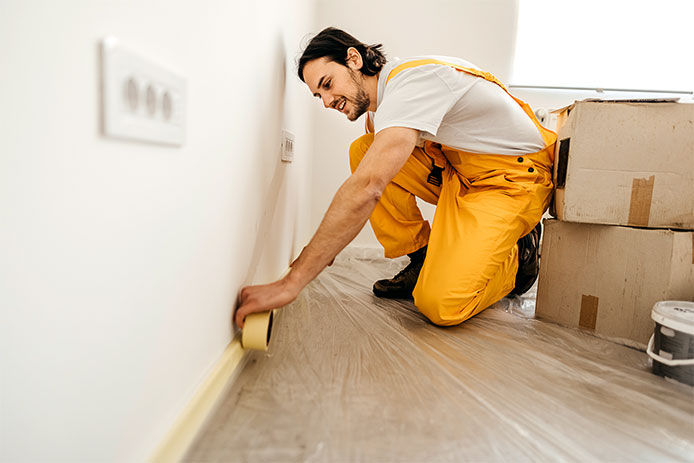
When applying painters tape to baseboard trim, it will seal best when a flexible putty knife is used to apply pressure as you lay your tape line. Start by laying about 6" of tape against your surface, then unroll about 6" more. Laying small sections of tape at a time will help to keep your tape as straight as possible.
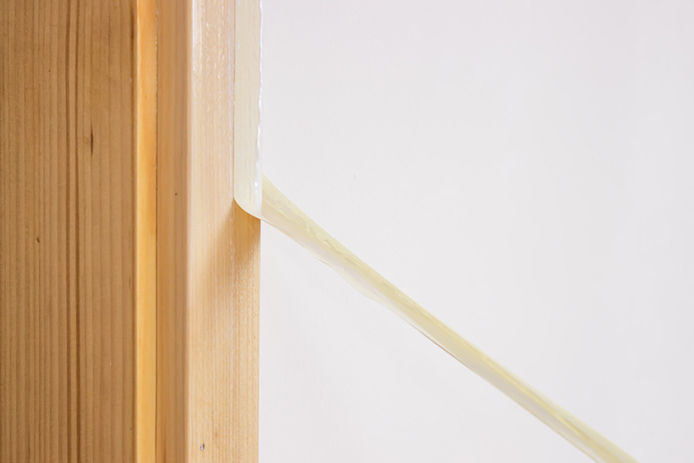
If you know you won't be able to remove your tape while the paint is still wet, it's very important to make sure you spend the extra money for a good quality tape that can be safely left on for several days. Depending on your type of painters tape, you should have at least 3 days before tape would need to be removed.
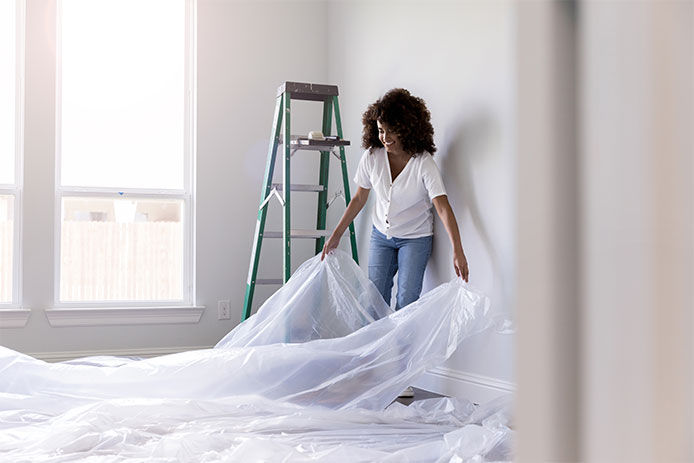
Masking paper is a great tool to keep paint off of carpet or other flooring. First, you'll apply painters tape using the tricks listed above. Then, you'll add about 3" of masking paper to the painters tape. This will create a flap that will catch most paint drips from brushes and rollers. Any flap wider than 3" will most likely sag, which will not catch your paint or protect your floor.
Drop clothes can also be laid out to protect the entire room. For painting best practices, cover the entire floor with a plastic sheeting, and then top that with a canvas top. The canvas is more durable to withstand foot traffic while painting, and it will absorb paint splatter better.
Not all painters tapes are created equal.
3M Scotch Blue Multi-Surface Painter's Masking Tape
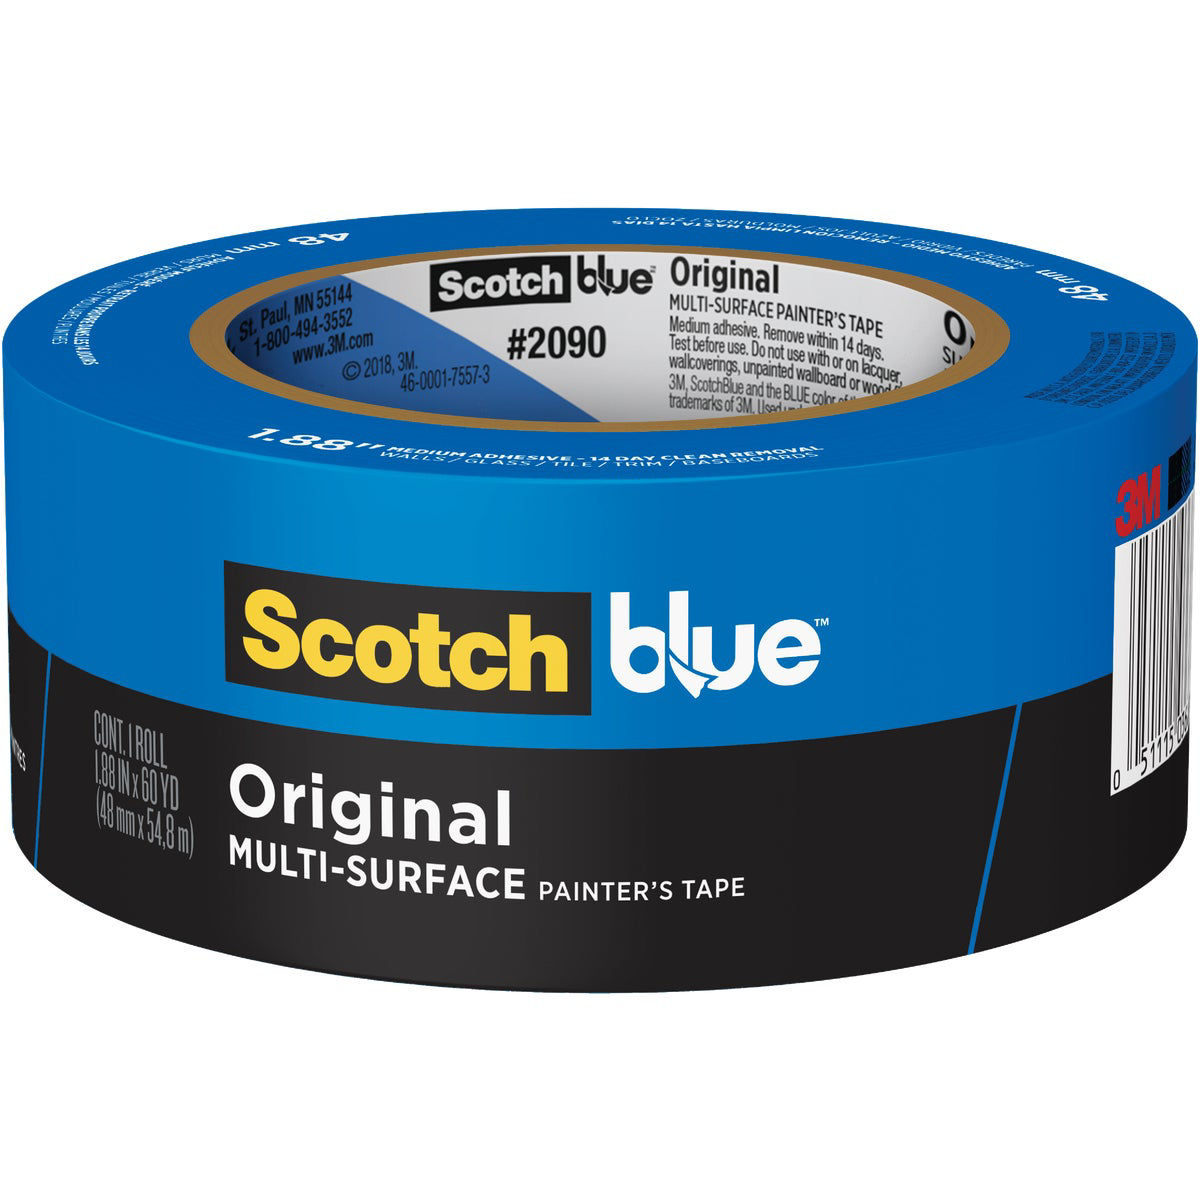
The Original 3M Scotch Blue Painters Tape is great for multiple surfaces:
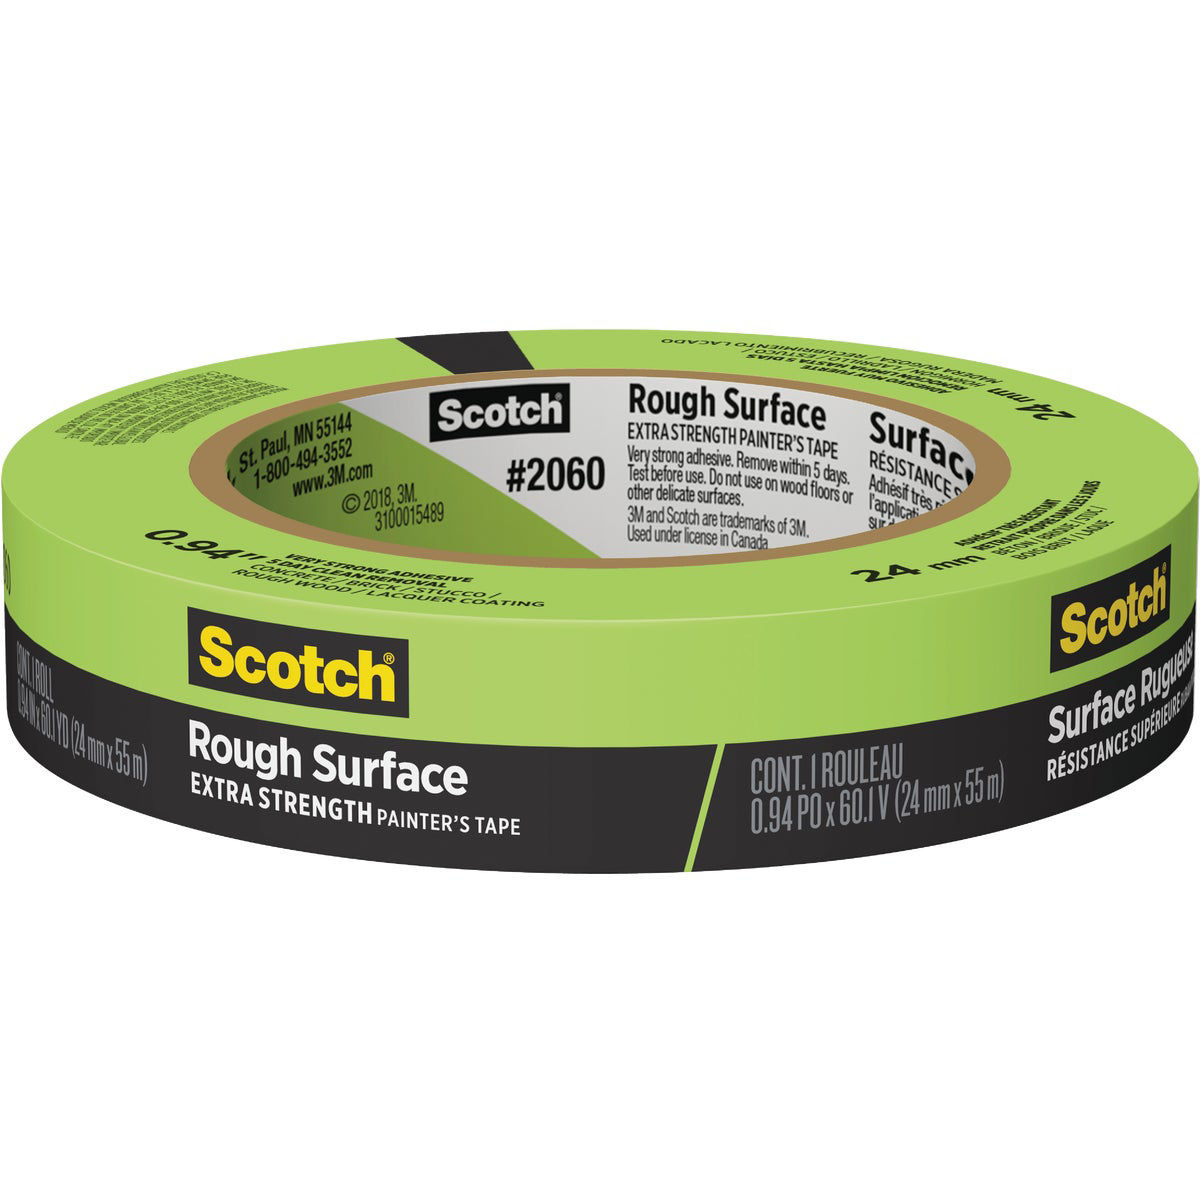
Regular painters tape will not stick well on textured surfaces like stucco and brick. For those hard-to-stick surfaces, you'll need 3M Scotch Painter's Green Masking Tape. Multiple sizes are available to fit your needs.
While do-it-yourself projects can be fun and fulfilling, there is always a potential for personal injury or property damage. We strongly suggest that any project beyond your abilities be left to licensed professionals such as electricians, plumbers, and carpenters. Any action you take upon the information on this website is strictly at your own risk, and we assume no responsibility or liability for the contents of this article.