The added benefits of wall protection, as well as the formal elegance or traditional style, make wainscoting the perfect choice for almost any room.
How to Add Wainscoting to Any Room

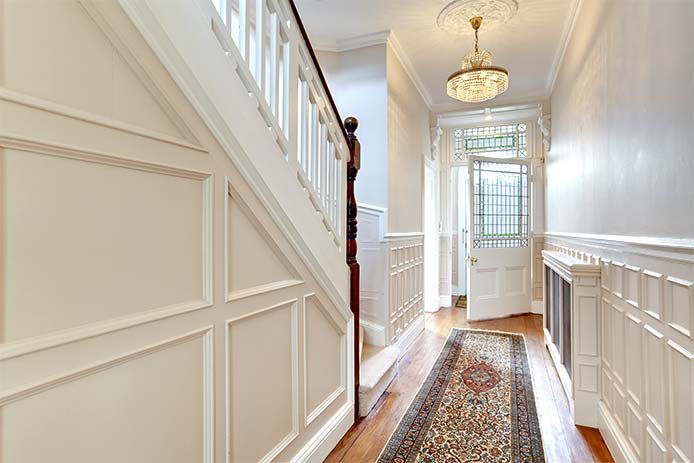
Wainscoting is a design element used to transform the style of any room. With a mix of paneling, beadboards, molding, and rails, this architectural element has a long history of use. Originally, wainscoting was used to protect the lower third of a wall, particularly in wet areas of the home, such as bathrooms, kitchens, and dining rooms. Added beadboards or other hardy material protect the wall against scuffs, water damage, and other common wear and tear.
Today, wainscoting remains a popular design choice, offering an elegant and traditional style for any room. Many bungalow and cottage style homes are built with wainscoting, but for homes not already equipped with this feature, it can be easily added later.
If you’re interested in wainscoting, check out the following guide on how you can add this decorative and practical component to your home.
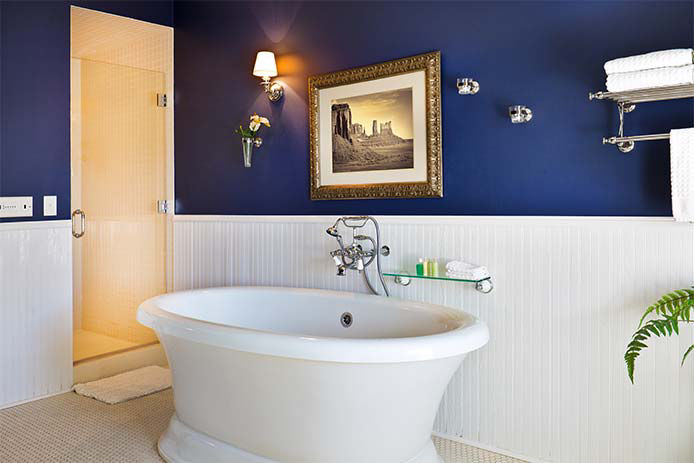
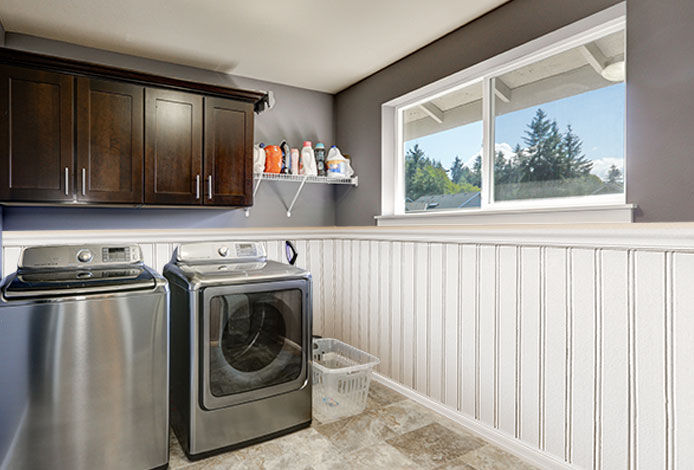
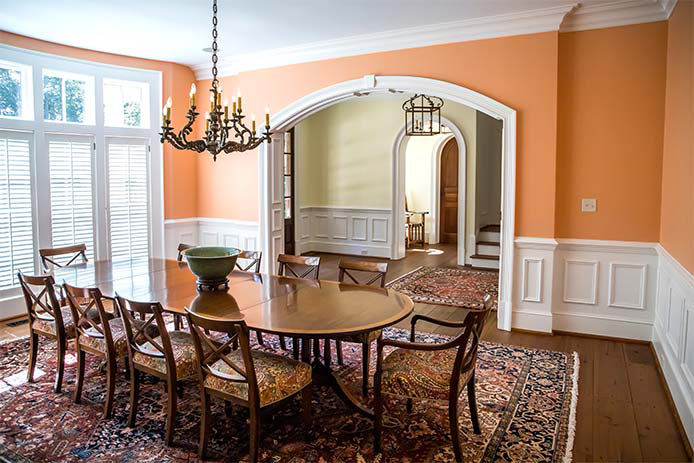
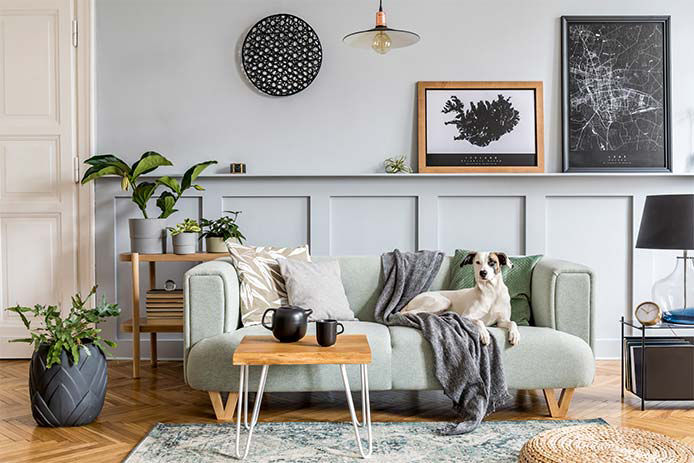
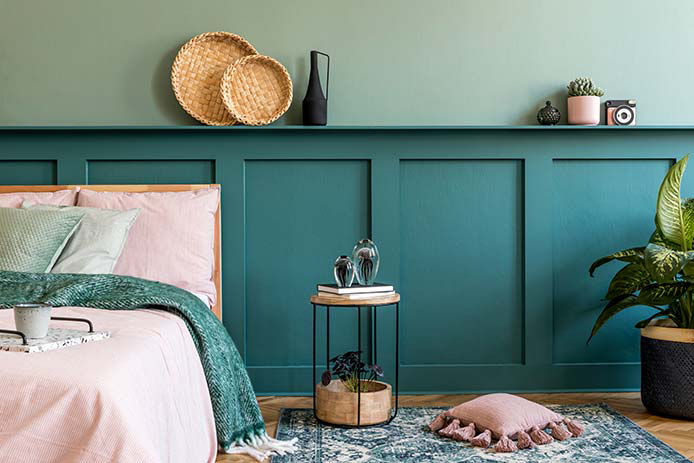
Choosing the Right Room

Before you order your supplies, roll up your sleeves, and get to work, plan out where you want to add wainscoting. There is truly no right or wrong space, rather, it’s a matter of your own design preference. As you consider where to add wainscoting in your home, think about the benefits this design element will provide to each space.
Ordering Your Materials

Once you’ve chosen one or more rooms in your home to feature this timeless design, it’s time to order the materials for the project. Wainscoting was traditionally created using solid wood; however, today, you can purchase it in a variety of materials including plastic, plywood, medium-density fiberboard, and hardwood.
When choosing wainscoting materials, decide whether you’re going to purchase beadboards you can assemble on your own, a ready-to-assemble wainscot kit, or custom-crafted panels.
No matter which type of wainscoting you choose, the first thing to do is measure the space where it will be installed. You will order your materials based on the square footage of the area.
Installing Your Wainscoting

Once your plans are finalized and your materials have arrived, it’s time to get to work.
A traditional rule for wainscoting installation is that it should only be a third of your wall’s height. This includes any capping or molding. Most rooms feature around 9-foot walls, making 3-foot wainscoting the ideal choice.
The actual installation process for your wainscoting will vary depending on your chosen material, but the following are common steps for installation:
- Use a level to draw a line around the room where the top of the wainscoting will reach.
- Locate and mark the wall’s studs.
- Glue panels to the wall, ensuring the top is lining up with the premarked level line.
- Nail panels at stud marks.
- Add baseboards, capping, and molding.
Upgrade Your Home’s Design Today
Wainscoting is a great addition to almost any room. By installing this design element into a few key rooms in your home, you can offer protection for your walls while elevating the style of the space. When you choose a wainscoting kit, installation is easy, making this a DIY win.
While do-it-yourself projects can be fun and fulfilling, there is always a potential for personal injury or property damage. We strongly suggest that any project beyond your abilities be left to licensed professionals such as electricians, plumbers, and carpenters. Any action you take upon the information on this website is strictly at your own risk, and we assume no responsibility or liability for the contents of this article.