How to Install Above Ground Pools

Nothing says “summer” quite like a dip in the pool! If you’re considering the addition of an above ground pool to your backyard landscape, there are a few things to consider before “taking the plunge”. Knowing about options and installation guidelines ahead of time will make the job much easier.
Benefits of Above Ground Pools

There are a number of benefits to selecting an above ground pool over other options.
Cost - It is much more affordable than installing an inground pool.
Ease of Installation - Many above ground pools can be installed by the homeowner.
Portability - Some above ground pools can be taken down in the winter or even transported to another property in the case of a move.
Maintenance - The generally smaller size of an above ground pool makes maintenance and filling it easier and less costly.
Before purchasing and installing an above ground pool, it is recommended to refer to your local building codes and permit requirements to ensure that you will be in compliance.
Types of Above Ground Pools

There are multiple types of above ground pools, with each having its own set of pros and cons.
- Inflatable - These are usually the least costly and the easiest to install. Inflatable pools must be disassembled and taken down during the colder months. They tend to only last a year or two, as they are more prone to punctures.
- Steel Frame - These pools have metal supports made of aluminum, galvanized steel, or similar and are very sturdy but also lightweight. One downside is that they may rust over time.
- Resin - These are similar to steel frame, but resin is more resistant to rust and oxidation. Resin also remains cool to the touch, even in the hot summer sun.
- Hybrid (Metal/Resin) – The hybrid combines the strength of metal with the benefits of resin. Supports are made of metal and exposed surfaces are made of resin.
- Semi-inground - These pools can be installed partially or even fully underground. They are especially useful in situations where the surrounding ground is sloped or not level. They are more expensive than other above ground options but still much less than inground. They provide more choices for shapes, including oval or even free-form.
How Deep Can An Above Ground Pool Be?

Above ground pools generally come in three common depths: 48”, 52”, and 54”, with the last two being the most common.
- When choosing between the three, there are a few questions to consider.
- Who will use the pool most? You may prefer a lower sidewall for children or higher for adults.
- What water depth are you looking for? The water line on a pool will be 6” from the top, which means that the depth of the water will be slightly less than the listed pool height.
- Do you require additional privacy? Some prefer a higher pool wall to provide more privacy.
Above Ground Pool Essentials

When considering the investment of an above ground pool, remember to account for the additional supplies needed for maintenance and enjoyment.
- Pool chemicals - You will need a pool test kit to check and maintain proper chemical levels in the pool to keep the water clean and safe for swimming.
- Vacuum - A pool vacuum will help keep your pool sparkling and free of debris.
- Skimmer - A skimmer is great for quick cleanups of leaves, insects, or other unwanted items that find their way into the pool.
- Cover - A pool cover helps to maintain water temperature and also keeps the pool clean.
- Ladder - A ladder not only helps swimmers enter and exit the pool, but it also reduces strain on the side of the pool as a result of using it as support.
- Lights - Pool lights can be a fun way to add ambiance at night.
- Toys/floats - Don’t forget the toys, noodles, and floats!
Above Ground Pool Installation Steps
There are many companies who will install above ground pools, but if you have chosen to tackle this task on your own, below are some general steps to get you started.
Measure and Gather Supplies

Before you begin, measure the area where the pool will be located. Be sure to include any peripheral space as required by local codes. Gather any supplies you will need for the installation, including sand, shovel, tamper, tape measure, level, etc.
Prepare the Ground

The ground where the pool will be installed must be completely level. Begin by marking the area with spray paint or stakes to provide a guide as you work. If the pool is circular, place a stake in the center and attach a string to move around the circle and create the outline.
Remove all grass/sod completely from the area. Level the dirt below using a tamper or roller. Use a level to ensure the area is completely flat. Remove any rocks or debris that could puncture the bottom of the pool.
Mark the center of the cleared area to use as reference for the remainder of the installation.
Assemble Pool Frame/Base
Begin by creating the bottom base shape of the pool frame. Lay the bottom track and use the stabilizers provided for support. Add a layer of sand where the pool liner will rest.
Install Wall of Pool

Start to unravel the wall of the pool around the assembled base, making sure as you go that the cutouts for the pump and filter are in the position you would like them. Hold the walls in place with clips or stakes as you continue to stand up the rest of the wall. Install supports and secure the pool wall with provided fasteners.
Install the Liner

Lay out the liner inside of the pool and using only bare feet or socks, smooth it out. Secure the liner in the track at the top of the wall or over the outer wall, depending on the type of liner. Fill the pool with a small amount of water and walk over the bottom in bare feet to smooth out any wrinkles.
Install Skimmer and Filter
Fill the pool halfway with water and then install the skimmer and filter. Instructions vary based on models selected.
Fill the Pool and Check for Leaks

Fill the pool the remainder of the way, stopping about 6 inches from the top. Check for any leaks.
Add Chemicals

Follow instructions for adding pool chemicals for the first time to shock the water. You will need to wait to enter the pool for a period of time after doing this.
How to Maintain an Above Ground Pool

Regular maintenance will help keep your above ground pool clean and safe for daily use. Below is a list of helpful maintenance tasks.
- Run the pump daily.
- Maintain a proper water level so the filter and pump can run effectively. Top off the water level if it becomes too low.
- Cover the pool when not in use to maintain temperature and keep unwanted dirt and animals out.
- Skim the surface and run a pool vacuum regularly.
- Test the pool chemicals once a week and adjust if necessary. How to Add Chlorine to Pools
- Clean and maintain the filter according to product specifications.
With careful planning and maintenance, installing your own backyard above ground pool is a completely manageable task that will leave you feeling rewarded and refreshed. DoItBest has all of the pool supplies you need to get started!
Related Articles

Best Tool Gifts for Father's Day 2025
Skip the neckties and get that special man in your life something he'll love!
Learn more

How to Throw a Great Big Game Party
Have an unforgettable day of football and fun with these tips
Learn more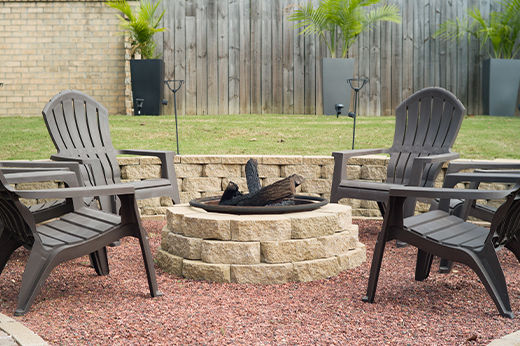
How to Build a Fire Pit
A simple and affordable outdoor DIY project with a step-by-step guide
Learn more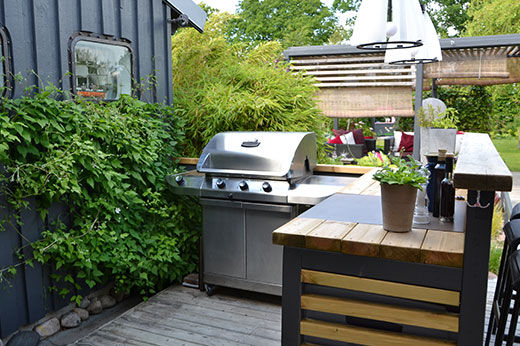
Elements of a Great Outdoor Kitchen
Seven items to add flair and excitement to your next backyard barbecue
Learn more