Preparing a Snow Blower for Storage
Note: For electric snow blowers, follow the manufacturer’s instructions and remove battery packs before cleaning your machine. See your machine’s manual for battery storage and replacement guidance. Skip steps 3–5 unless your manual recommends lubrication.
1. Clean Up Salt and Dirt
First, brush or wipe off any salt, dirt, or other debris that has accumulated on your snow blower. Clean off the housing, auger, chute, wheels, and other exterior areas.
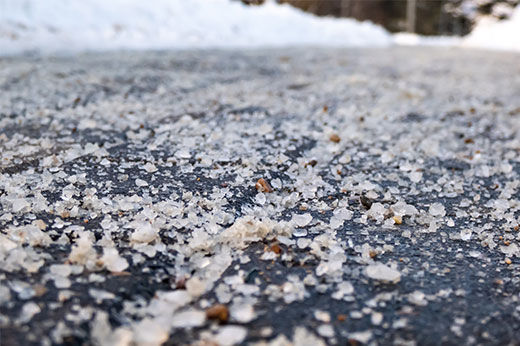
If you use salt or deicers, be sure to remove all residue to avoid corrosion on metal parts during storage.
2. Inspect the Snow Blower for Wear or Damage
Once all the snow blower’s surfaces are clean, you can inspect your machine for damage. Check the auger, shave/scraper plate, slide shoes, belts, shear pins, tires, and cables.
Keep an eye out for cracks, excessive wear, rust, loose hardware, and other problems that should be addressed. Not sure where to start? Check out How to Maintain a Snow Blower for detailed instructions on maintaining a machine.
You should also check the spark plug to find any corrosion or buildup. Remove the spark plug and inspect. If you’re unsure whether your spark plug is still in shape for the job, it's best to replace it. A wire brush does well for removing buildup on your spark plug.
3. Drain the Fuel System
Even if it contains a stabilizer, old fuel can create buildup in the tank and fuel lines. Removing it before storage can ensure your snow blower is easier to start next winter.
Most manufacturers recommend running the snow blower to use up fuel before storage or carefully draining it. Follow your manufacturer’s guidelines for removing any leftover fuel.
4. Change the Oil
It might seem counterintuitive, but changing the oil before storing your snow blower instead of at the beginning of next season helps make your machine easier to start when you need it. Any impurities that have built up in the oil during use can corrode the machine during long storage, so changing it will help prevent issues later.
Check your machine’s manual and use the oil type and quantity specified by the manufacturer. Dispose of any oil according to your community’s regulations.
5. Lubricate Necessary Components
Generally, you’ll lubricate axle shafts, augers, and tractor components, such as the hex shaft and gears.
But not all machines require lubrication, so double-check your manual before adding it to any snow blower parts. Follow the manufacturer’s instructions, and lubricate only those areas that require it.
How to Store a Snow Blower During Summer
Cleaning and maintaining your snow blower won’t save it from rust if the machine is stored in an unsuitable location. Instead, place your snow blower in a dry, sheltered spot where it won’t be exposed to rain, such as a garage or shed.
Indoors, keep the machine away from excessive moisture sources such as leaky roofs, as too much moisture can cause deterioration and corrosion. Don’t store heavy objects on the machine. If you have a battery-powered snow blower, follow the manufacturer’s recommendations for safe storage of the battery pack and charger.
Store Your Snow Blower Now for an Easier Start Next Winter
After you’ve followed the steps above, your snow blower is prepped for storage and will be ready to operate when the snow flies again.
Found worn or rusty parts on your inspection? Don’t wait until the first winter storm. Be sure to address maintenance issues now, with plenty of time for spare parts to be ordered and replaced.
If your snow blower needs replacement or parts, shop snow blowers and accessories online at Do it Best or stop into a local Do it Best store today.
If you know your snow blower needs to be replaced after your inspection, you can shop for gas snow blowers or cordless snow blowers right away and use our Snow Blower Buying Guide to help you make the right decision.